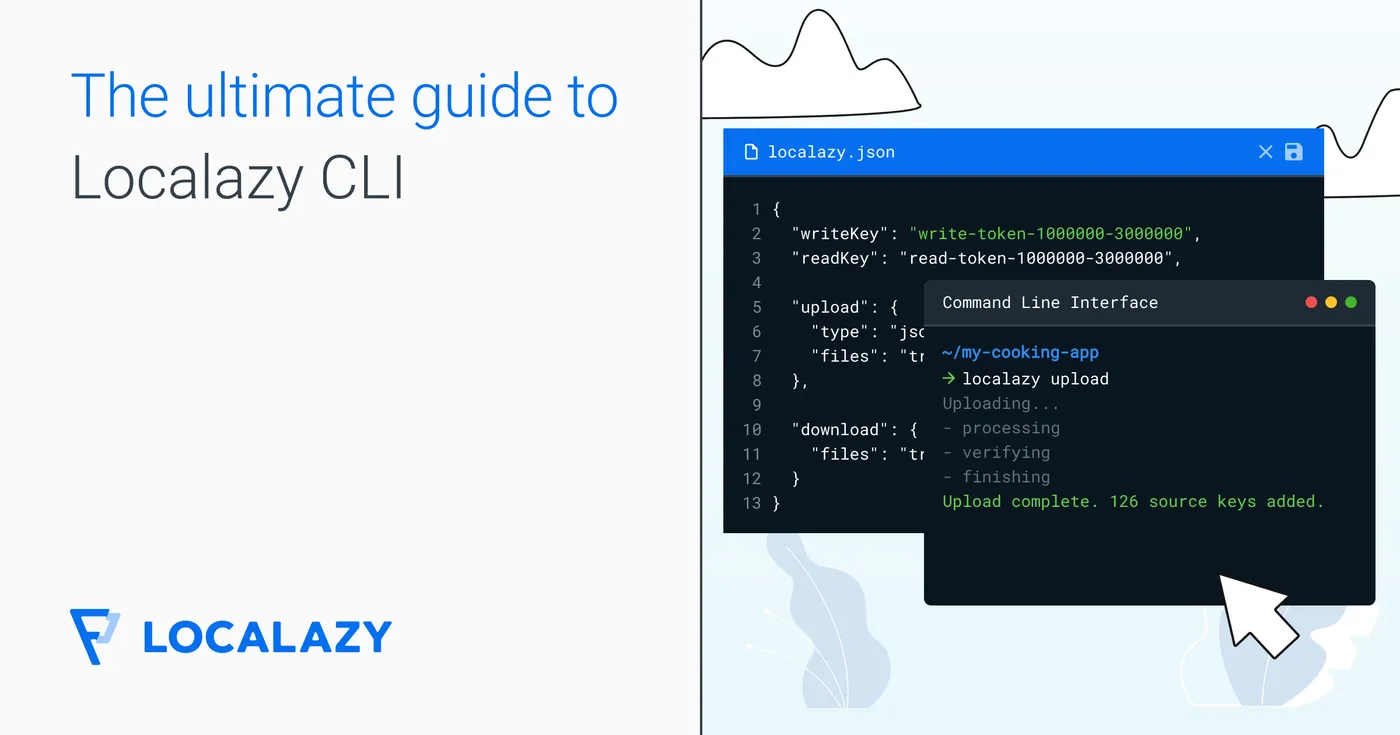

Localazy CLI is our command-line interface, and you can use it to upload files to the Localazy platform and download translations back to your app. You can easily integrate it into your build chain or CI/CD.
We are developers, and we make Localazy for developers. Therefore, the CLI is the first-class citizen, flexible and full-featured. It’s not only a limited extension.
Localazy CLI is a versatile tool. It’s simple to start with it but it works also for complex projects with modules, libraries, different product flavors and existing translations.
Getting started #️⃣
1) Download or install the Localazy CLI. It’s available for all major operating systems, as Java’s JAR and Docker image.
2) Create configuration script localazy.json that tells the CLI tool what files to upload and how to process downloaded translations.
TIP: JSON Schema is available for smart completion.
3) Run localazy upload for uploading your strings to the Localazy platform. Do it whenever you change your source language.
4) Run localazy download for downloading translation back to your app. It’s a great idea to make it a part of your build chain.
Note: In this documentation, we always use localazy as the command that should be invoked. However, the command can be different based on your setup (eg. localazy.exe on Windows).
The first configuration script #️⃣
The script below is very simple. It uploads your source file file_en.json to Localazy and place downloaded translated files to file_XX.json where XX is the language of the translated file.
{

  "writeKey": "your-apps-write-key",
  "readKey": "your-apps-read-key",

  "upload": {
    "type": "json",
    "files": "path/file_en.json"
  },

  "download": {
    "files": "path/file_${lang}.json"
  },

  "conversion": {},

  "transformations": []

}- The writeKey and readKey authorize your request. See Authorization for more information.
- The upload section tells Localazy CLI how to collect files that should be uploaded and optionally can provide metadata for uploaded files. See Upload Reference for more information.
- The download section describes how to process translated files and where to write them. See Download Reference for more information.
- The conversion section describes how to convert translated files between different formats. See Format Conversions for more information.
- The Transformations section allows defining rule for string transformations. Using transformations, you can eg. obtain file metadata from its path or build the specific path where to write translated files. See Transformations for more information.
- The placeholder
${lang}is a variable.
Every Localazy CLI configuration file uses the same structure as described above.
The more complex example #️⃣
Let’s say that there are more source files in different folders and that you want to preserve the path, and the file name.
{

  "writeKey": "your-apps-write-key",
  "readKey": "your-apps-read-key",

  "transformations": [
    {
      "name": "cleaned_file",
      "source": "${file}",
      "operations": [
        "remove: _en"
      ]
    },
    {
      "name": "file_without_ext",
      "source": "${file}",
      "operations": [
        "substringBeforeLast: ."
      ]
    }
  ],

  "upload": {
    "type": "json",
    "files": {
      "pattern": "path/**/*_en.json",
      "file": "${cleaned_file}",
      "path": "${path}"
    }
  },

  "download": {
    "files": "${path}/${file_without_ext}_${lang}.json"
  }

}
In the upload section, files are collected using wildcards and with transformations, we remove _en suffix from the file name. This way, the phrases are uploaded with the nice and cleaned file name.
In the download section, the output path is build dynamically for each of files. We simply use the stored path with ${path}, remove extension from the file name and add the language code and restore the extension.
Of course, we could remove the whole _en.json from the file name in the upload section but this way, we preserve the correct file names.
The transformations section defines how to transform input string (which could be almost anything) to the output one. In this example, we have two rules: cleaned_file removes the _en substring and file_without_ext removes the file extension.
Android with build type and product flavors #️⃣
As the last example, let’s examine even more complex configuration that allows uploading and downloading strings for complex Android app maintaining correct build types and product flavors. It can upload the source language as well as all existing translations.
{

  "writeKey": "your-apps-write-key",
  "readKey": "your-apps-read-key",

  "transformations": [
    {
      "name": "product_flavors",
      "source": "${path}",
      "operations": [
        "androidProductFlavors: gp am, free full auto"
      ]
    },
    {
      "name": "build_type",
      "source": "${path}",
      "operations": [
        "androidBuildType: debug, release"
      ]
    }
  ],

  "upload": {

    "type": "android",

    "folder": "/home/work/myapp",

    "files": [

      {
        "pattern": "src/*/res/values/strings*.xml",
        "excludes": [
          "**/strings_private.xml"
        ],
        "productFlavors": "${product_flavors}",
        "buildType": "${build_type}"
      },

      {
        "group": "all",
        "pattern": "src/*/res/values-*/strings*.xml",
        "lang": "${autodetectLang}",
        "excludes": [
          "**/values/**",
          "**/strings_private.xml",
        ],
        "productFlavors": "${product_flavors}",
        "buildType": "${build_type}"
      }

    ]
  },

  "download": {
    "folder": "/home/work/myapp",
    "files": "src/${androidFlavoredFolder}/res/values-${langAndroidRes}/${file}"
  }

}
The transformations section uses built-in functions to get the build type and product flavors from the file path. The language is obtained using auto-detection through variable ${autodetectLang}.
In the upload section, two rules are defined. One for uploading the source language and the second for all other existing translations. The second rule is placed into group all and thus it’s not run automatically.
For files collected during upload, metadata lang, buildType and productFlavors are provided allowing the Localazy platform to correctly handle them.
It’s possible to upload the source language by simply invoking localazy upload. It’s also possible to upload all existing translations by invoking localazy upload all which runs both rules.
Because our uploaded data are perfectly prepared, all we need to do in the download section is to write them to the right place. Using built-in precalculated variables ${androidFlavoredFolder} and ${langAndroidRes}, it’s simple to build the correct path.
Invoking localazy download before build or as a part of the build chain will ensure that our app always contains the most recent translations.
The final note #️⃣
As you can see, Localazy CLI can be used to upload simple projects, but it’s flexible enough to handle large and complex situation.
Not sure how to use it for your particular project? Contact us for help!