It was one of the greatest minds who ever lived Socrates who said “Man Know Thyself”, such a simple quote but Everly so powerful once truly understood.
The truth is, it’s only in the knowledge of yourself that you know what works for you, and as developers, we are lazy (lol yeah nobody wants to admit it, but when it comes to it, whatever will save us writing that extra line of code we’ll take it! lol) see! Now you know yourself lol, and we know we’re lazy lol, breathe!
It’s not a bad thing, like Socrates said to know thyself, because we know we’re lazy that makes us plan around it, we’re constantly looking for ways to make our task easier, heck most of the best Android libraries are from folks who got tired of the manual ways of doing certain things and just created a faster code to get them done if anything you should own your laziness and make it work for you lol.
That being said, every android developer I know always wants to focus on the main task/logic to get their app working and ready to ship as soon as possible and really don’t have or want to spend their time on mundane tasks. One of those mundane tasks is Strings localization.
We’ve all come to realize that while our apps can be super great, there is a lot of potential clients lost to language barriers out there; hence when we code our android apps, we begin adding strings translations to localize our app to various languages and open up those language barriers, this is something us android developers would normally have to write manually, usually we’ll go to our res folder and create new string files for each language we want to localize to and then translate each string one by one before building the app, What if I told you that’s a thing of the past, what if you didn’t have to manually create files and translate each string to the over 80+ international languages (Oh you didn’t even translate up to 80 languages? Don’t worry you will now) that exists, what if there was a simple plug and play solution.
This is exactly why Localazy was created, it is a simple Gradle plugin and play solution to help us android developers handle the issue of translating strings to a different locale, it’s a straightforward solution coupled with on the fly update, where you don’t have to update your strings and have to push changes to your live app on Playstore every time. So how does Localazy work?
In this article, I’ll be introducing you to the brave new world of handling your Android app Strings localization automatically using Localazy in just a few steps.
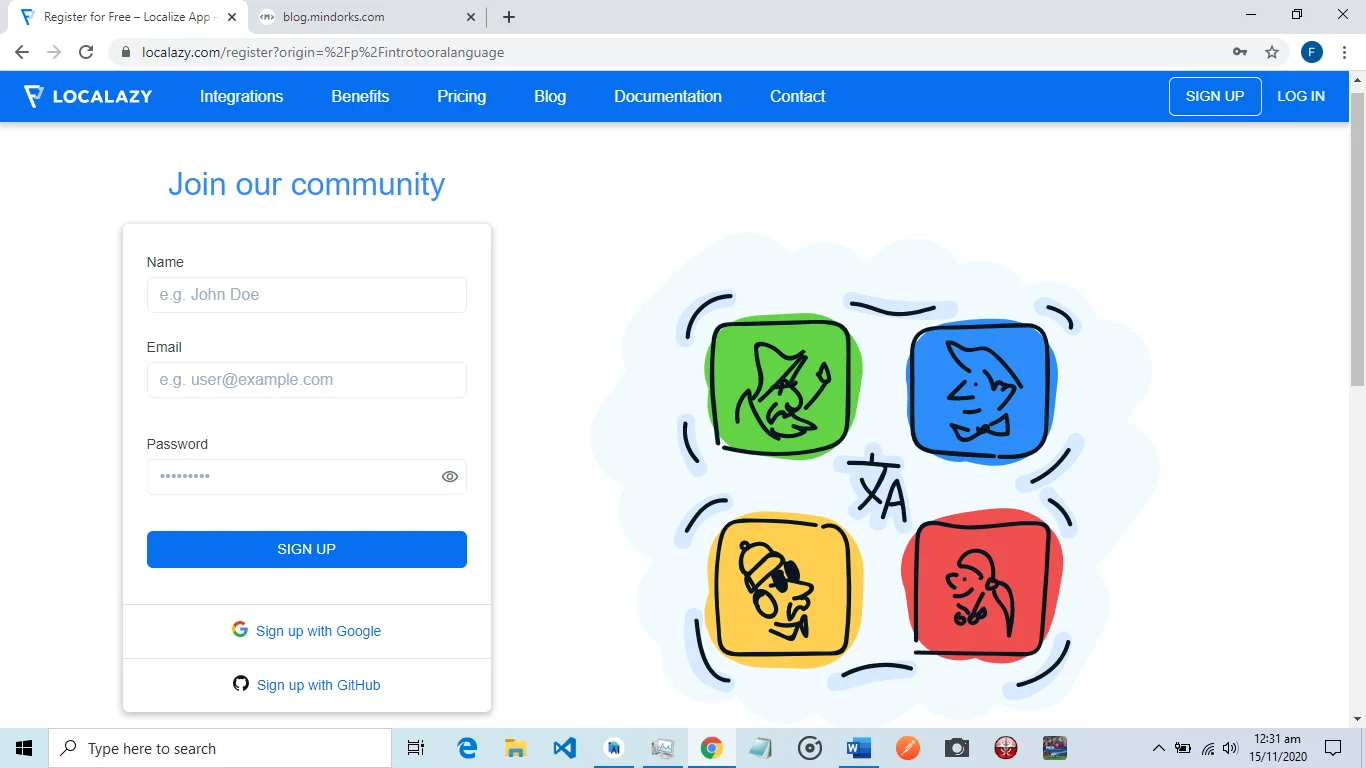
1. Sign up 🔗
Log on to www.localazy.com to create a new user account.
2. Create a new app 🔗
Log into your account and create a new app, you create the app you want to automatically handle its String localization here if you had already created an app, it’s also displayed here when you log in.
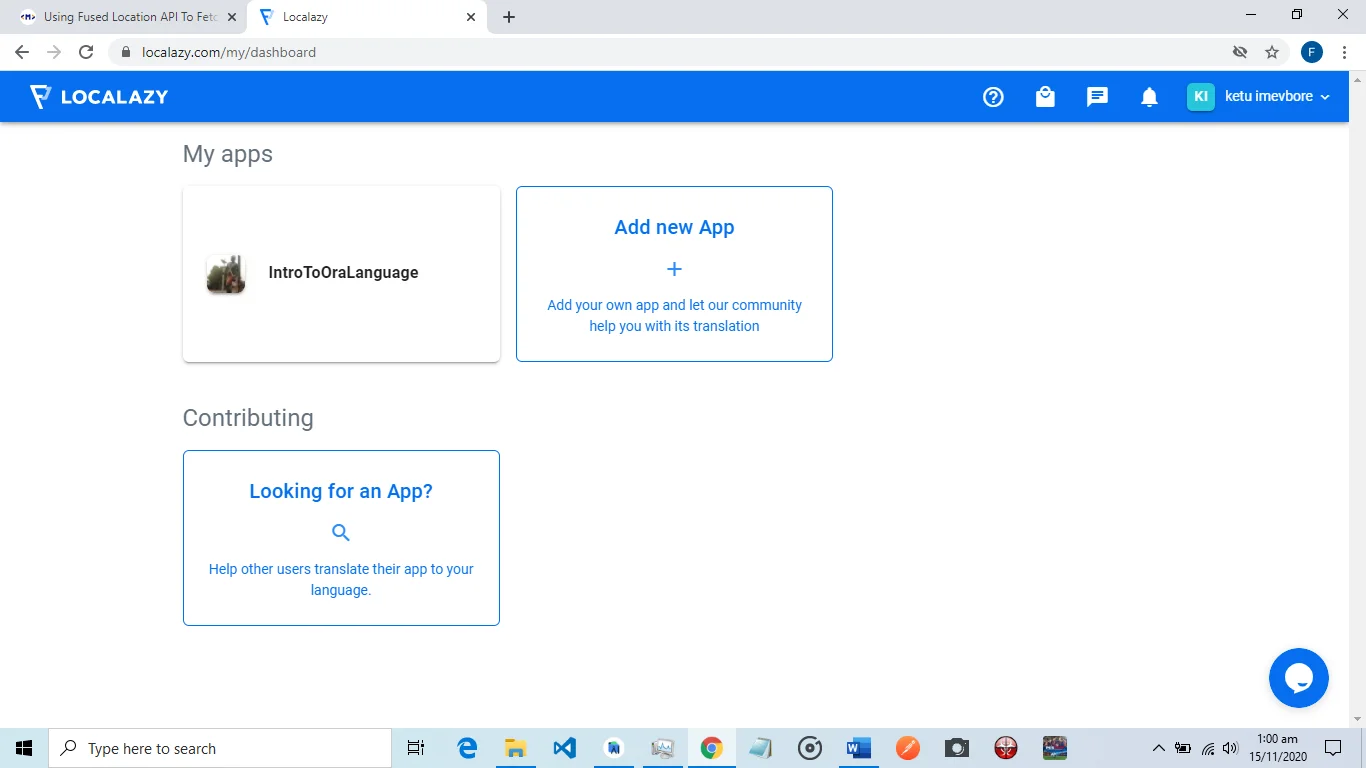
3. Entering details 🔗
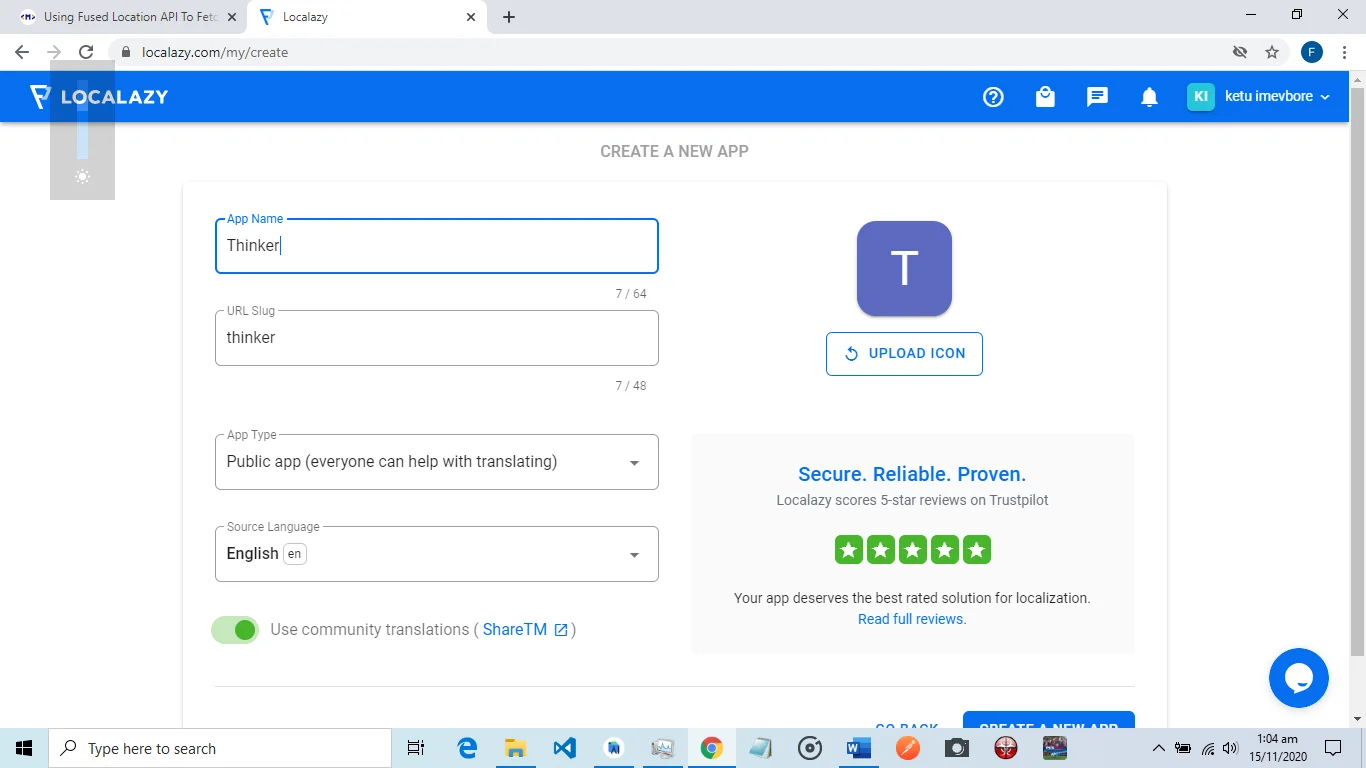
Enter app details, upon selecting create app you’ll get his page where you can enter the name of your app, which is used to generate a URL Slug for you to access your app easily, also you can choose to make your app public(Where everyone can help translate) or choose to make it private (where only invited contributors are allowed to contribute to the translations), another thing we can do here is to choose the source language(here we choose the language our strings are originally written in).
On the right side of the screen, we can select an image to upload to be used as our app icon, and now we’re all set, we click create.
4. Select Platform 🔗
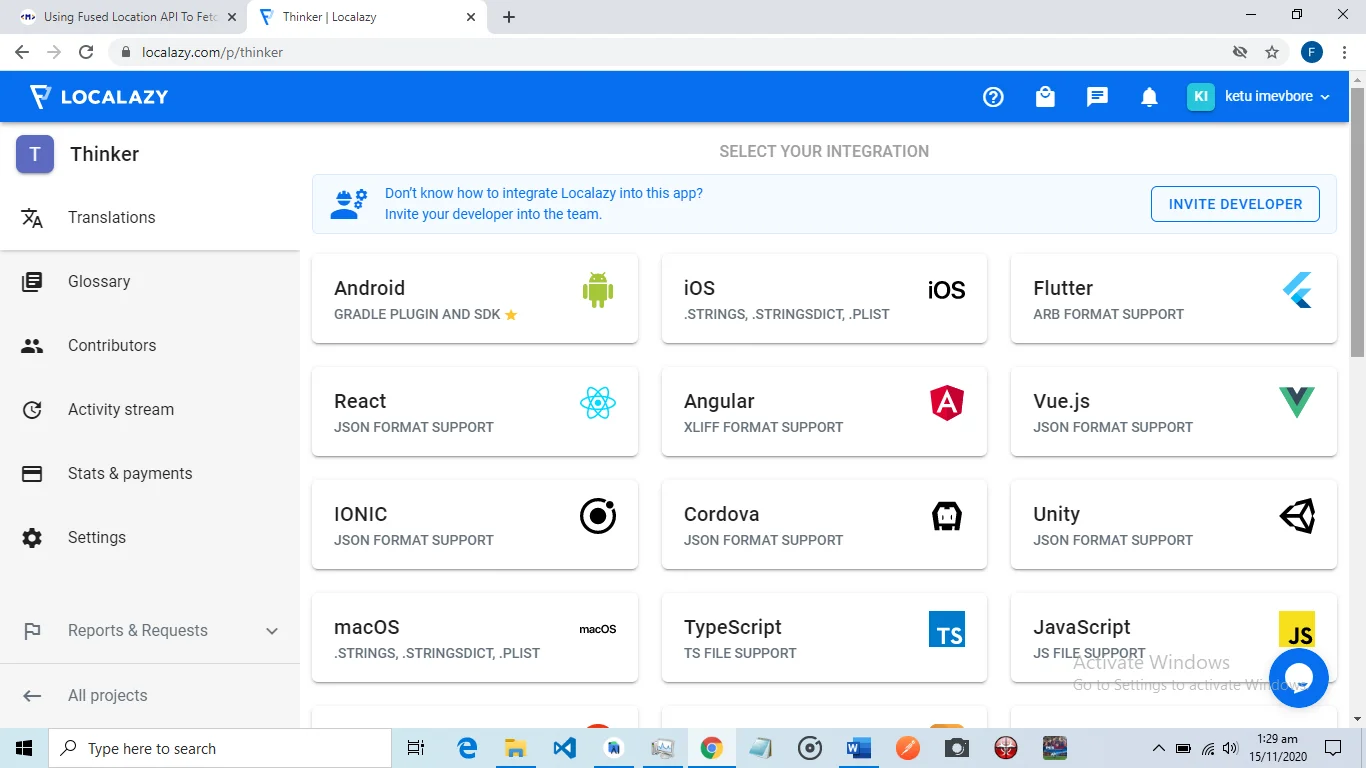
Select Platform, Localazy supports a ton of platforms for developers, note the option to invite a developer (That’s a pretty cool feature from Localazy, so if you’re not the right team member to implement the integration you can use the “INVITE DEVELOPER” option to invite them to come to handle the process), however as earlier indicated this example will be focused on using Localazy to handle string localization while building your android app; hence we’ll go ahead to click Android.
5. Gradle plugin 🔗
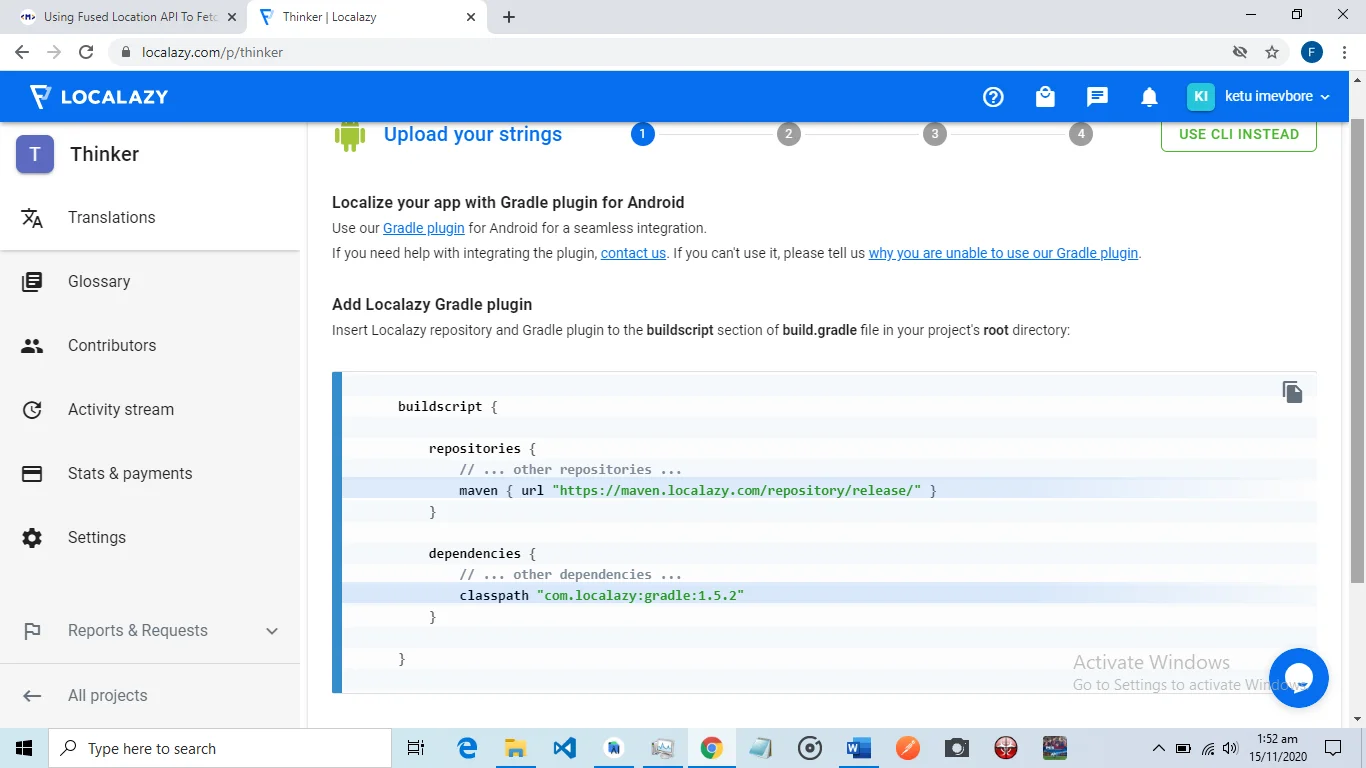
Add Localazy Gradle plugin, we open android studio and insert Localazy repository and Gradle plugin into the buildscript section of the build.Gradle file in your project’s root directory.
6. Apply plugin 🔗
Apply plugin. First off we choose to push updated translations online to our app users or only to loyal users or not at all (This is a great feature as translations updated to users online means you don’t have to push a new update to your live app on Playstore each time you update translations).
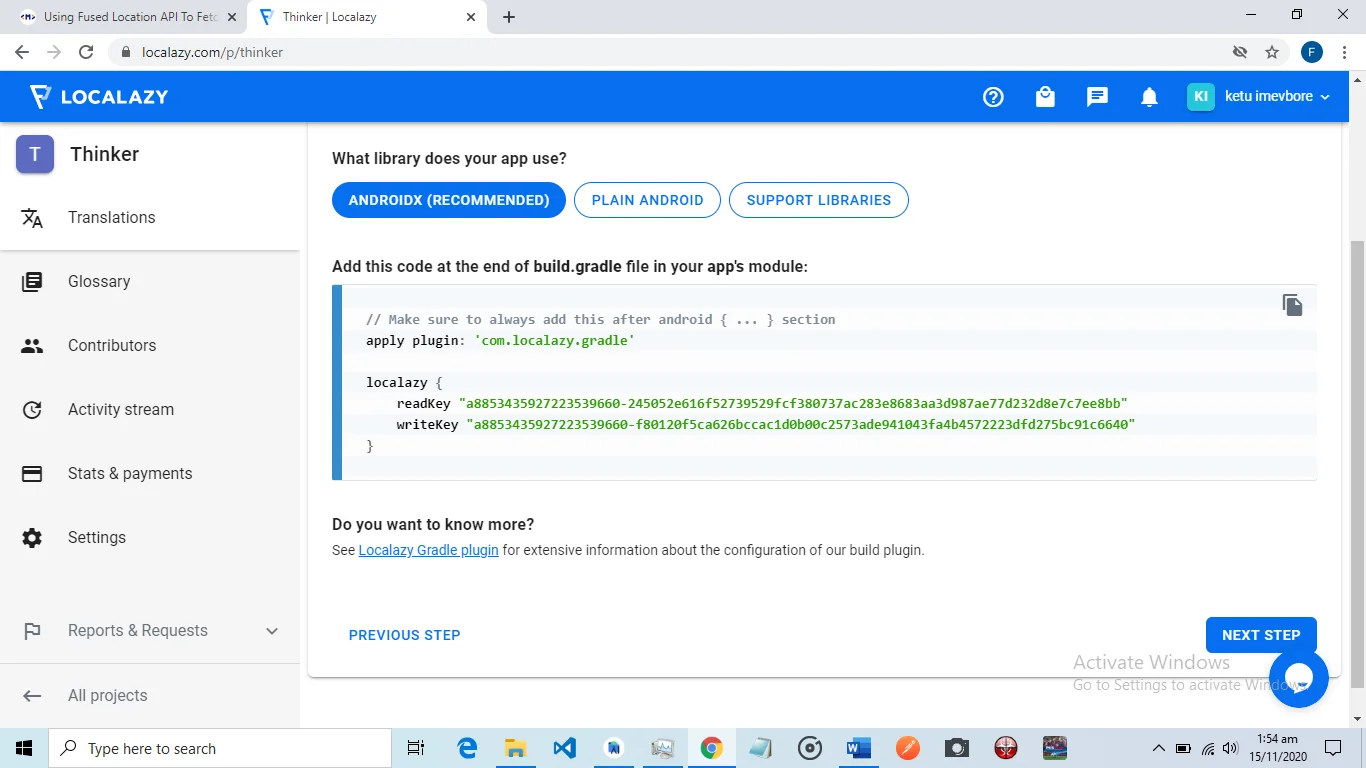
Now we select what library our app uses then we can go ahead to copy the corresponding lines of code (here I believe most apps should be on ANDROIDX, however, if your app is not select one of the others that apply), we open our build.gradle file in our app’s module. We paste the apply the localazy plugin after the android{} alongside our localazy app read and write key copied from the platform. Note that each app would have its own key.
7. Upload your strings 🔗
Before we get to upload our strings, first we sync our Gradle with a good internet connection to allow for our localazy plugin to be applied(Localazy work with android studio build tools from 3.5.0 and above, if your build tools/android studio versions are old, you might have Gradle build failure and prompted to update your android studio and plugins to the latest versions, ensure good data connection and sync again).
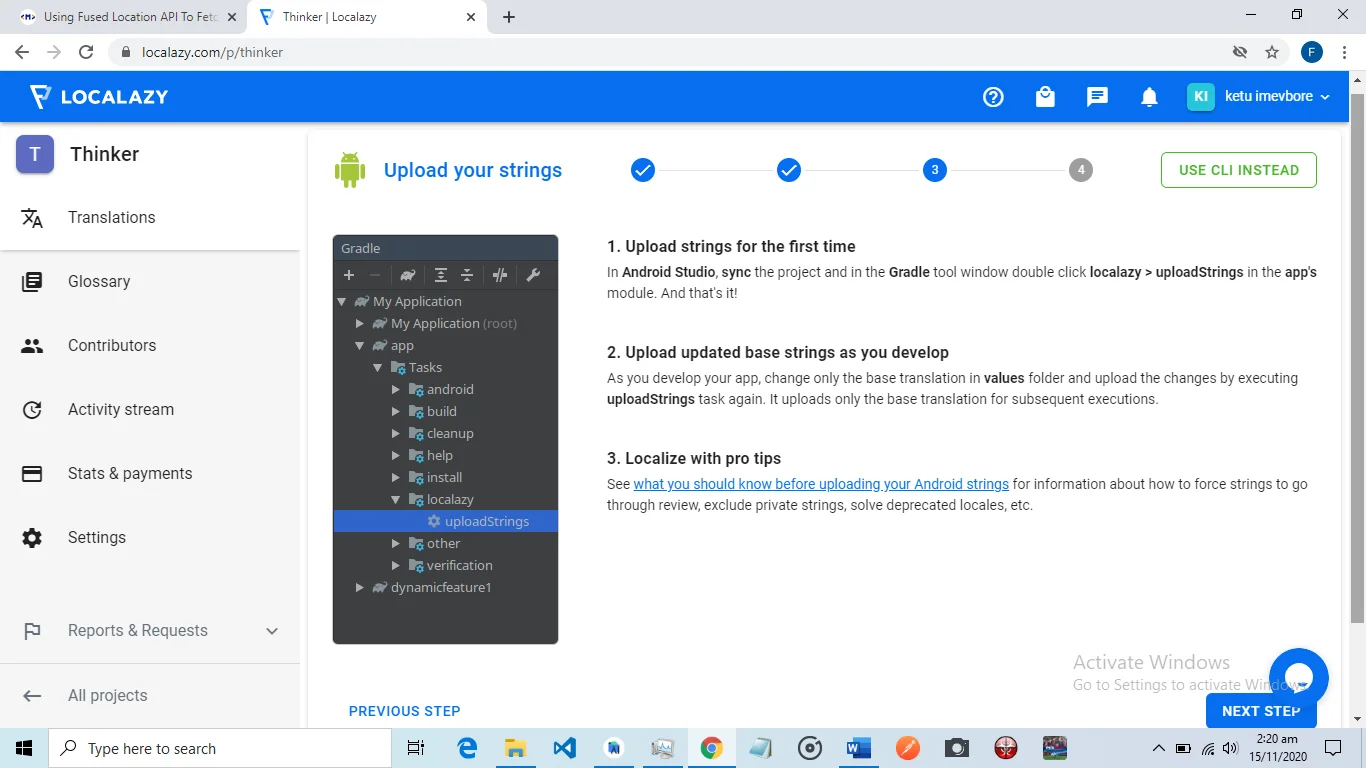
After successful sync, we go to Gradle tool window double click localazy > uploadStrings in the app’s module. This uploads all our defaults strings in our res folder to the app on Localazy platform, where we can create lots of translations for the string uploaded.
8. Localazy platform 🔗
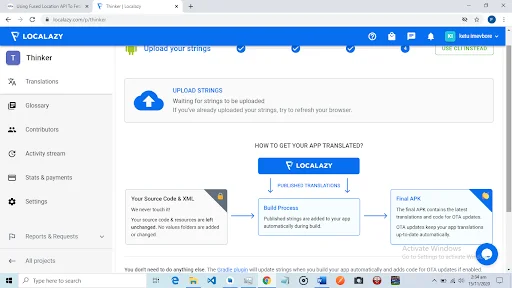
We can begin translation here on the Localazy platform after we’ve uploaded our strings from Gradle in the android studio. This section displays upload strings after you’ve already done that in android studio refresh the page, so it’s updated.
9. Translating & reviewing 🔗
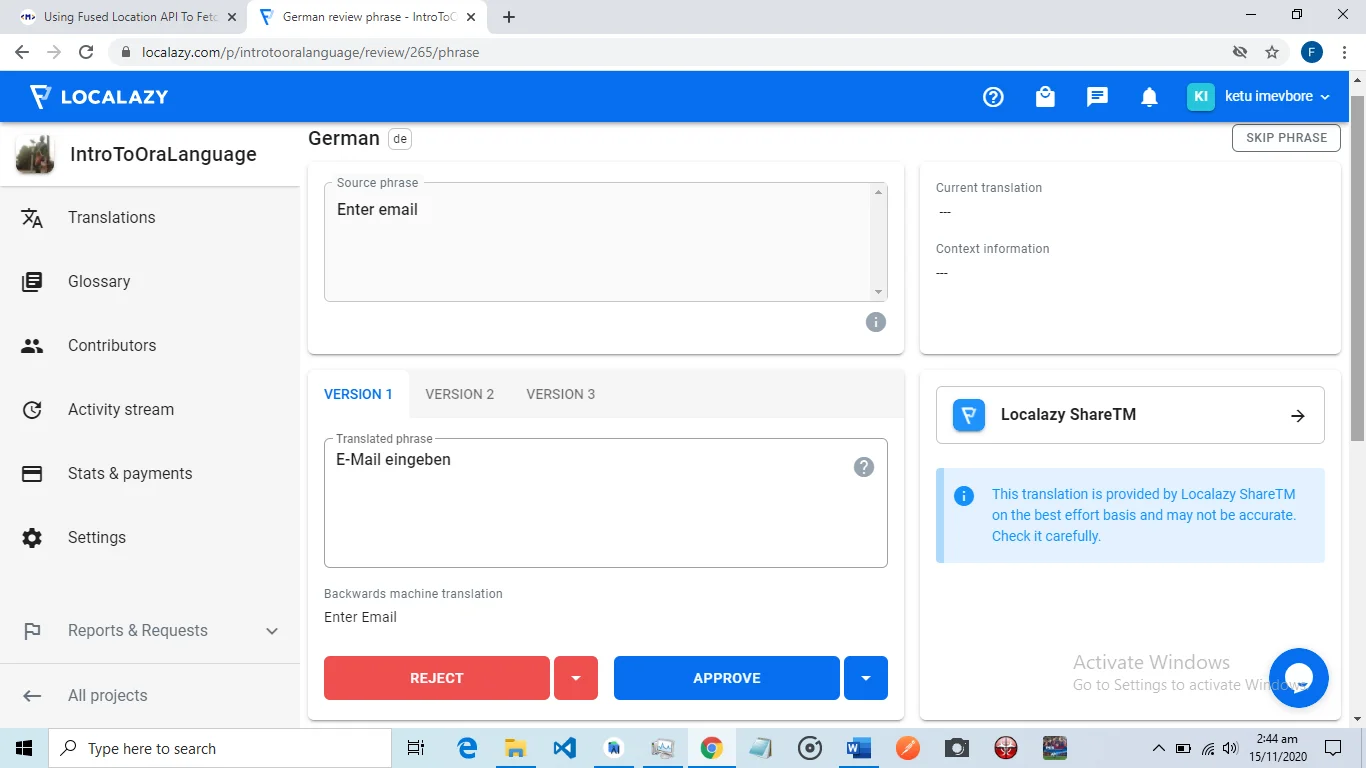
Once the platform gets your strings, you can begin to add languages, here for each language added you get to verify by reviewing each word and either accepting and translation or even changing it. The review would look like this; thus, you, the app developer still maintain absolute control of what translations are accepted or rejected.
10. Publishing 🔗
As soon as all phrases for that particular language are reviewed and accepted, the platform goes ahead to publish them, which means they are now available for download, so now you can go back to android studio and sync Gradle and load the run a new build to phone(always run the build with good internet connection otherwise Gradle build might fail if Localazy is not able to connect).
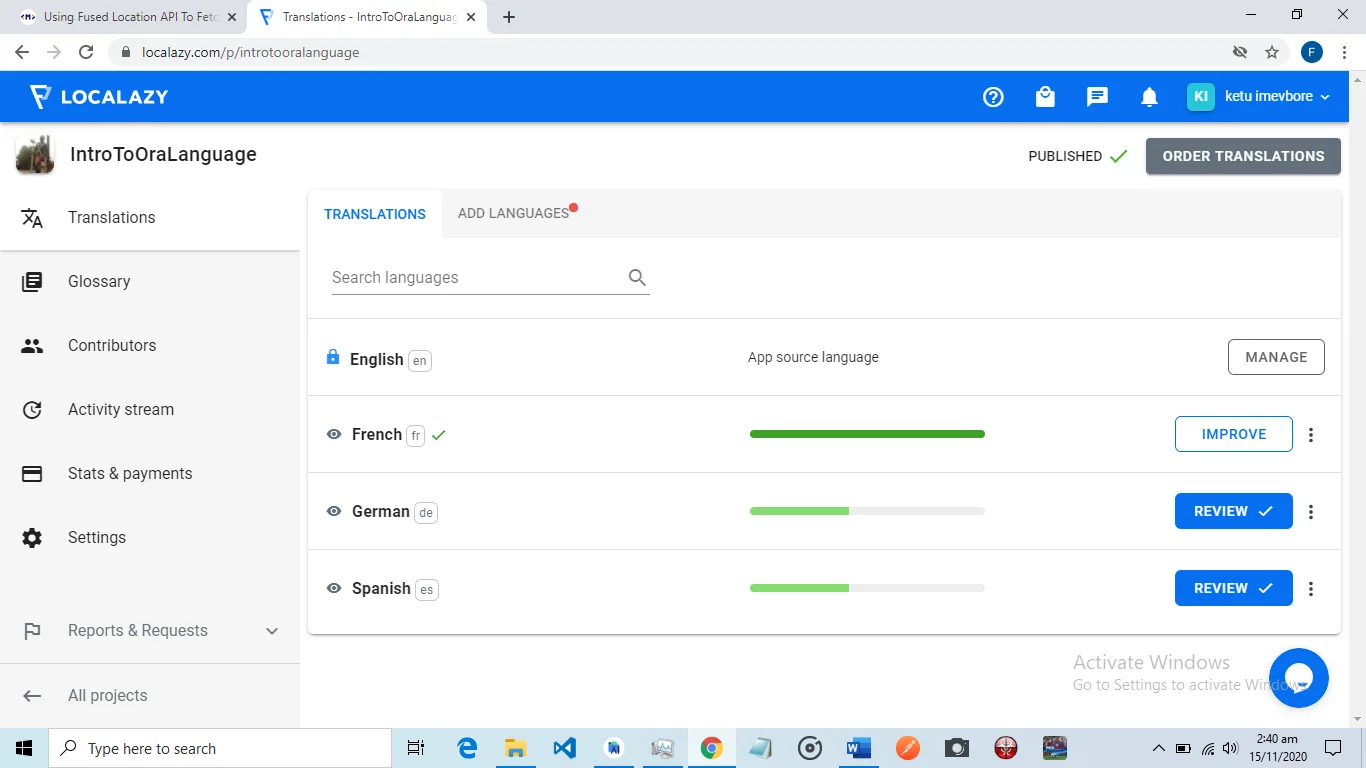
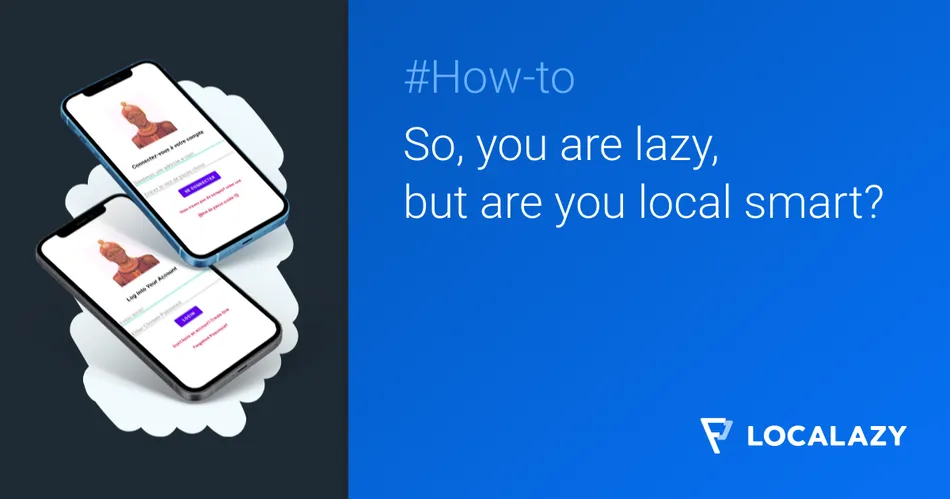
After a successful build, your app should be loaded with the latest strings, you can test this by switching your phone’s language to one of the localized strings on your app and then opening your app on your phone, it should display everything normally (as Localazy doesn’t touch your codebase) only difference now is the texts should be displayed in the selected language of the phone, which you have localized on the Localazy platform, an example is displayed below of an app in English and now in french and can be easily translated on the Localazy platform to any of the other numerous languages.
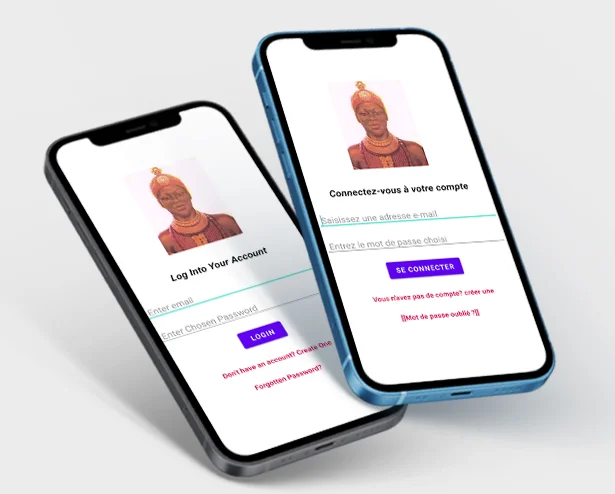
You can confirm that all other languages your app displays are from LocaLazy translations, by checking your res folder in the android studio you wouldn’t find any other set of strings except your default set.
Should you update/change your default set of strings, do remember to repeat the earlier mentioned step of uploading your strings from Gradle. Hence, the Localazy platform is aware to update changes.
Thanks for reading my article and welcome to the new, easy, automatic handling of string translation in android development. So you’re a lazy developer, but now you’re local smart! Go ye and focus on the important things while Localazy Handles your string localization!.
