🔎 So, why implement a language switcher? 🔗
Yes, you can determine the users' locale based on their system language, set it accordingly with fallback to English and be done. And while switching languages is not something that is required by all your users, it's handy for a subset of them. Why?
Food for thought:
- Similar languages: Imagine two neighboring countries that understand each others' languages, but one of them is not available in your app. Thus, users from one country have to use your app in English instead of the language from the neighboring country that might be a preferred choice for them.
- Bilingual users and learners: Some people like to switch their system language to a language they want to learn better. But if your app is complex or rich in content, they might not want to use it in a language they don't fully understand yet.
These are just two examples of when switching language is good for UX.
Learn more about this topic and find out how a simple improvement can improve the user experience.
Read the article on why it is important to let users switch the language of your app
🕹️ Initial setup 🔗
To create a custom language selector, you need to implement the Localazy Gradle plugin first. The reason is that you have to add your readKey and writeKey from Localazy into your app. These keys are needed to retrieve the language list, including the source.
First of all, let's set up a new account on Localazy and create a new application if you haven't already done that. Proceed to create the app, select Android on the integration screen, and follow the steps. Note your keys somewhere and put them in your configuration. Feel free to add some languages to your app so you can see your selector in action.
IMPORTANT THING! If you have already configured the Localazy Gradle plugin before with the configuration below, please remove the injection block or allow the injection. Be sure that it's not disabled.
The injection section allows you to configure how the Android library is integrated into your app.
localazy {
    injection {
            enabledForRelease false
            enabledForDebug false
            library "none"
        }

        download {
            enabledForRelease false
            enabledForDebug false
        }
    }
To read more about the injection configuration, please read the documentation.
Don't forget to add INTERNET permission, if you don't have it yet, as Localazy need it to fetch updated translations and new languages:
<uses-permission android:name="android.permission.INTERNET" />
🎚️ Create the selector 🔗
After you finish with the setup, we need to create a simple layout that will show all available languages and the currently selected language.
<LinearLayout
   android:id="@+id/select_language"
   android:layout_width="match_parent"
   android:layout_height="match_parent"
   android:background="?attr/selectableItemBackground"
   android:paddingStart="18dp"
   android:paddingEnd="18dp"
   android:orientation="horizontal">

   <TextView
       android:id="@+id/language"
       android:layout_width="0dp"
       android:layout_height="48dp"
       android:layout_marginStart="8dp"
       android:layout_weight="1"
       android:gravity="center_vertical"
       android:text="Select app language" />

   <ImageView
       android:layout_width="wrap_content"
       android:layout_height="wrap_content"
       android:layout_gravity="center_vertical"
       android:layout_marginEnd="8dp"
       android:src="@drawable/ic_arrow_down" />

</LinearLayout>
Now, the core of our selector will use the official Localazy library, which is tied to OTA Updates.
// Variables
private SharedPreferences preferences;
public LinearLayout selectLanguage;
private TextView language;
private Map<LocalazyLocale, String> languagesLocalazy;

// Initialize views
selectLanguage = findViewById(R.id.select_language);
language = findViewById(R.id.language);

languagesLocalazy = new HashMap<>();


// This will help us manipulate the “UI”, we won’t allow showing current language before we actually set it. If we skip this, “Select app language” won’t be visible
if (!preferences.getBoolean("language_selected", false)) {
   LocalazyLocale currentLocale = Localazy.getCurrentLocalazyLocale();
   language.setText(currentLocale.getLocalizedName());
}
Now, we need to get a list of available locales from Localazy. Then we should use a for loop to populate the HashMap<>().
getLocalizedName() will return a locale in it’s own language eq. 'Čeština (Česko)' for 'cs_CZ'.
List<LocalazyLocale> locales = Localazy.getLocales();

for (LocalazyLocale locale : locales) {
   String localizedName = locale.getLocalizedName();
   languagesLocalazy.put(locale, localizedName);
}
And now the final part - selecting the language. For this example, I would use AlertDialog to show a list of the available languages.
First, we should check if the HashMap<>() isn't null, and right after that, check if we have more than one language available.
After that, we need to populate the AlertDialog with our available languages, set the preference that our language is selected, and finally set the chosen language with forceLocale().
In order to make our changes visible we need to recreate the activity.
if (languagesLocalazy != null) {
   if (languagesLocalazy.size() > 1) {
       selectLanguage.setOnClickListener(v -> {
           AlertDialog.Builder builder = new AlertDialog.Builder(context);
           builder.setTitle(“Set language”));

           LocalazyLocale[] langArray;
           langArray = languagesLocalazy.keySet().toArray(new LocalazyLocale[0]);

           String[] languageName = new String[langArray.length];
           for (int i = 0; i < langArray.length; i++) {
               languageName[i] = langArray[i].getLocalizedName();
           }

           builder.setItems(languageName, (dialog, which) -> {
               preferences.edit().putBoolean("language_selected", true).apply();

               Localazy.forceLocale(langArray[which].getLocale(), true);
               recreate();
           });

           AlertDialog dialog = builder.create();
           dialog.show();
       });
   }
}
And that's it!
🗃️ Localazy Card Library 🔗
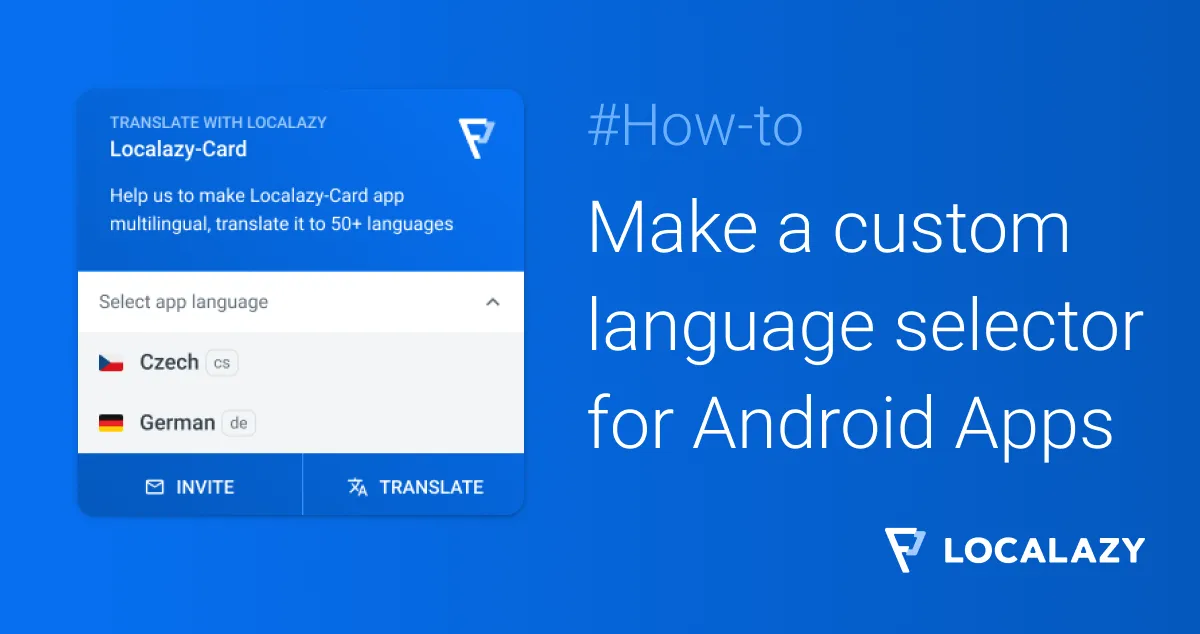
To see how the custom language selector works in practice, you can also check the Localazy Card library which core is the same, just with better design and more features.
See the Localazy Card library repository https://github.com/Paget96/Localazy-Card
📚 You might also like 🔗
We hope you liked this short guide. Here are some other Android tutorials you might like:
- Series: How to make floating windows on Android
- Top 10 Tools for Multilingual Android Development
- How to integrate Android app with Localazy
Or, learn how to add support for automated language switcher in the Localazy CLI for projects other than Android apps. 😉
Read the article: Localazy CLI Tips: Automated language switcher