Express.js is a flexible framework built on Node.js for fast and scalable server-side development. It is a lightweight option you can use to create APIs for building web and mobile applications.
It simplifies the development of server-side applications by offering support for building REST APIs, real-time applications, and single-page applications.
The purpose of this guide is to create a functional Express.js project that can connect to a local server and utilize the Localazy API to export source content to Localazy, handle translation within the dashboard, and import the translated content into our Express project.
📋 Prerequisites 🔗
- Install Node.js if you do not already have it installed. For this, you'll need to use version 18 or a later one. If you are using a version lower than 18, install nvm and upgrade your Node version to 18 or higher.
- You'll need to have the Postman app, which is required to run API requests.
- This tutorial will require you to use your text editor and the terminal application on your device.
- To follow this guide, you'll also need a Localazy account and a basic understanding of how the REST API works and how to use Postman for API testing.
👩🏾💻 Basic Express app configuration 🔗
After installing Node, let's build our Express application. Create a new directory/folder called expressApp using the command below:
mkdir expressAppcd expressApp Within the new directory, use the npm init -y command to create a package.json file for your application. This command will quickly create a default package.json file in your current directory without prompting you to answer questions.
The package.json file is the manifest file for a Node.js project. It defines important metadata about your project, such as the name, version, and dependencies (packages) needed by the project, etc.

Now, install the Express package in the expressApp directory using the command below:
npm install express
These are all the commands you need to set up your Express application. We set up our server and open up a port for listening to connections. In the project directory, create a file called index.js because in the package.json file, the "main" field is set to index.js by default.
If you choose a different file name, such as app.js, it's important to update the "main" field in package.json to reflect that change. Copy the code from the snippets below.
const express = require('express')
const app = express()
const port = 3000

app.get('/', (req, res) => {
	res.send('Hello World!')
})

app.listen(port, () => {
	console.log(`Express application listening on port ${port}`)
})`
- The code lines 1 and 2 import the Express module and then create an instance of an Express application. This is important for defining routes along the way.
- The code on line 3 sets the port number that your server will be listening on.
- The code lines 5 and 6 define the route to create a GET endpoint at the root URL. This means that when a user visits http://localhost:3000/, it responds with 'Hello World!'.
- Lines 9 and 10 start the Express server and listen on port 3000, which is the predefined port number.
When the server is running, it logs to the terminal: Express application listening on port 3000.
💡 Localization within an Express project 🔗
Now that we have built a starter Express project, we will create endpoint requests that can get the details of a Localazy project, upload content in a source language to the Localazy dashboard, and finally download translated content from the dashboard.
The Localazy API utilizes standard HTTP response codes, authentication methods, verbs, and resource-based URLs. All endpoints are relative to the base URL: https://api.localazy.com
The documentation for all endpoints is available here.
You must authenticate your request to access all endpoints because they are protected by access tokens
Step 1: Create a new Localazy project 🔗
Log in and create a new project in Localazy in the Localazy dashboard:
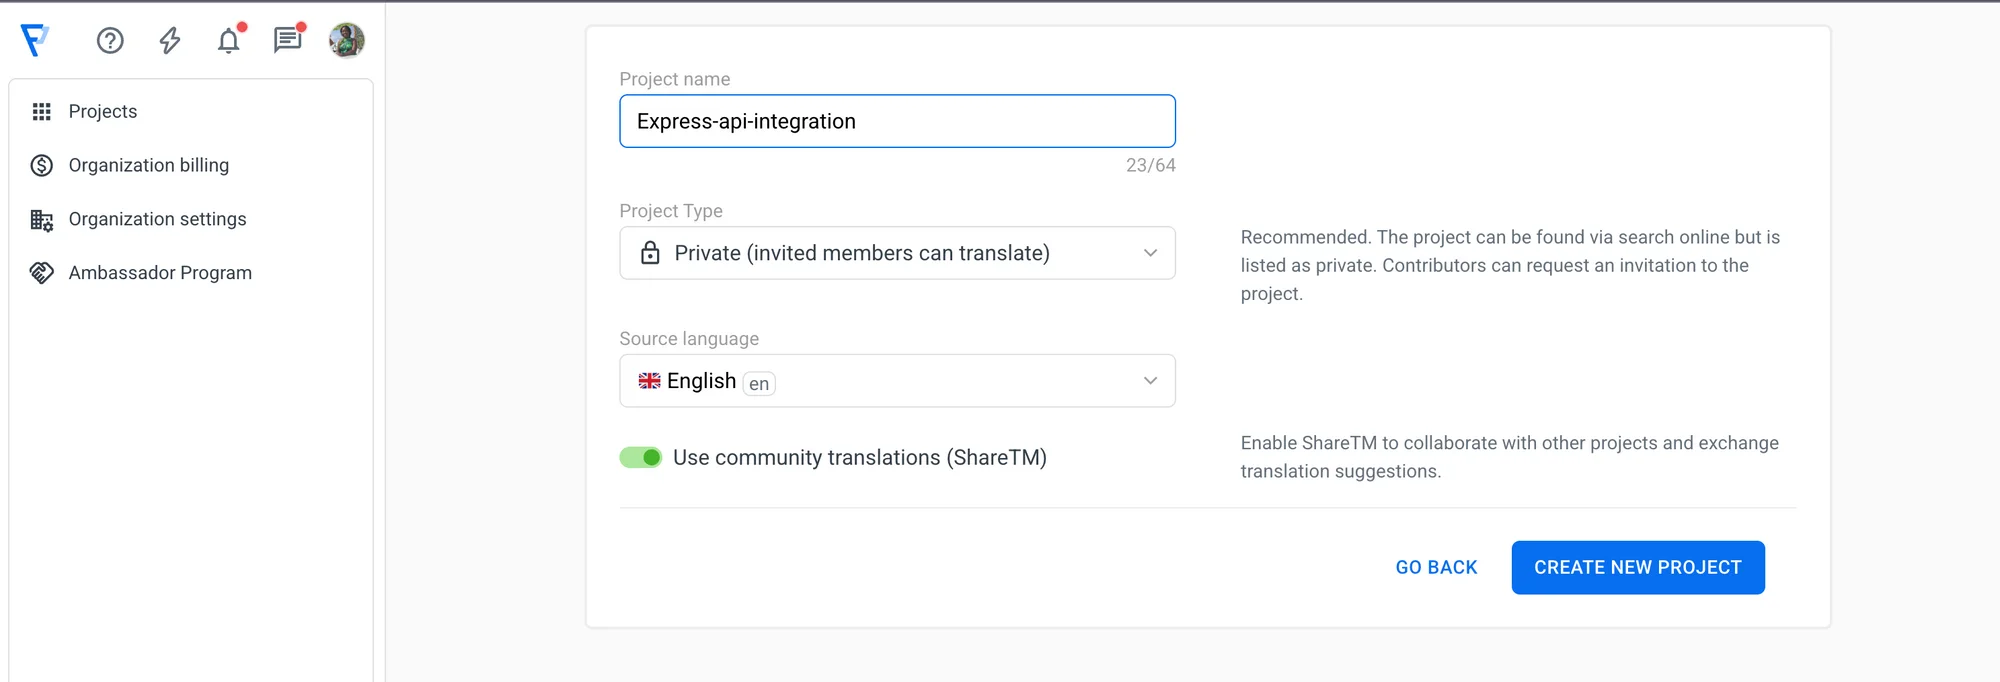
Our new project, Express-api-integration, has been created. The next step is to get the access token for it.
The access token can be obtained from the Developer Console before we can begin using the Localazy API. This must be included in the authorization header for all API requests:
Authorization: Bearer {{token}}
This token grants you access to a single project in Localazy, providing both read and write access.
Step 2: Create an endpoint to get the details of the project 🔗
We will create a GET request endpoint that uses Axios to retrieve the details of the Localazy project we just created. Specifically, we'll need an .env file to store all environment variables and secrets such as tokens.
It is a good practice to store sensitive information like API keys, secret tokens, and credentials in a separate .env file and not within the codebase
A sample of the .env file can be seen as:
TOKEN=localazy_token
PROJECT_ID=project_id
PORT=3000
In your terminal, we'll also need to install packages such as axios and dotenv. The axios package is a popular JavaScript HTTP client that you can use to make requests (GET, POST, PUT, DELETE, etc.) from either the browser or the server side. The dotenv package is used in Node.js applications to load environment variables from a .env file into process.env.
npm install axios

npm install dotenv
Within the index.js file, add the following code snippet:
const express = require("express");
const axios = require("axios");
const app = express();

require("dotenv").config();

const port = process.env.PORT;
const token = process.env.TOKEN;
const projectId = process.env.PROJECT_ID;

// Get Project Details
app.get("/project", async (req, res) => {
  try {
    const url = "https://api.localazy.com/projects";
    const result = await axios.get(url, {
      headers: {
        Authorization: `Bearer ${token}`,
      },
    });

    res.send(result.data);
  } catch (error) {
    console.error("error:", error.response?.data || error.message);
    res.status(500).send({ error: error.response?.data || error.message });
  }
});
This code creates an async GET route /project using the URL https://api.localazy.com/projects of Localazy's API, from which we want to fetch data.
A bearer token is used within the authorization header to authenticate the request.
Navigate to Postman and make a GET request to the URL http://localhost:3000/project .
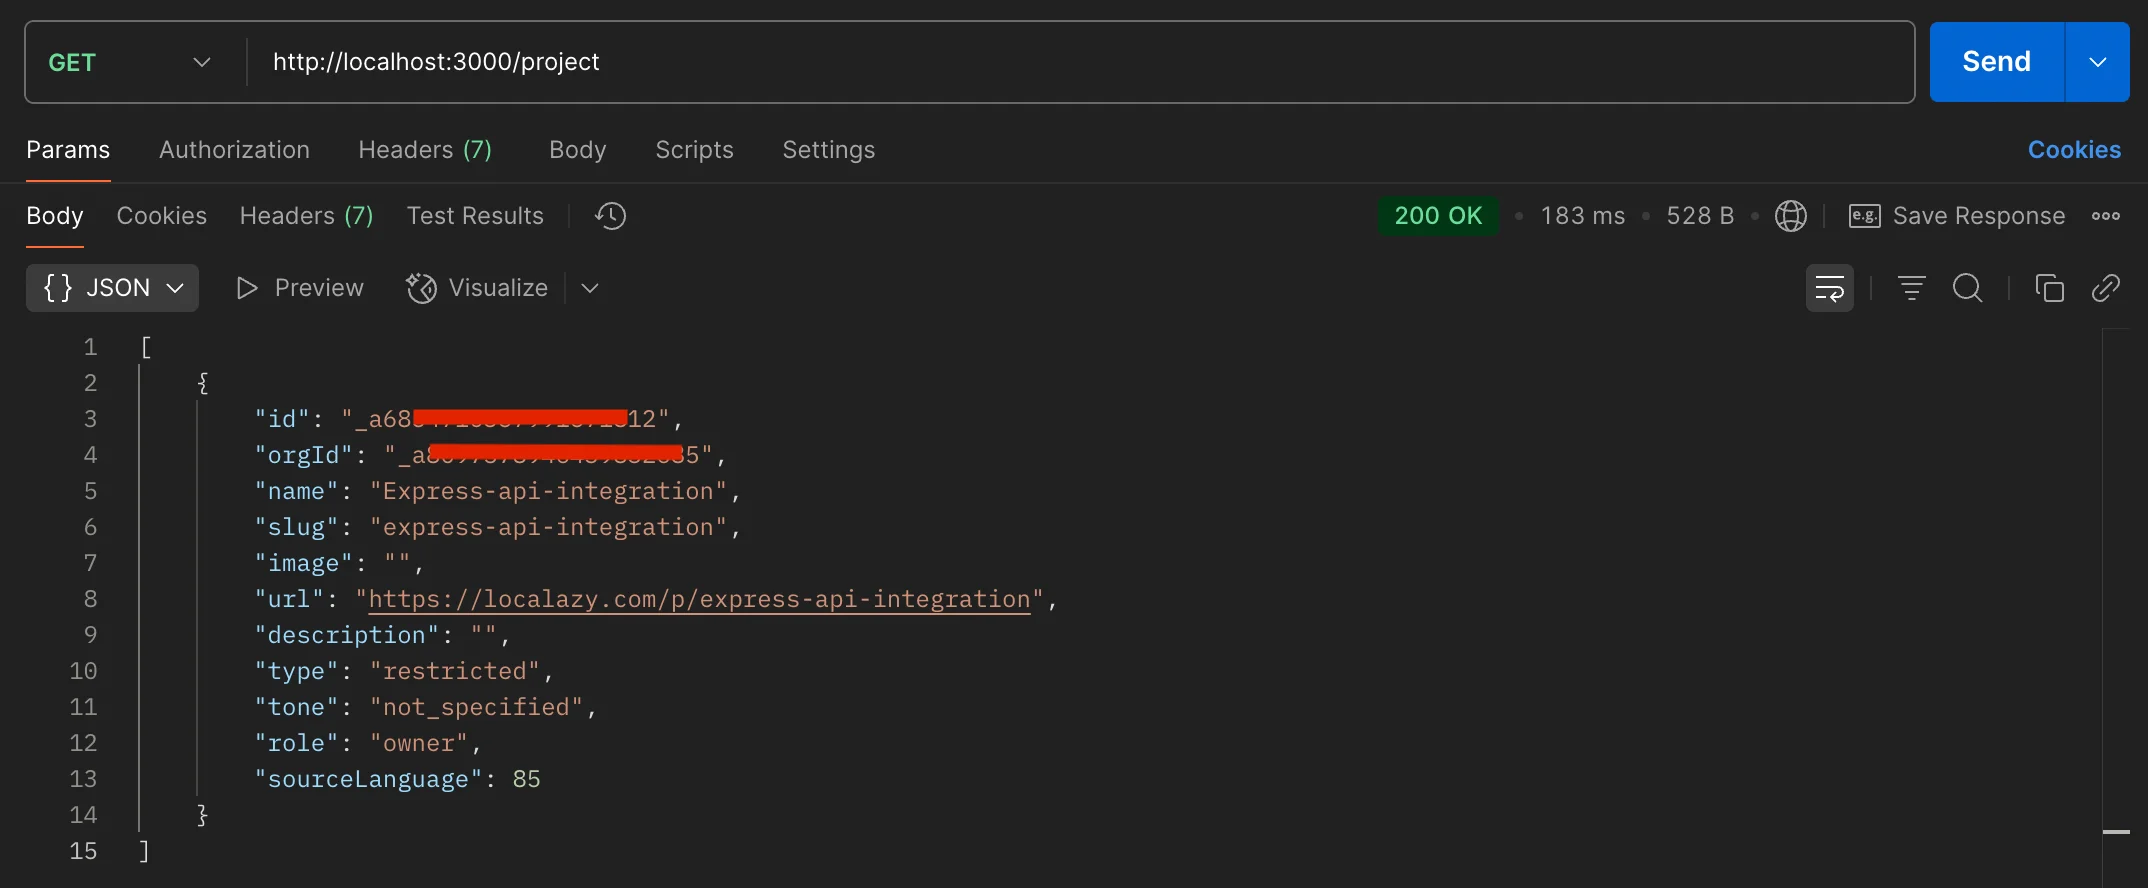
This returns details about the project like its unique identifier, name, URL, organization identifier, and more.
Step 3: Create an endpoint to upload content to the project dashboard 🔗
We will create a POST request endpoint that uploads content in both the source and translated languages. It connects internally with the Localazy API to import content using the projectId as the project's unique identifier returned within the GET endpoint that returns project details.
Within the index.js file, include the following code snippet:
// Upload content
app.post("/project", async (req, res) => {
try {
const url = `https://api.localazy.com/projects/${projectId}/import`;
let result = await axios.post(
url,
{
files: [
{
name: "express_file",
content: {
type: "json",
en: {
heading: "This is an Express application",
paragraph:
"This application utilizes the Node.js framework and Localazy API to connect externally with the server",
},
},
},
],
},
{ headers: { Authorization: `Bearer ${token}` } }
);
res.send(result.data);
} catch (error) {
console.error("error:", error.response?.data || error.message);
res.status(500).send({ error: error.response?.data || error.message });
}
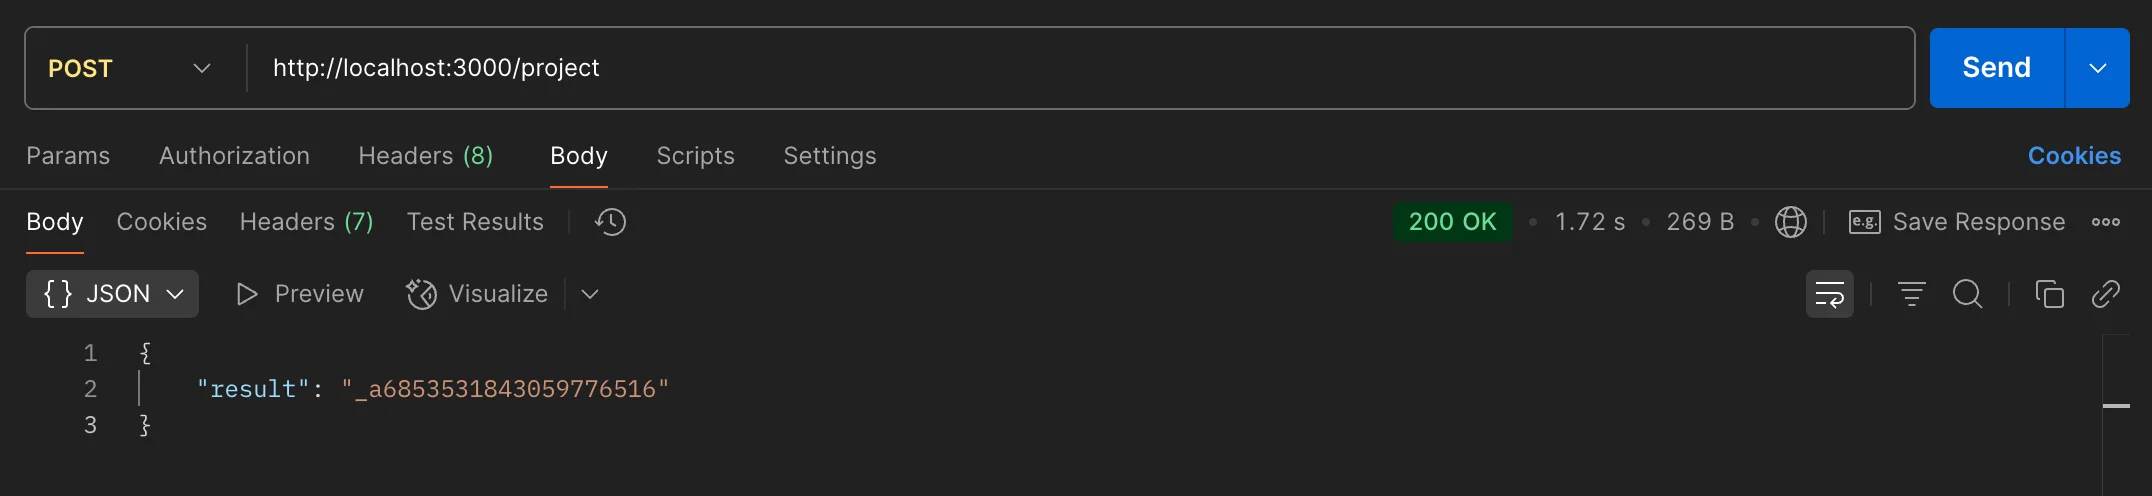
});Navigate to Postman and make a POST request to the URL http://localhost:3000/project.
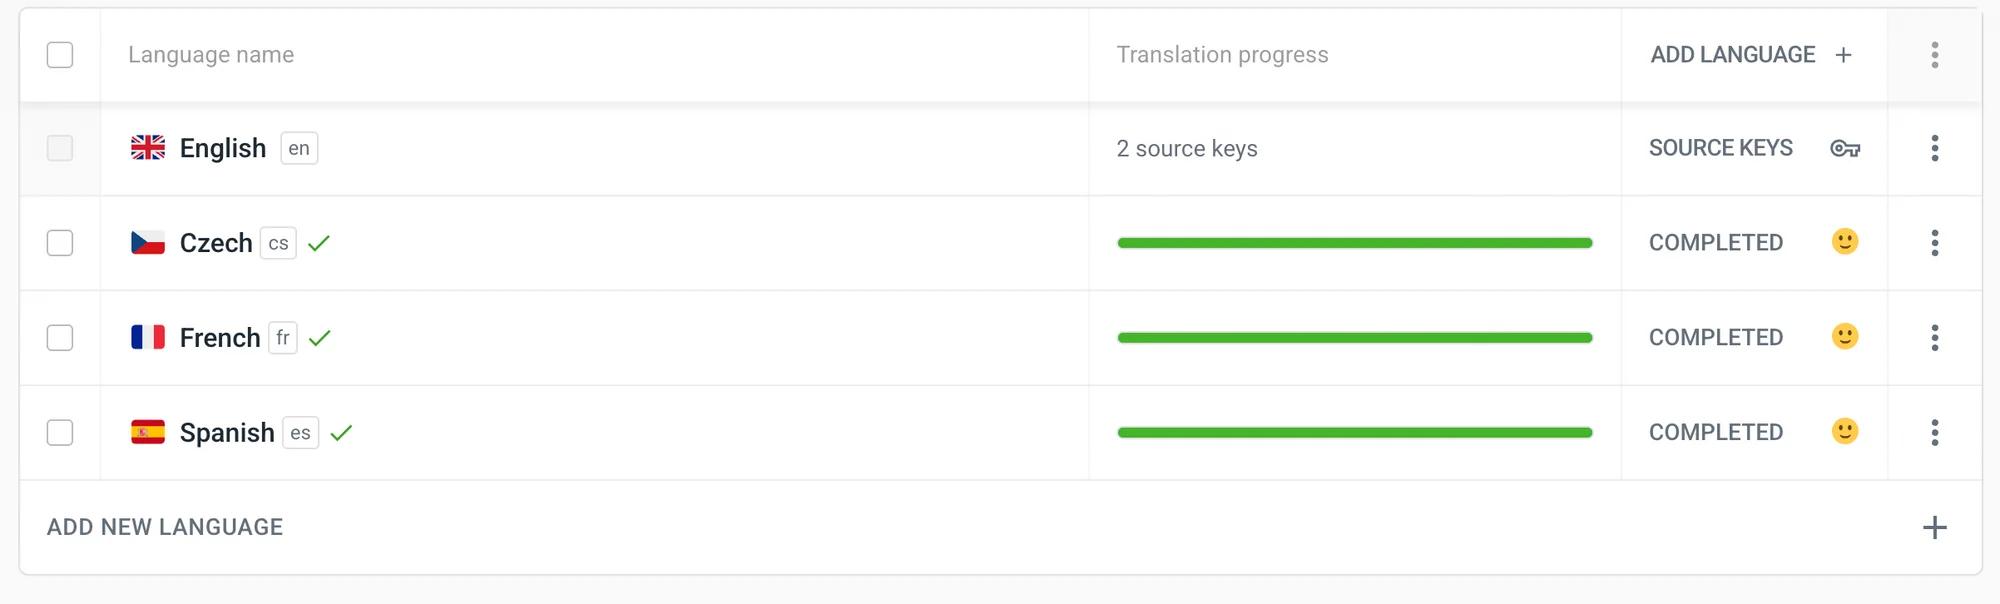
When we refresh our dashboard, we should see the English content and the two source keys that were added (heading and paragraph). At this step, you can go ahead and add other languages. Then you can translate within the project dashboard.
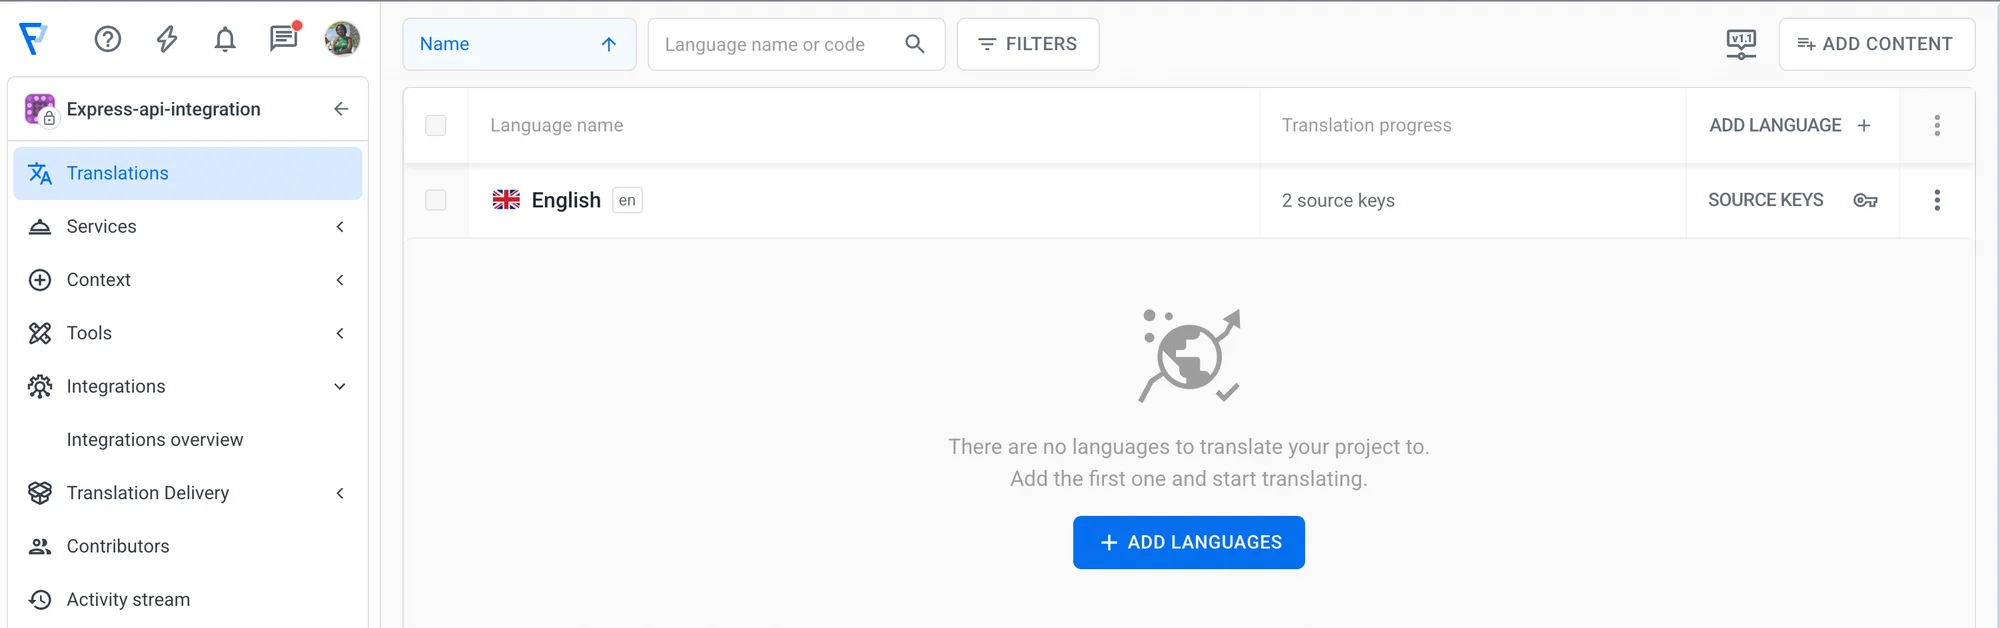
You can use the Localazy machine translation feature to translate all keys in your imported content. You can also invite translators to help you or order professional translation services directly inside the platform.
For our application, we are handling translations to three other languages: French (fr), Czech (cs), and Spanish (es).
Step 4: Create an endpoint to import content into the Express application 🔗
Next, we'll be creating a GET request endpoint that downloads the raw file contents of a translated file. It connects internally with the Localazy API to import content using the projectId and the fileId.
Within the index.js file, include the following code snippet:
// Download translated content
app.get("/project/download/:lang", async (req, res) => {
try {
let file = await axios.get(
`https://api.localazy.com/projects/${projectId}/files`,
{
headers: {
Authorization: `Bearer ${token}`,
},
}
);
const { lang } = req.params;
const fileId = file.data[0].id;
const url = `https://api.localazy.com/projects/${projectId}/files/${fileId}/download/${lang}`;
let result = await axios.get(url, {
headers: {
Authorization: `Bearer ${token}`,
},
});
res.send(result.data);
} catch (error) {
console.error("error:", error.response?.data || error.message);
res.status(500).send({ error: error.response?.data || error.message });
}
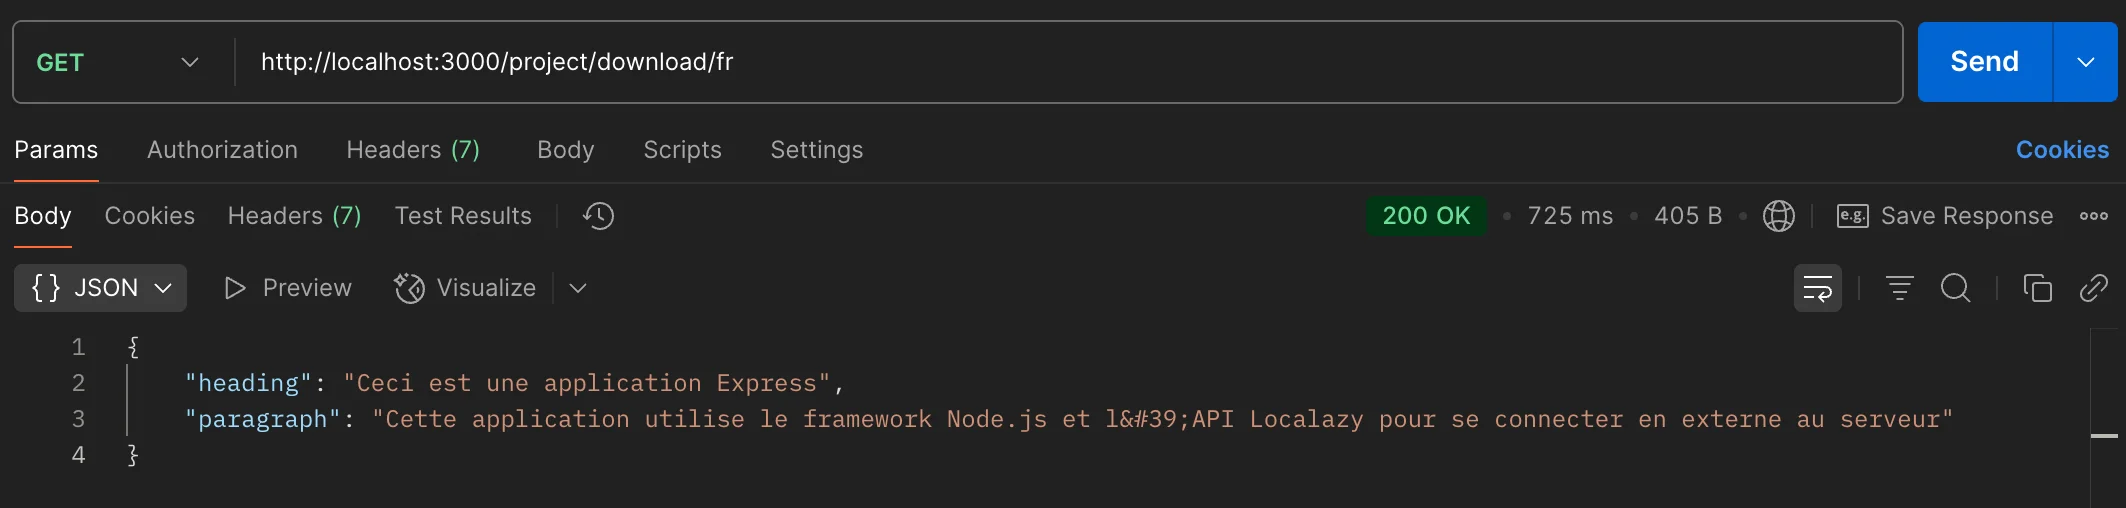
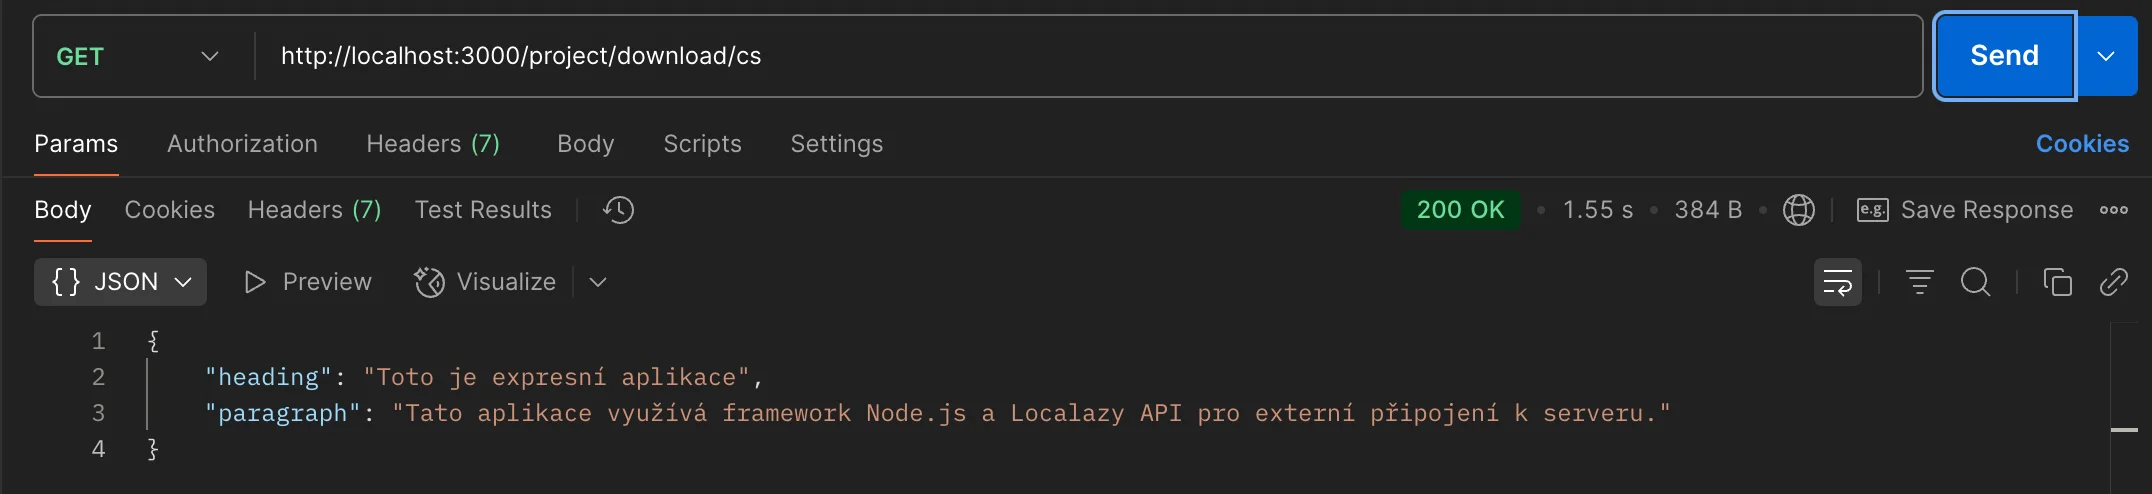
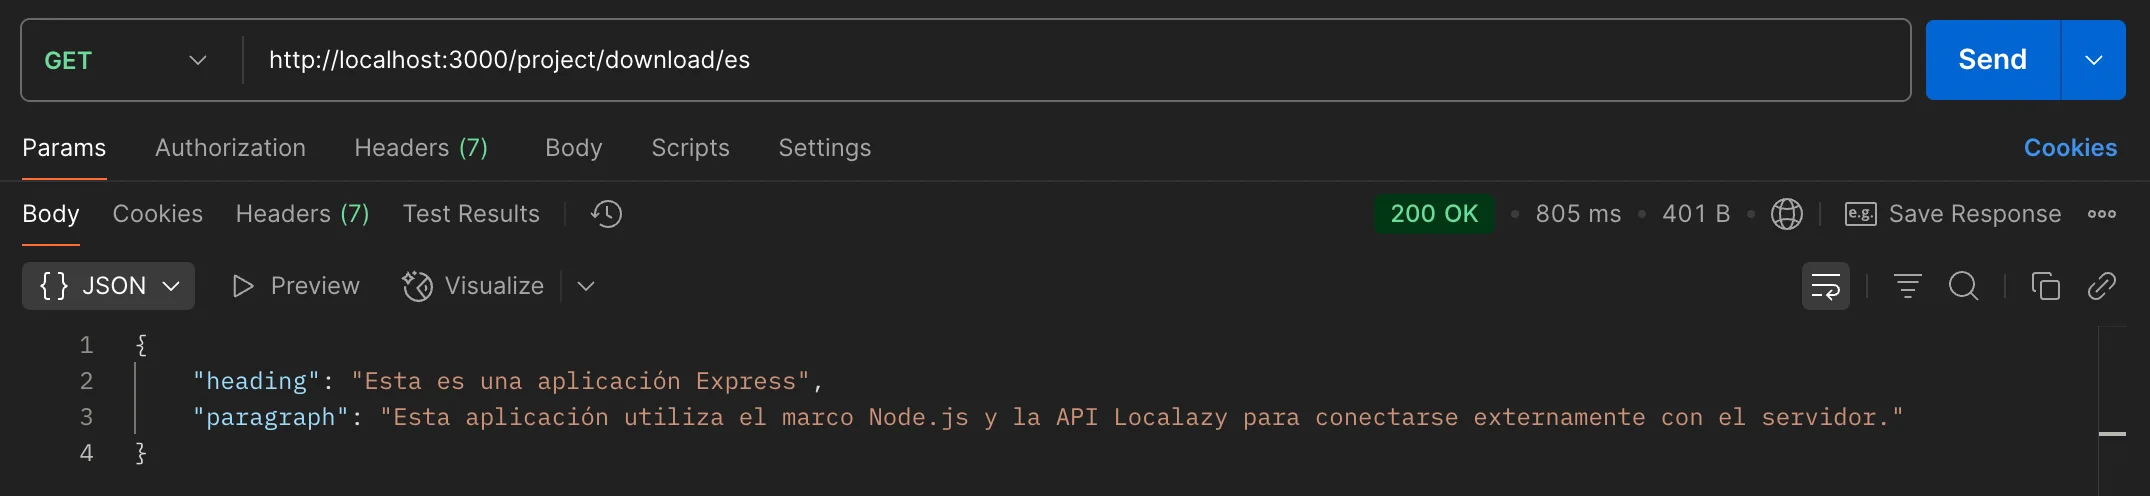
});From the code, the first Axios request connects to the Localazy API endpoint to retrieve all files in your project via a GET request. The response includes the fileId, which is subsequently used alongside the projectId to retrieve the downloaded translated content. The lang parameter indicates which language is to be returned.
Done! We have successfully translated our Express project from English to other languages. It's important to note that the Localazy API has other use cases, such as updating and deleting source keys, managing screenshots within a project, and more, all of which can be found in the Localazy Postman Documentation.
🚀 Next steps 🔗
Now that you have a working Express.js integration with Localazy, here's how to take your localization setup to the next level and make it production-ready.
Structure your translation keys properly 🔗
Organize your keys logically to make maintenance easier for both developers and translators:
pages.checkout.titleinstead ofcheckout_page_title- Group related content together
- Use consistent naming patterns across your app
Integrate with your CI/CD Pipeline 🔗
Add translation updates to your deployment process. Use Localazy's CLI or API calls in your build scripts to ensure your app always ships with the latest translations.
Check out these integration guides for the most popular CI/CD platforms:
This integration eliminates the coordination overhead between dev releases and translation updates.
Automate the translation process! 🔗
Stop manually managing translation updates. Set up automated workflows that handle new content without slowing down your development cycle:
- Machine translation as a starting point: Pre-translate new keys with machine translations so you have working content immediately.
- Invite team members to review and refine automated translations.
- Configure Automations to process new content on every upload, reducing the manual overhead of coordinating with translators.
Automation enables faster time-to-market for new features, as translation work occurs in parallel with development, rather than after.
✔️ Final thoughts 🔗
In this guide, we've created a simple Express.js project that connects to your local server and utilizes the Localazy API. This setup enables you to easily export your source content to Localazy, manage translations directly in the dashboard, and then smoothly import the translated content back into your Express project.
With this foundation in place, you'll get a robust localization system that scales with your app. You can add new languages, scale to thousands of translation keys, and handle complex localization requirements without needing to rebuild your integration.