When it comes to handling translation in a React application, there are a couple of options available in the tech ecosystem. A major package that stands out is LinguiJS, a popular JavaScript/Typescript internationalization (i18n) library that is used to internationalize React apps and that offers robust multilingual support.
In this guide, we will explore LinguiJS in depth and demonstrate how to use it with Localazy to handle translation in a React application. We’ll be going through a basic translation workflow, using LinguiJS translation and its i18n support to easily localize your app to other languages.
📋 Prerequisites 🔗
- Install Node.js (v20 or higher) if you don't have it already.
- Install LinguiJS CLI (v5 and higher) using the command
npm install --save-dev @lingui/cli. - It is important to note that Create React App (CRA) is deprecated and no longer recommended. We will be using Vite, which is fast, lightweight, supports TypeScript, JSX, and also modern bundling.
➡️ App setup 🔗
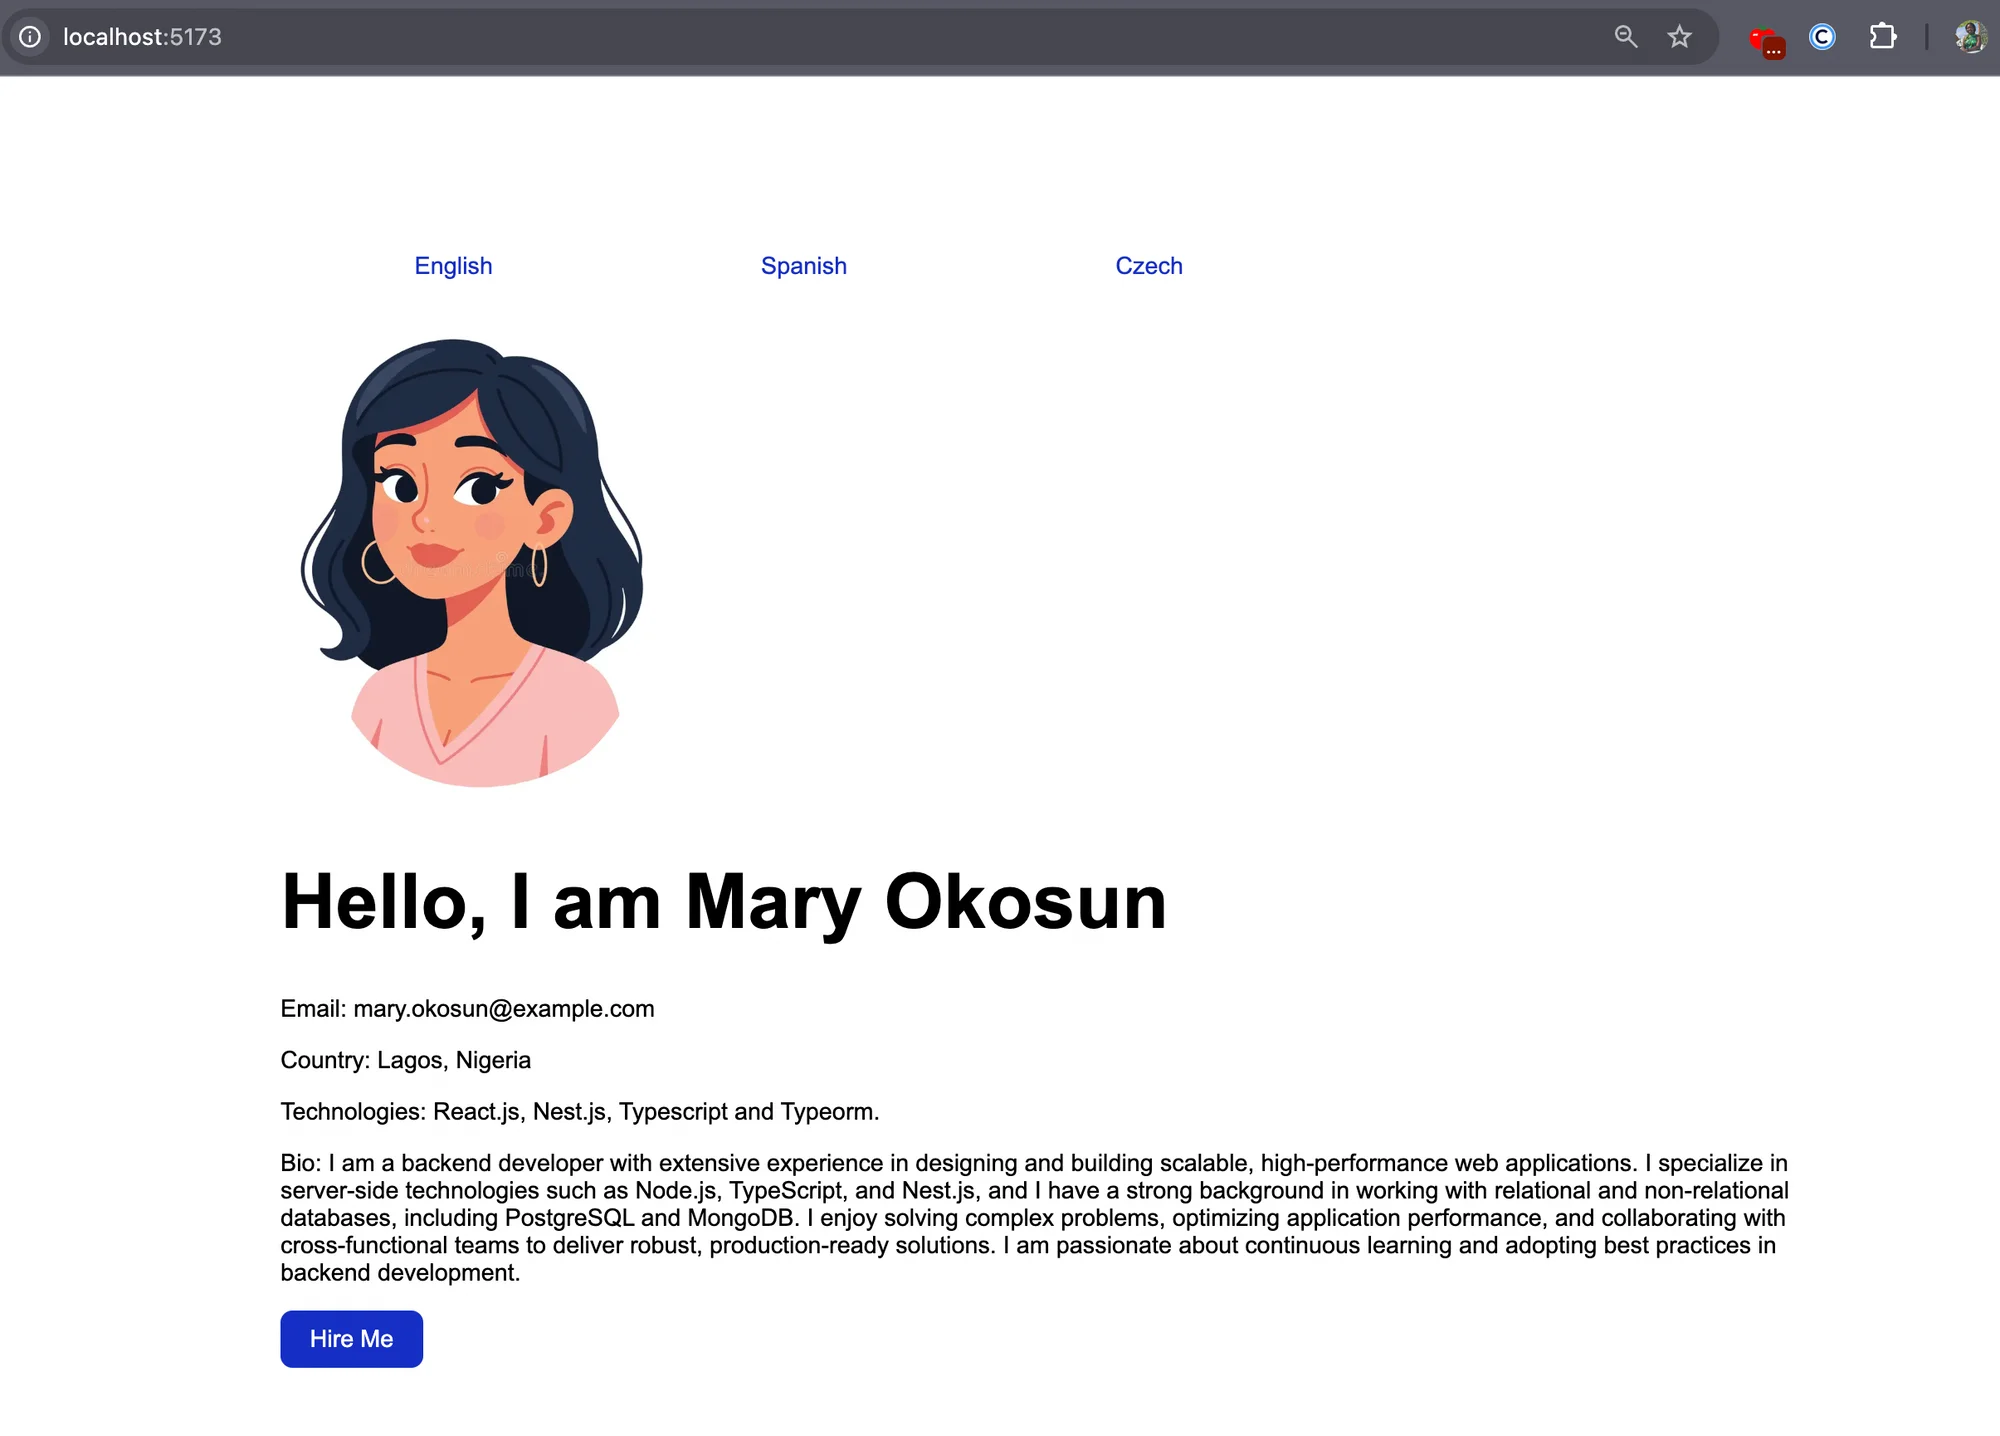
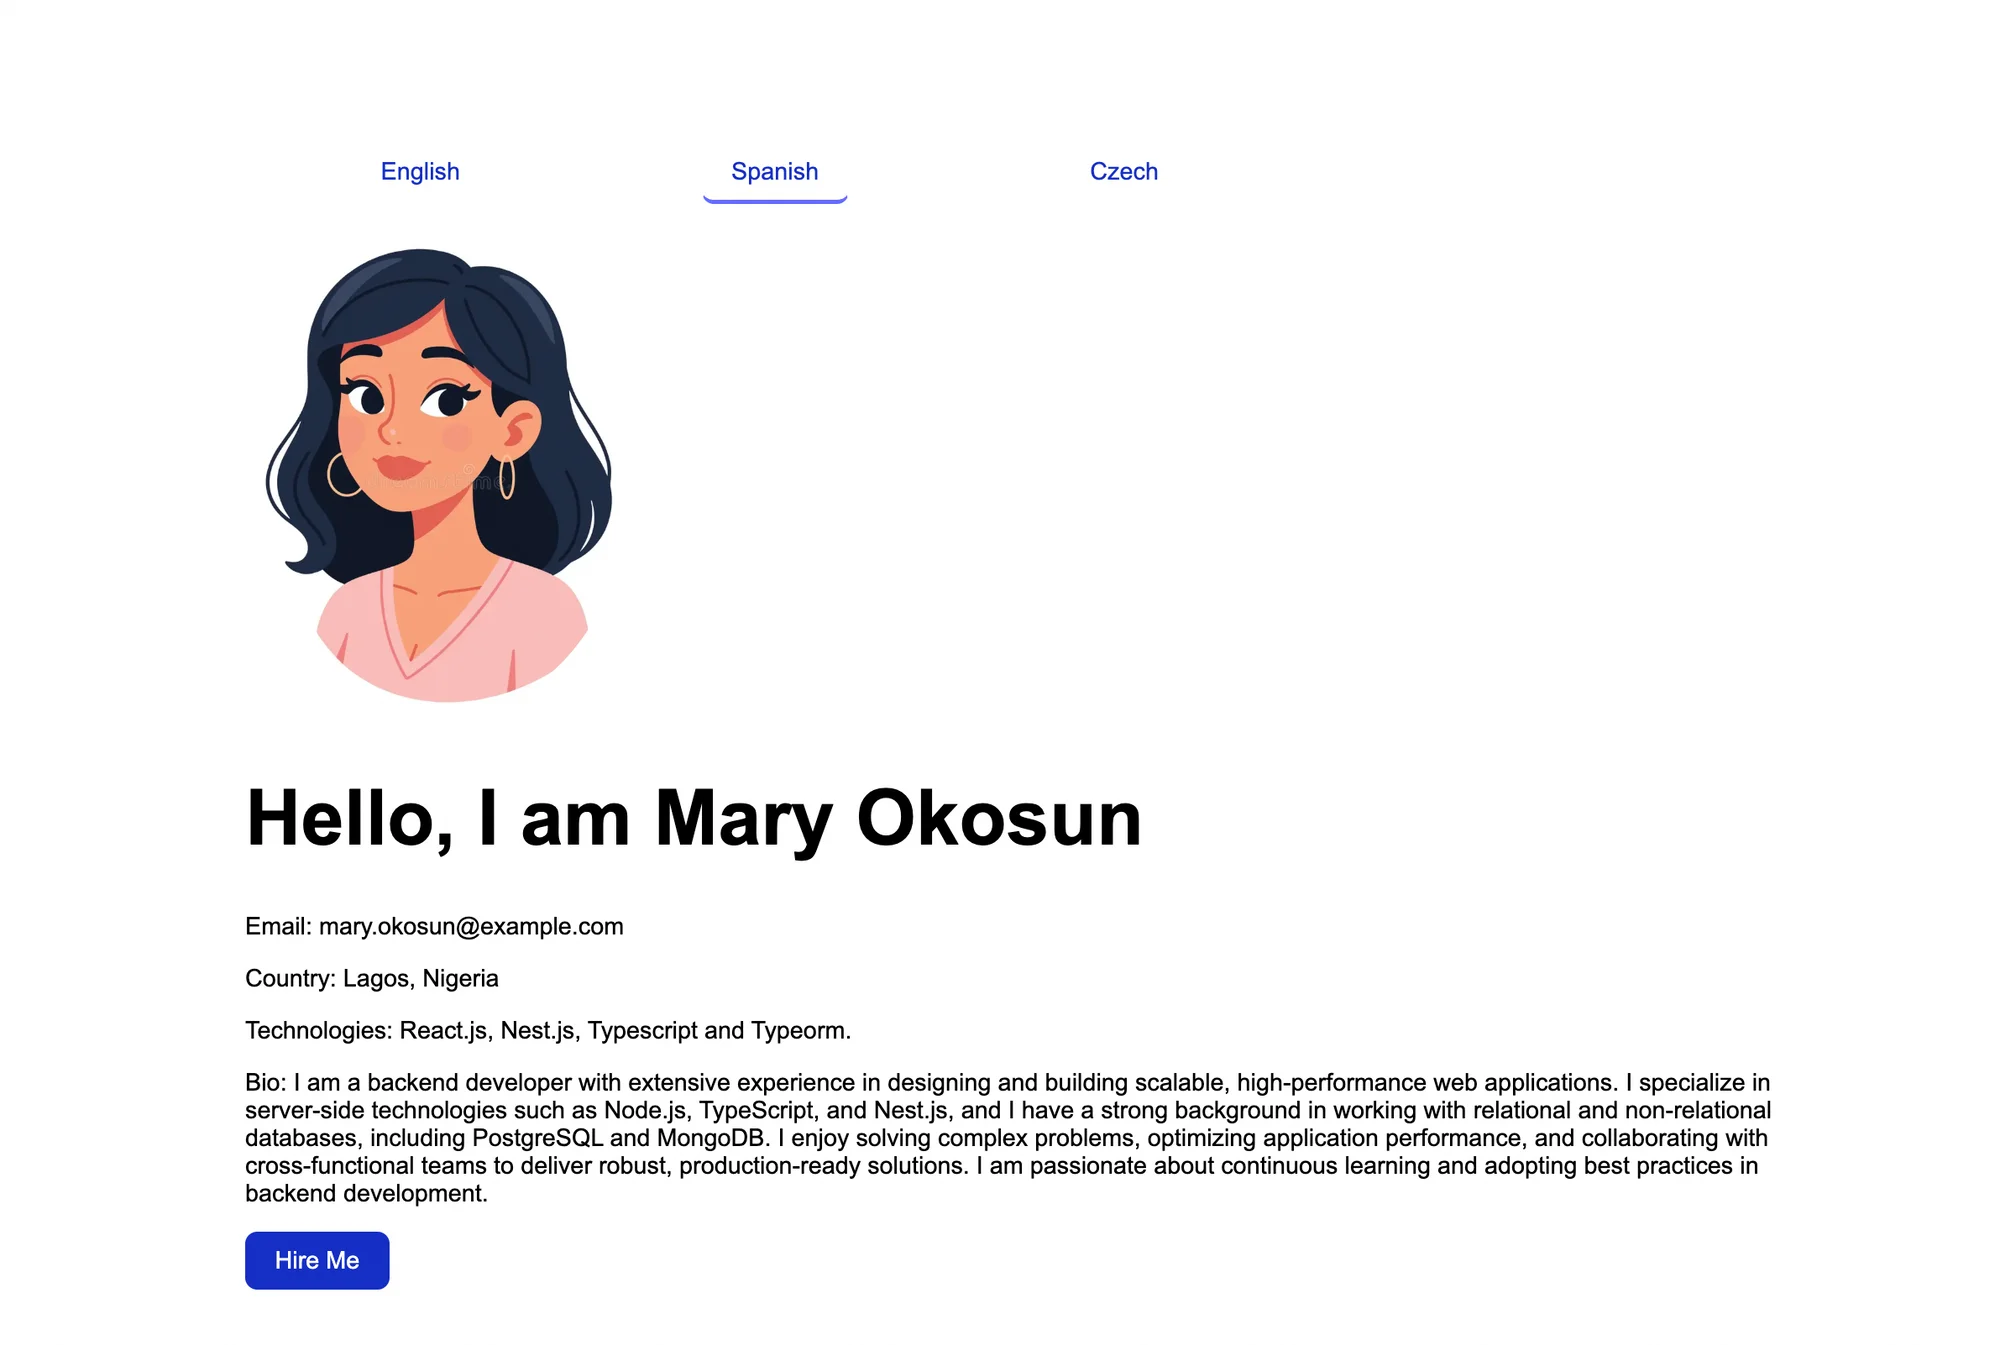
Let’s start with our demo React application. We will be building a user profile dashboard that contains user basic information such as email, location, technologies and a CTA button.
- Create a new project with the following command:
npm create vite@latest localazy-react-example --template react-ts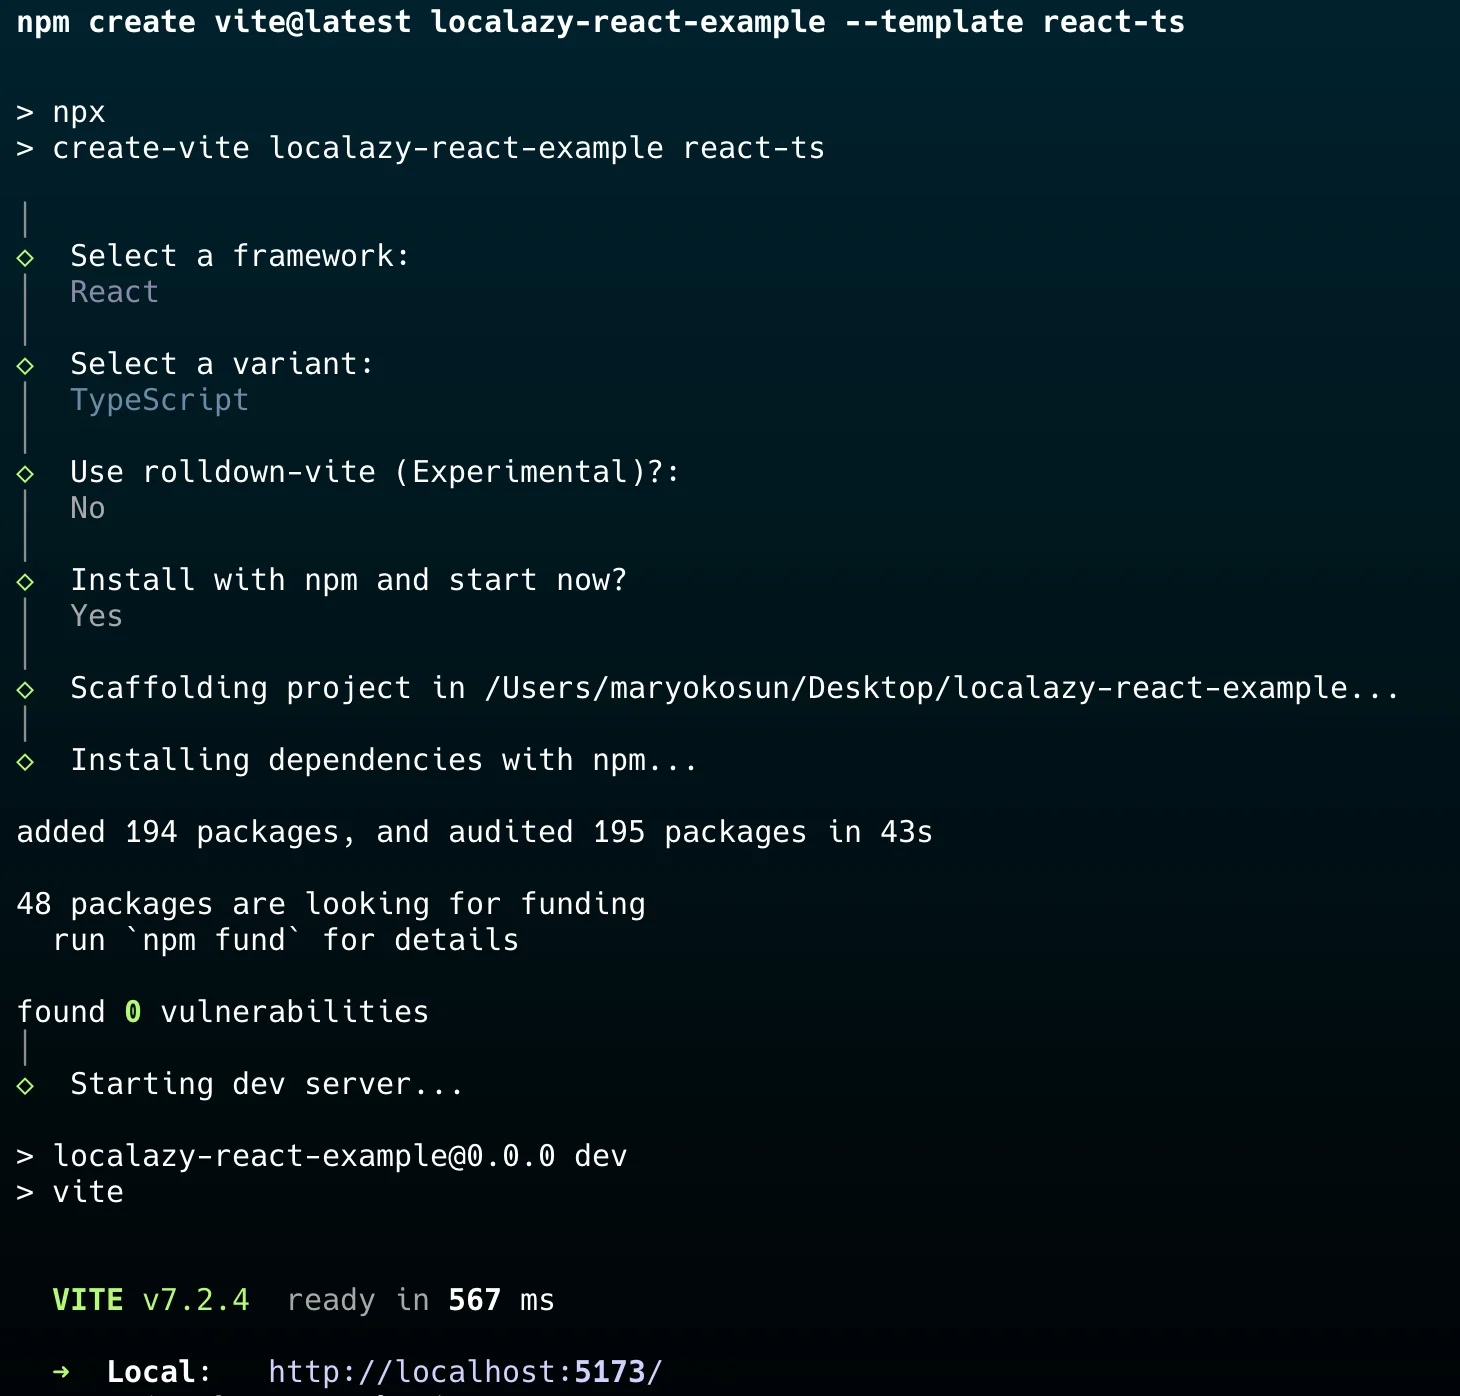
2. At this point, we are ready to run our project locally. To start the local development server, visit the url http://localhost:5173/ or run the command:
npm run dev3. Now that we have our basic React app setup successful, we will be making some updates and edits to some components of our project directory.
The App.tsx file in the root directory should contain the following code snippets. This builds the UI for the user profile and a sidebar that will be used to switch between languages later on.
// App.tsx

import "./App.css";
import UserProfile from "./components/UserProfile";

function App() {
  return (
    <>
      <div>
        <button className="side-bar">
          English
        </button>
        <button className="side-bar">
          Spanish
        </button>
        <button className="side-bar">
          Czech
        </button>
      </div>
      <UserProfile />
    </>
  );
}

export default App;
We need to create a new component called the UserProfile.tsx in the src/components folder. Add an image in the assets folder that can be referenced and imported as the profile image.
// src/components/UserProfile.tsx

import image from "../assets/profileImage.png";

function UserProfile() {
  return (
    <div>
      <img src={image} alt="User avatar" className="logo" />
       <h1>
        Hello Mary Okosun
      </h1>

      <p>
        Email: mary.okosun@example.com
      </p>

      <p>
        Country: Lagos, Nigeria
      </p>

      <p>
        Technologies: React.js, Nest.js, Typescript and Typeorm.
      </p>

      <p>
        Bio: I am a backend developer with extensive experience in designing
          and building scalable, high-performance web applications. I specialize
          in server-side technologies such as Node.js, TypeScript, and Nest.js,
          and I have a strong background in working with relational and
          non-relational databases, including PostgreSQL and MongoDB. I enjoy solving
          complex problems, optimizing application performance, and
          collaborating with cross-functional teams to deliver robust,
          production-ready solutions. I am passionate about continuous learning
          and adopting best practices in backend development.
      </p>
      <button>
        Hire Me
      </button>
    </div>
  );
}

export default UserProfile;
You can find the styling CSS file in the starter project with all the component code on GitHub. You can also see our user profile application below.
🌐 Internationalize a React app with Lingui 🔗
Installation 🔗
The next step is to install LinguiJS for the in-app translation management. Lingui needs a transpiler to work. This transpiler is responsible for transforming Lingui's JS/JSX components into ICU MessageFormat and extracting message IDs. There are two supported transporters, which are the Babel and SWC transpilers. For this project, we will be using the Babel transpiler.
Babel is a JavaScript transpiler that converts modern code into backward-compatible versions and allows custom syntax transformations
Open the newly created project terminal and install the following dependencies:
npm install --save-dev @lingui/cli
npm install --save @lingui/react
npm install --save-dev @lingui/babel-plugin-lingui-macro
npm install --save-dev @lingui/vite-plugin
npm install --save-dev @lingui/format-json
- npm install --save-dev @lingui/cli: If not already installed during the prerequisite stage, this installs the Lingui command-line tool.
- npm install --save @lingui/react: This allows us to use Lingui inside React components.
- npm install --save-dev @lingui/babel-plugin-lingui-macro: This plugin makes the macros work so that Lingui can capture text, replace placeholders, and generate translation catalogs.
- npm install --save-dev @lingui/vite-plugin: This plugin integrates Lingui into the Vite build system, making it compatible with Vite and ensuring message catalogs load and macros work during development and production builds.
- npm install --save-dev @lingui/format-json: This installs the JSON formatter plugin, which is needed if we want to save our extracted messages in a JSON format.
LinguiJS configuration 🔗
Create a new configuration file, .babelrc, at the root directory and add the following snippet:
{
  "plugins": ["@lingui/babel-plugin-lingui-macro"]
}
Make sure to update the file vite.config.ts to include the Babel lingui macro plugin. This is because the @vitejs/plugin-react does not use the Babel config .babelrc created in our project by default. We have to specify the Babel options directly in vite.config.ts:
import { defineConfig } from "vite";
import react from "@vitejs/plugin-react";
import { lingui } from "@lingui/vite-plugin";

export default defineConfig({
  plugins: [
    react({
      babel: {
        plugins: ["@lingui/babel-plugin-lingui-macro"],
      },
    }),
    lingui(),
  ],
});
Next, we will create a Lingui config file lingui.config.ts at the root of our app with the following code:
import { formatter } from "@lingui/format-json";

export default {
  locales: ["en", "es", "cs"],
  sourceLocale: "en",
  catalogs: [
    {
      path: "src/locales/{locale}/messages",
      include: "src",
    },
  ],
  format: formatter(),
};
We are defining our supported locales in the locales array; we’ll use English(en), Spanish(es), and Czech(cs). en is the default sourceLocale.
Inside the catalogs array, define the file path to write the extracted translation messages. Then define an include array of paths where Lingui should look for translations in our code, which is the entire src directory. The format is passed to be in JSON format using the formatter package installed during setup.
Afterwards, we need to do a little modification and add new scripts to the package.json, which will help to extract and also compile our translations. Add the following command:
// package.json

{
   "scripts": {
   	  ....,
      "extract": "lingui extract",
      "compile": "lingui compile --typescript"
   }
}
🗣️ Internationalization 🔗
It's time to prepare our app for content translation. The internationalization process begins with wrapping all our static tags in the UserProfile.tsx file using the Trans tag.
The Trans tag is a JSX Macros that translates React components. It handles translations of messages, including variables and other React components.
Update the UserProfile.tsx file to wrap all static messages and text with the Trans macro tag:
import { Trans } from "@lingui/react/macro";
import image from "../assets/profileImage.png";

function UserProfile() {
  return (
    <div>
      <img src={image} alt="User avatar" className="logo" />
      <h1>
        <Trans>Hello, I am Mary Okosun</Trans>
      </h1>

      <p>
        <Trans>Email: mary.okosun@example.com</Trans>
      </p>

      <p>
        <Trans>Country: Lagos, Nigeria</Trans>
      </p>

      <p>
        <Trans>Technologies: React.js, Nest.js, Typescript and Typeorm.</Trans>
      </p>

      <p>
        <Trans>
          Bio: I am a backend developer with extensive experience in designing
          and building scalable, high-performance web applications. I specialize
          in server-side technologies such as Node.js, TypeScript, and Nest.js,
          and I have a strong background in working with relational and
          non-relational databases, including PostgreSQL and MongoDB. I enjoy solving
          complex problems, optimizing application performance, and
          collaborating with cross-functional teams to deliver robust,
          production-ready solutions. I am passionate about continuous learning
          and adopting best practices in backend development.
        </Trans>
      </p>
      <button>
        <Trans>Hire Me</Trans>
      </button>
    </div>
  );
}

export default UserProfile;
To test that our script is set up correctly, run the following extract command. This command will pull all the Trans wrapped text into translatable files:
npm run extract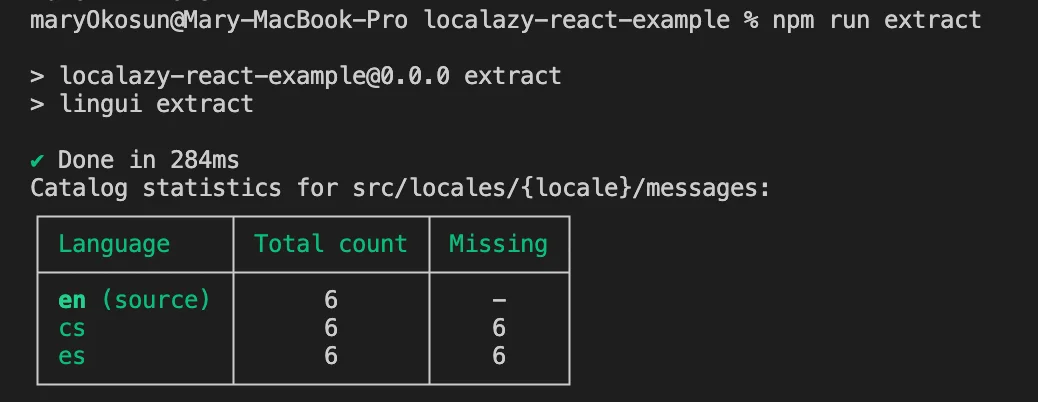
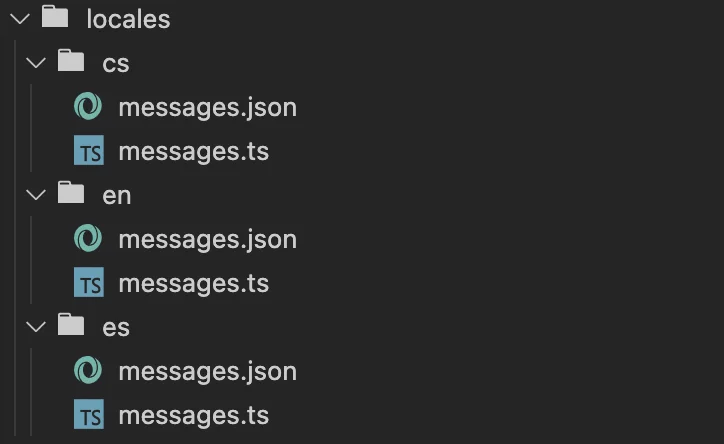
The command will create three new files in three locales folders with the different locales as their folder name, as seen below.

⛵️ Localization with Localazy 🔗
Create a new project 🔗
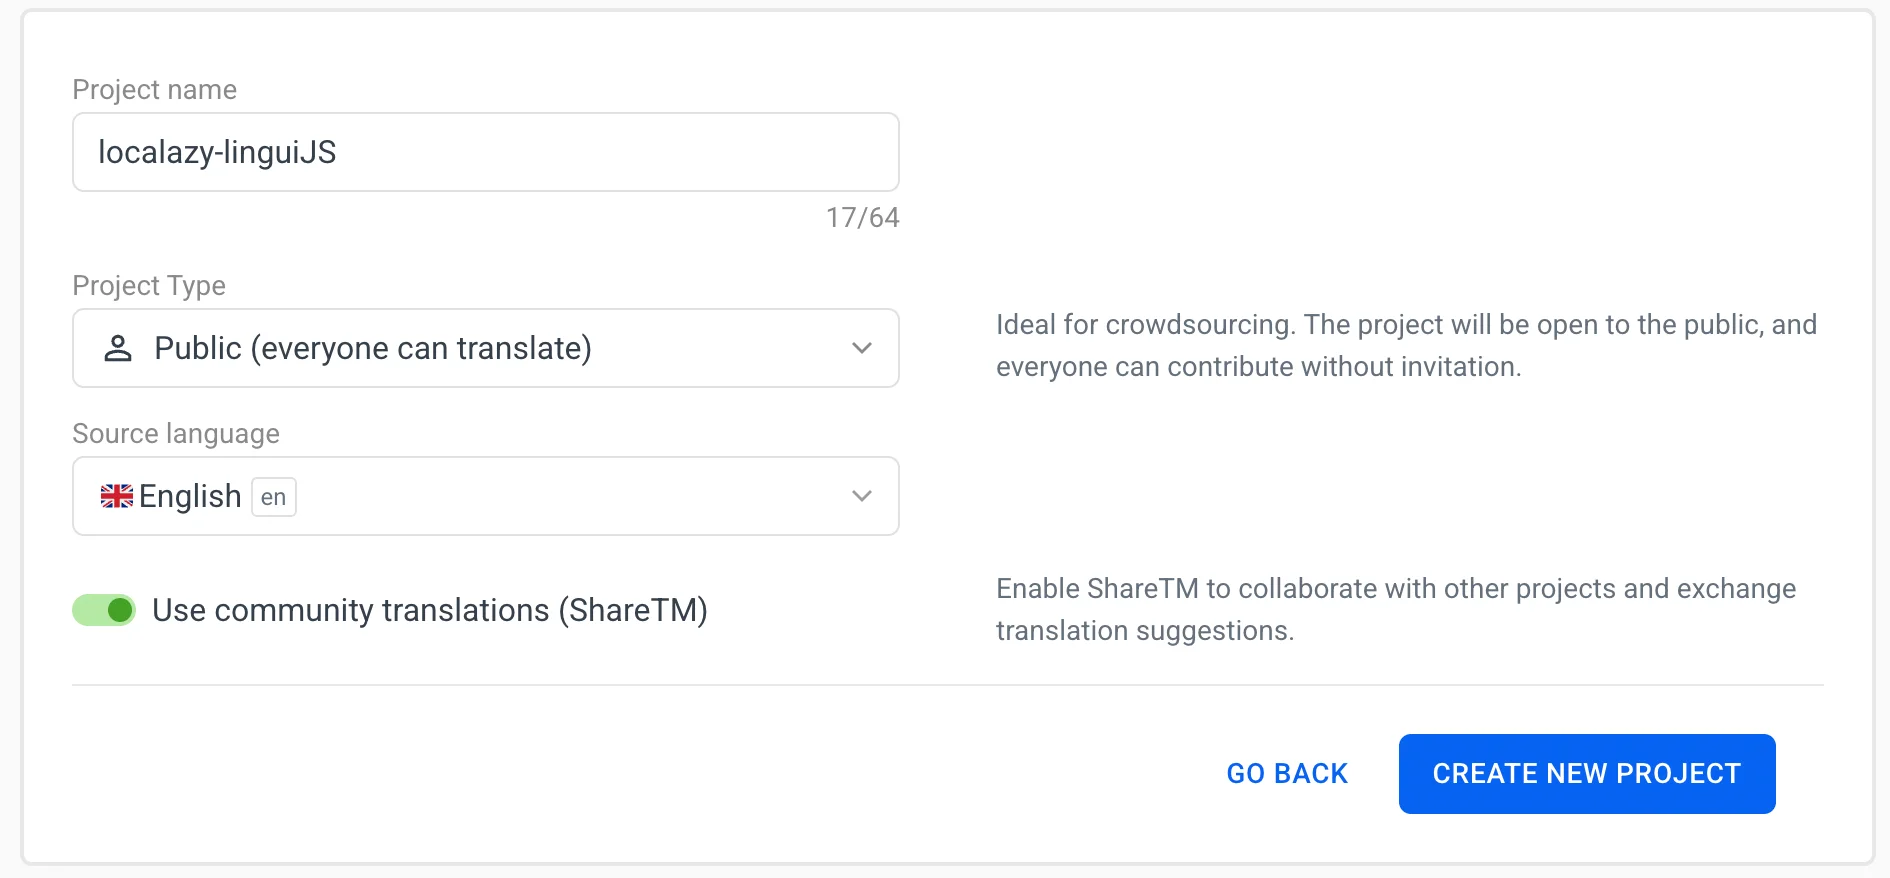
Go to Localazy signup, join our community by creating an account, then create a new project.
You can use the Public project type so other contributors can freely help with the translation of your app. Select English as your source language.
Content upload 🔗
To upload your content, follow these steps:
- Install Localazy CLI by running the command in our demo app’s terminal:
npm install -g @localazy/cli2. Afterwards, create a configuration file, localazy.json, in the root folder of your project. Modify the file and include the following snippets:
{
    "writeKey": "your-write-key",
    "readKey": "your-read-key",

    "upload": {
      "type": "json",
      "files": "src/locales/en/messages.json"
    },

    "download": {
      "files": "src/locales/${lang}/messages.json"
    }
  }
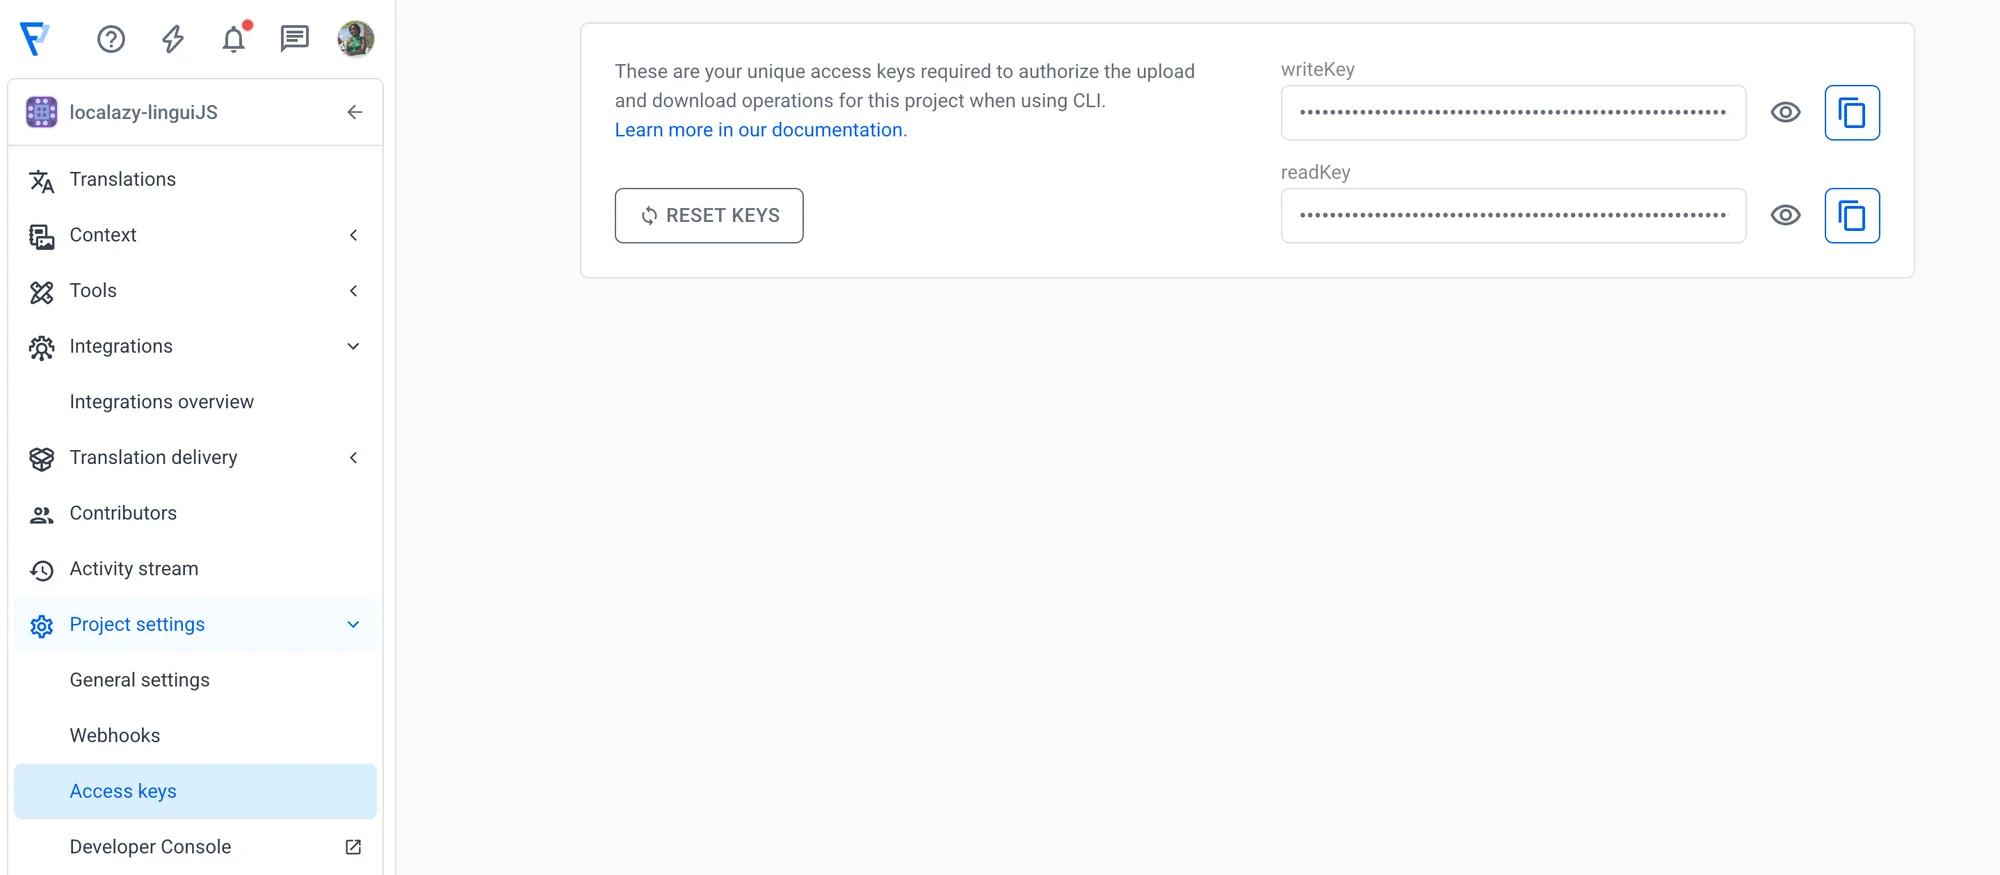
The writeKey and the readKey can be obtained from the Access Keys tab on the project dashboard. These keys are used to authorize your request.
The upload section instructs Localazy CLI on how to collect files to be uploaded. In our project, the type of file we'll upload to the dashboard is a JSON file, which is the src/locales/en/messages.json .
The download section describes how to process translated files and where to write them. In our case, after successful translation, the downloaded translated files will be placed in src/locales/${lang}/messages.json, where lang is the language of the translated file.
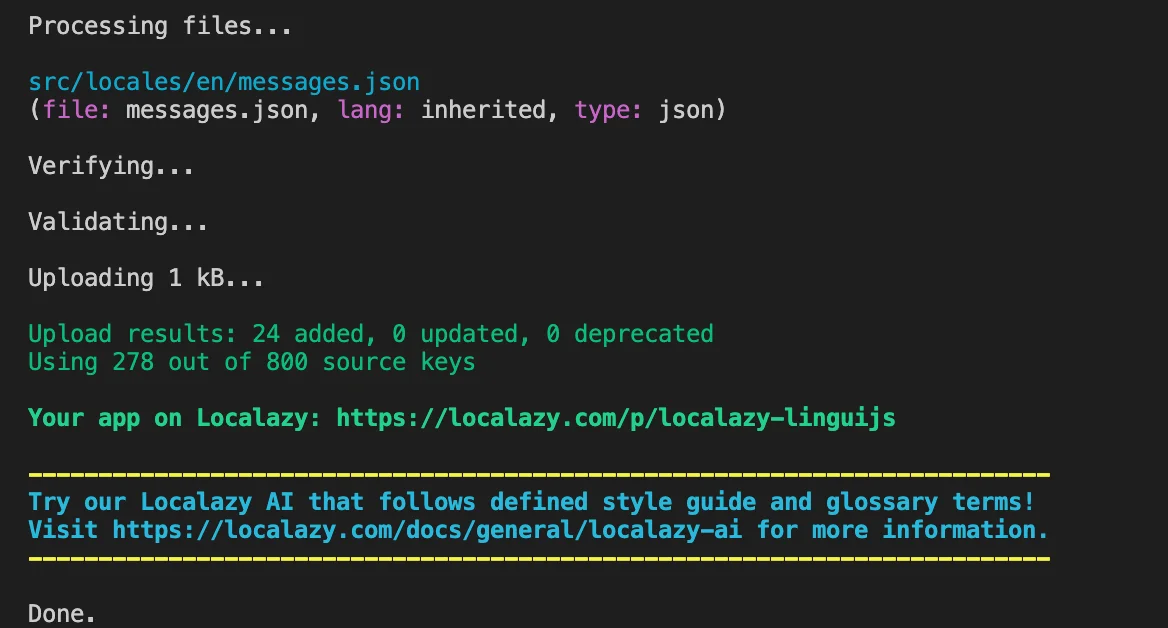
3. After setting up your localazy config file, you can go ahead and upload the content to the Localazy dashboard with the command:
localazy uploadNow you can either refresh the browser to see the content or redirect to the project link in the terminal:
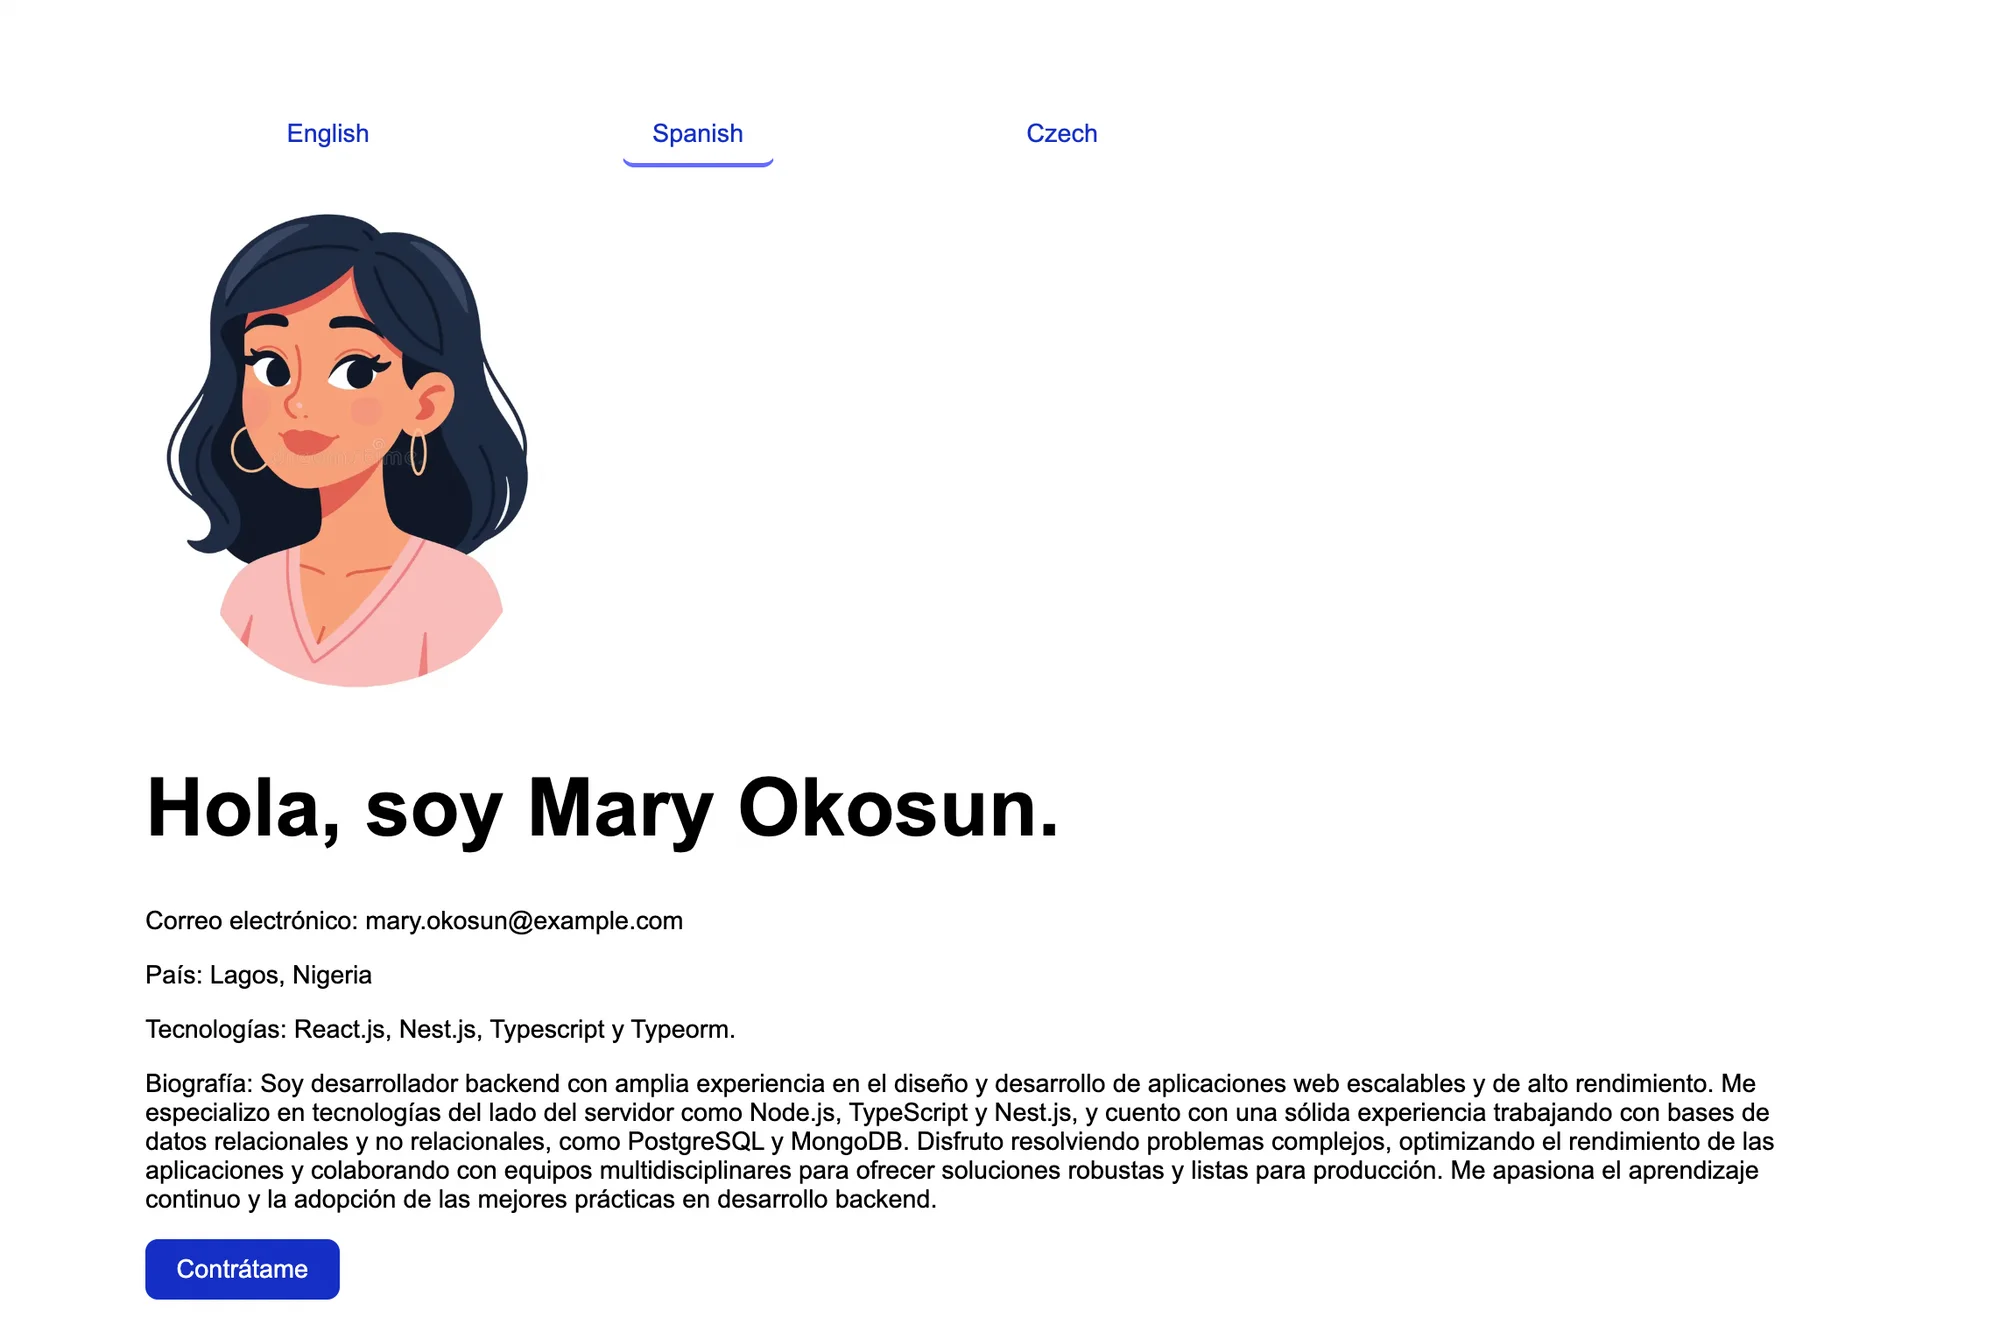
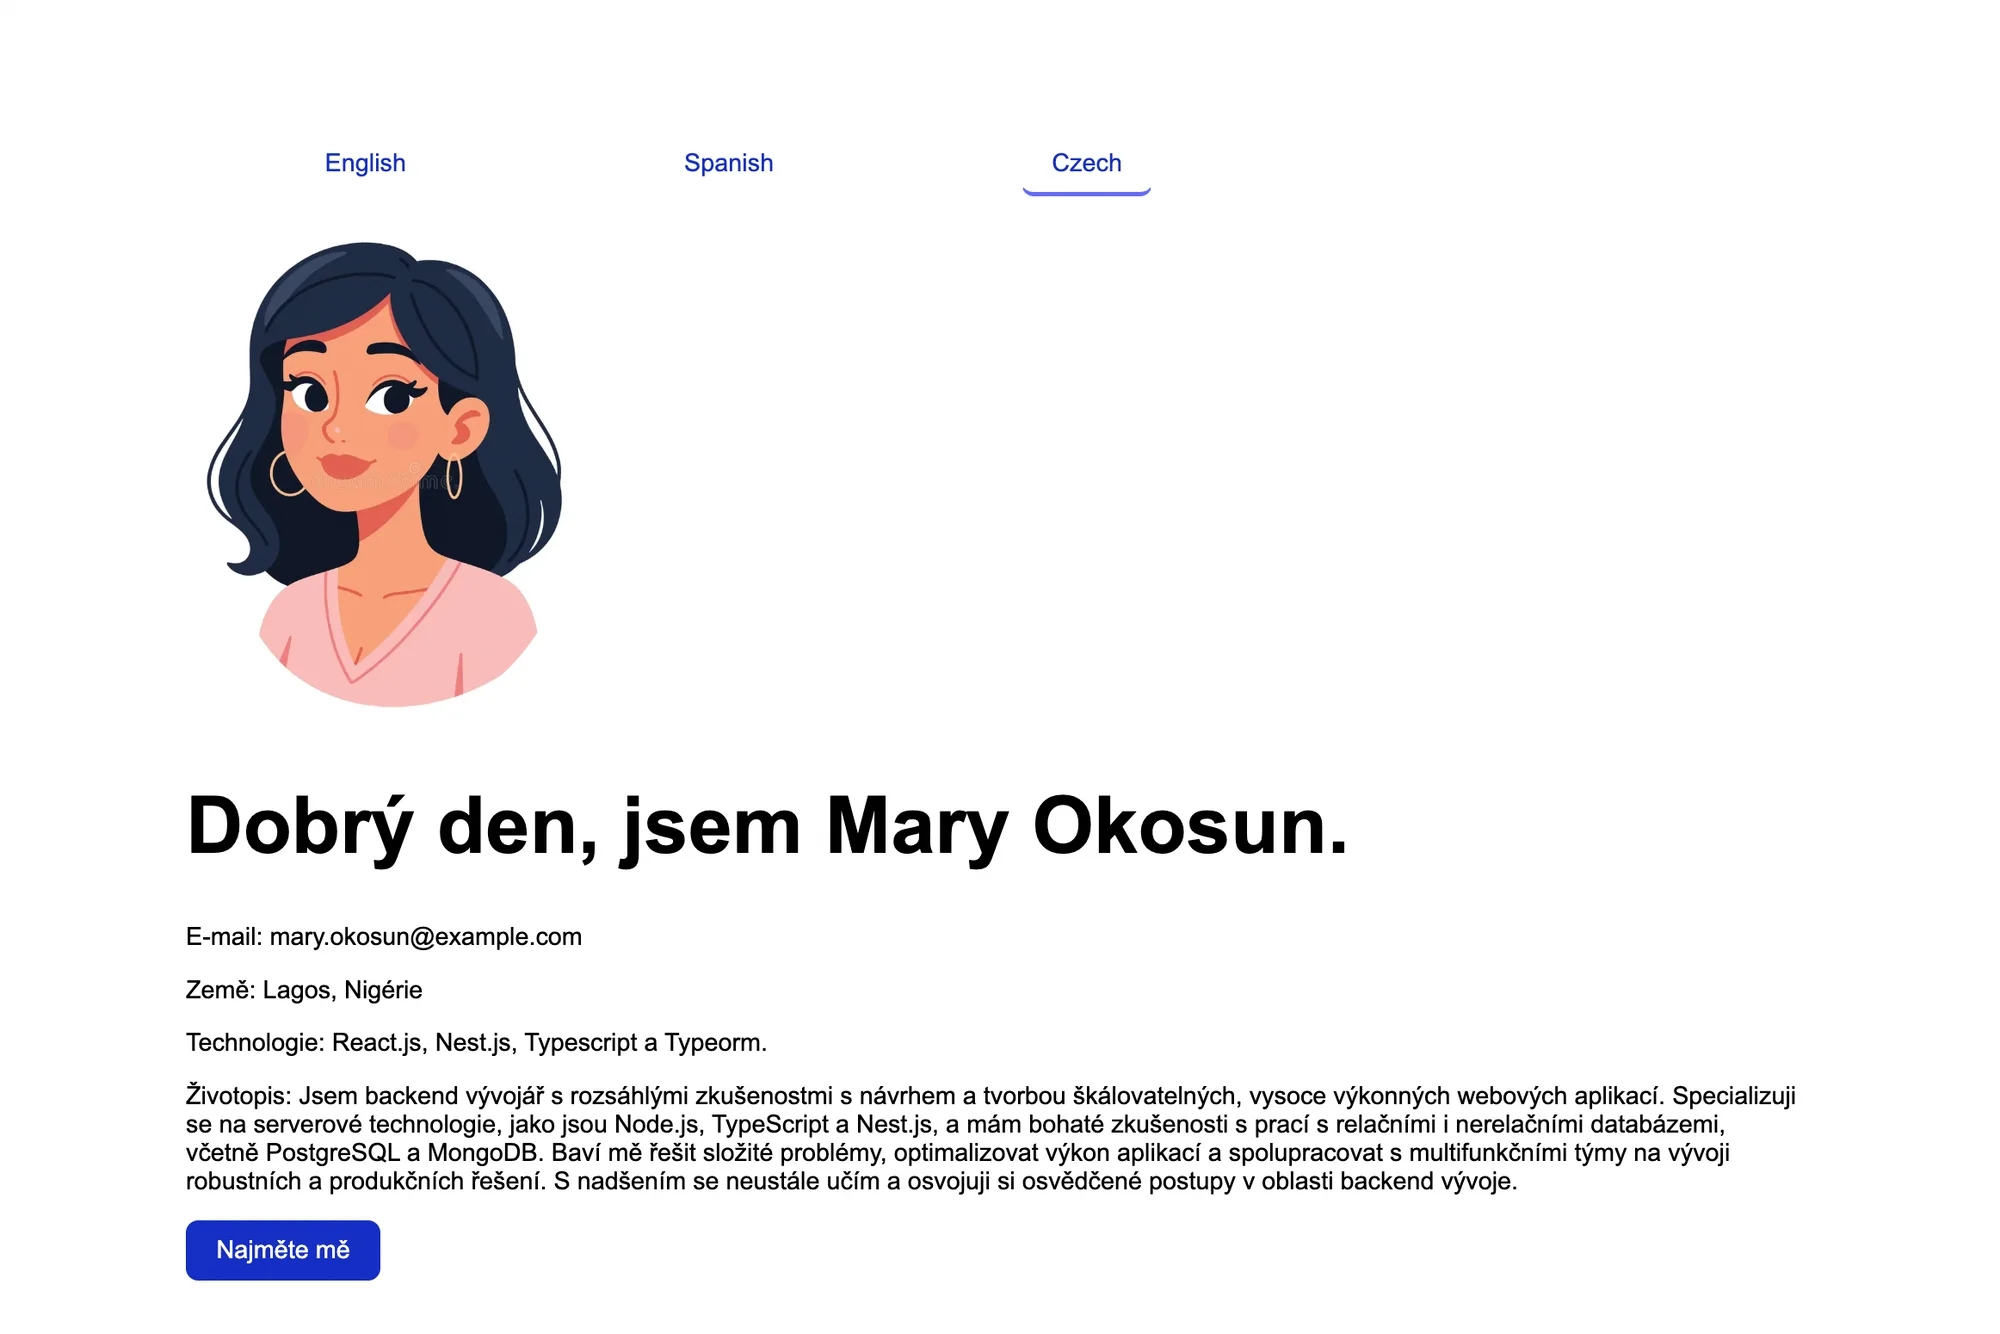
4. The next step is to add new languages. In our application, we will be translating our content to Czech (cs) and Spanish(es).
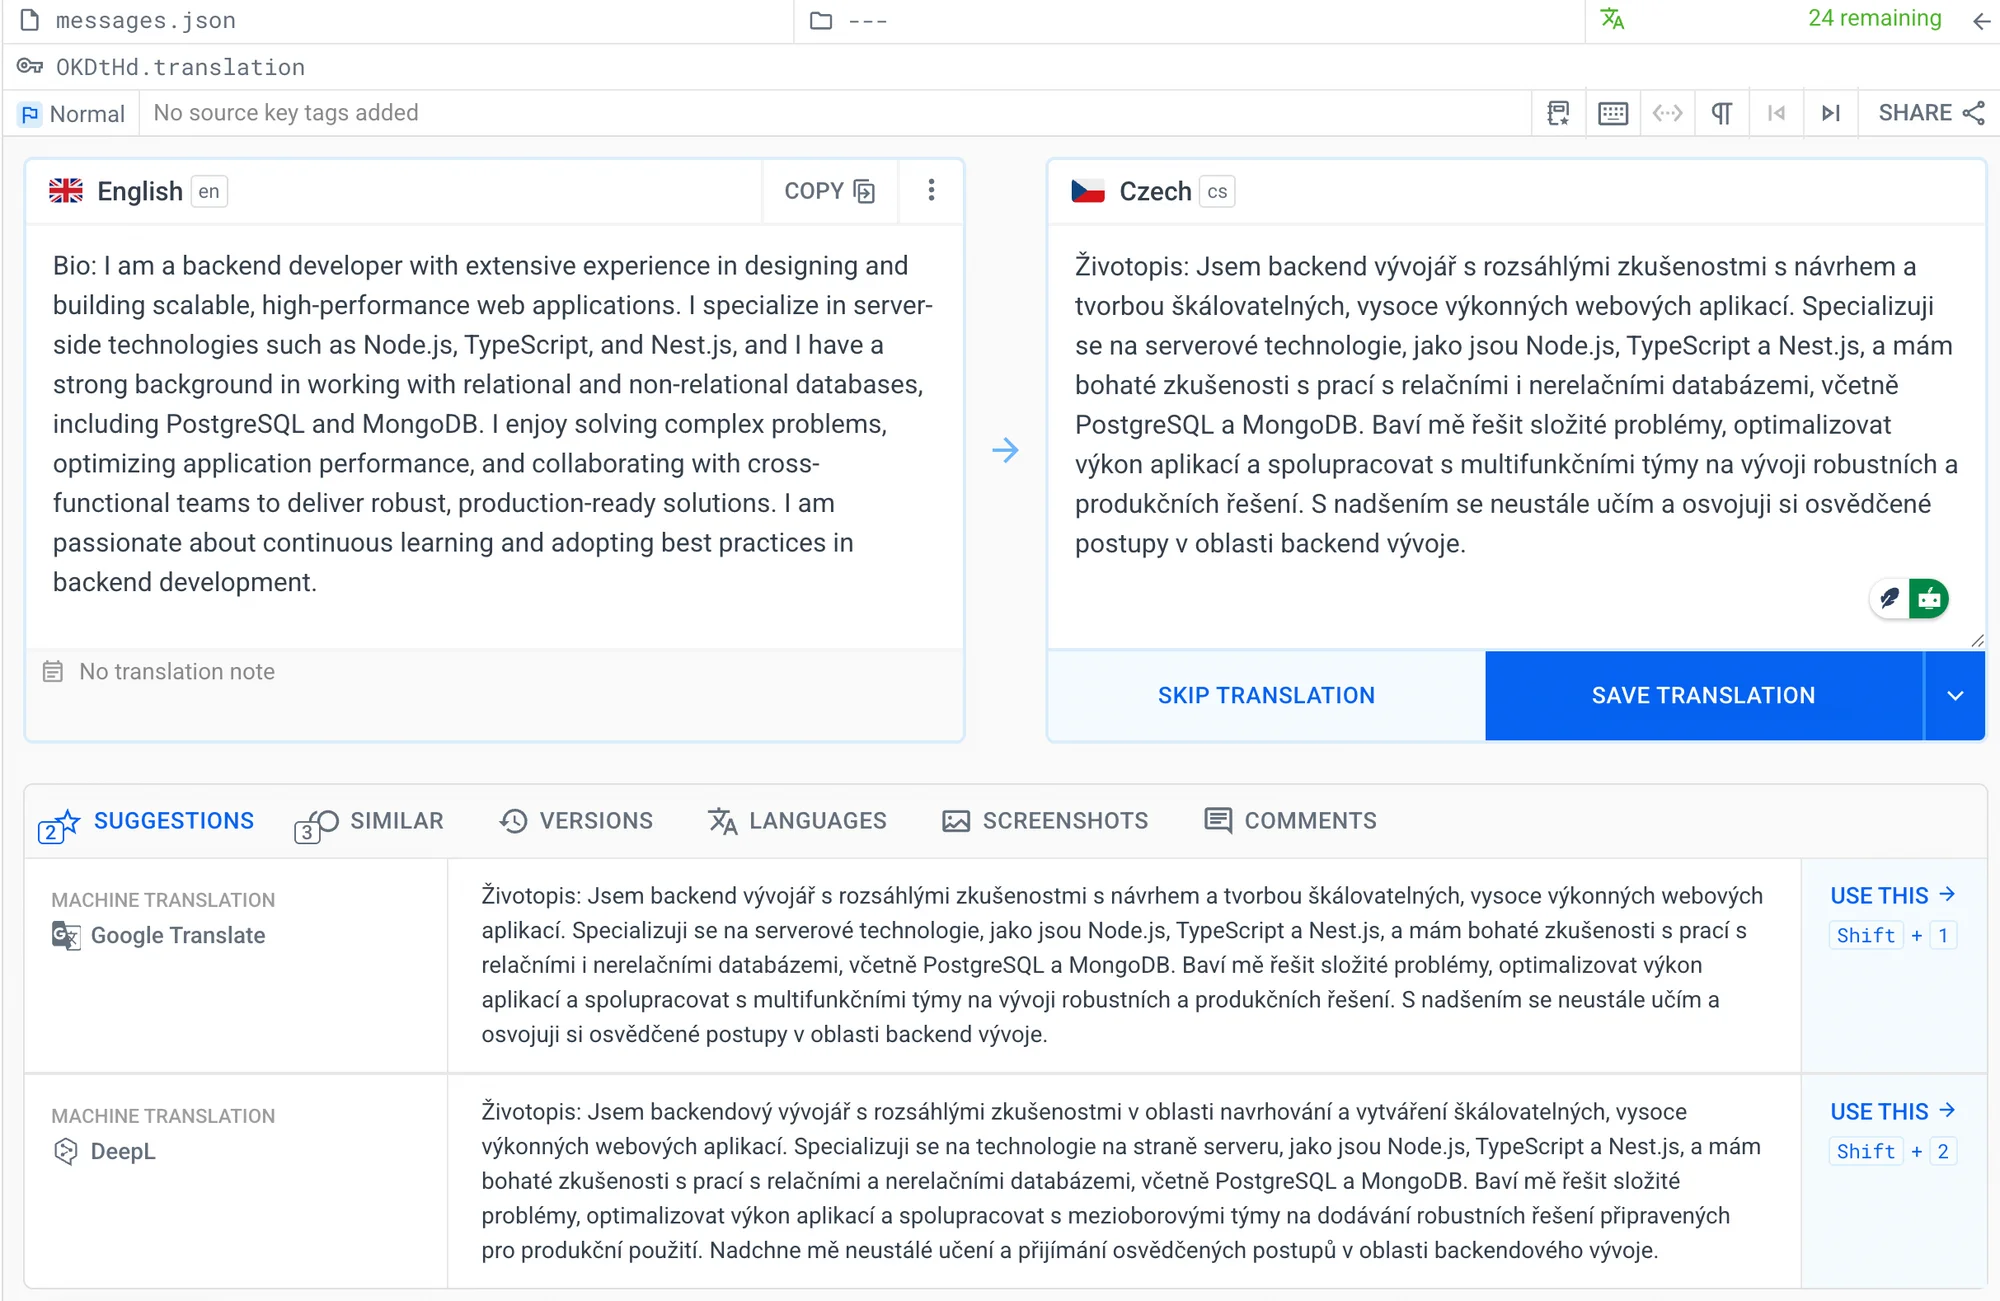
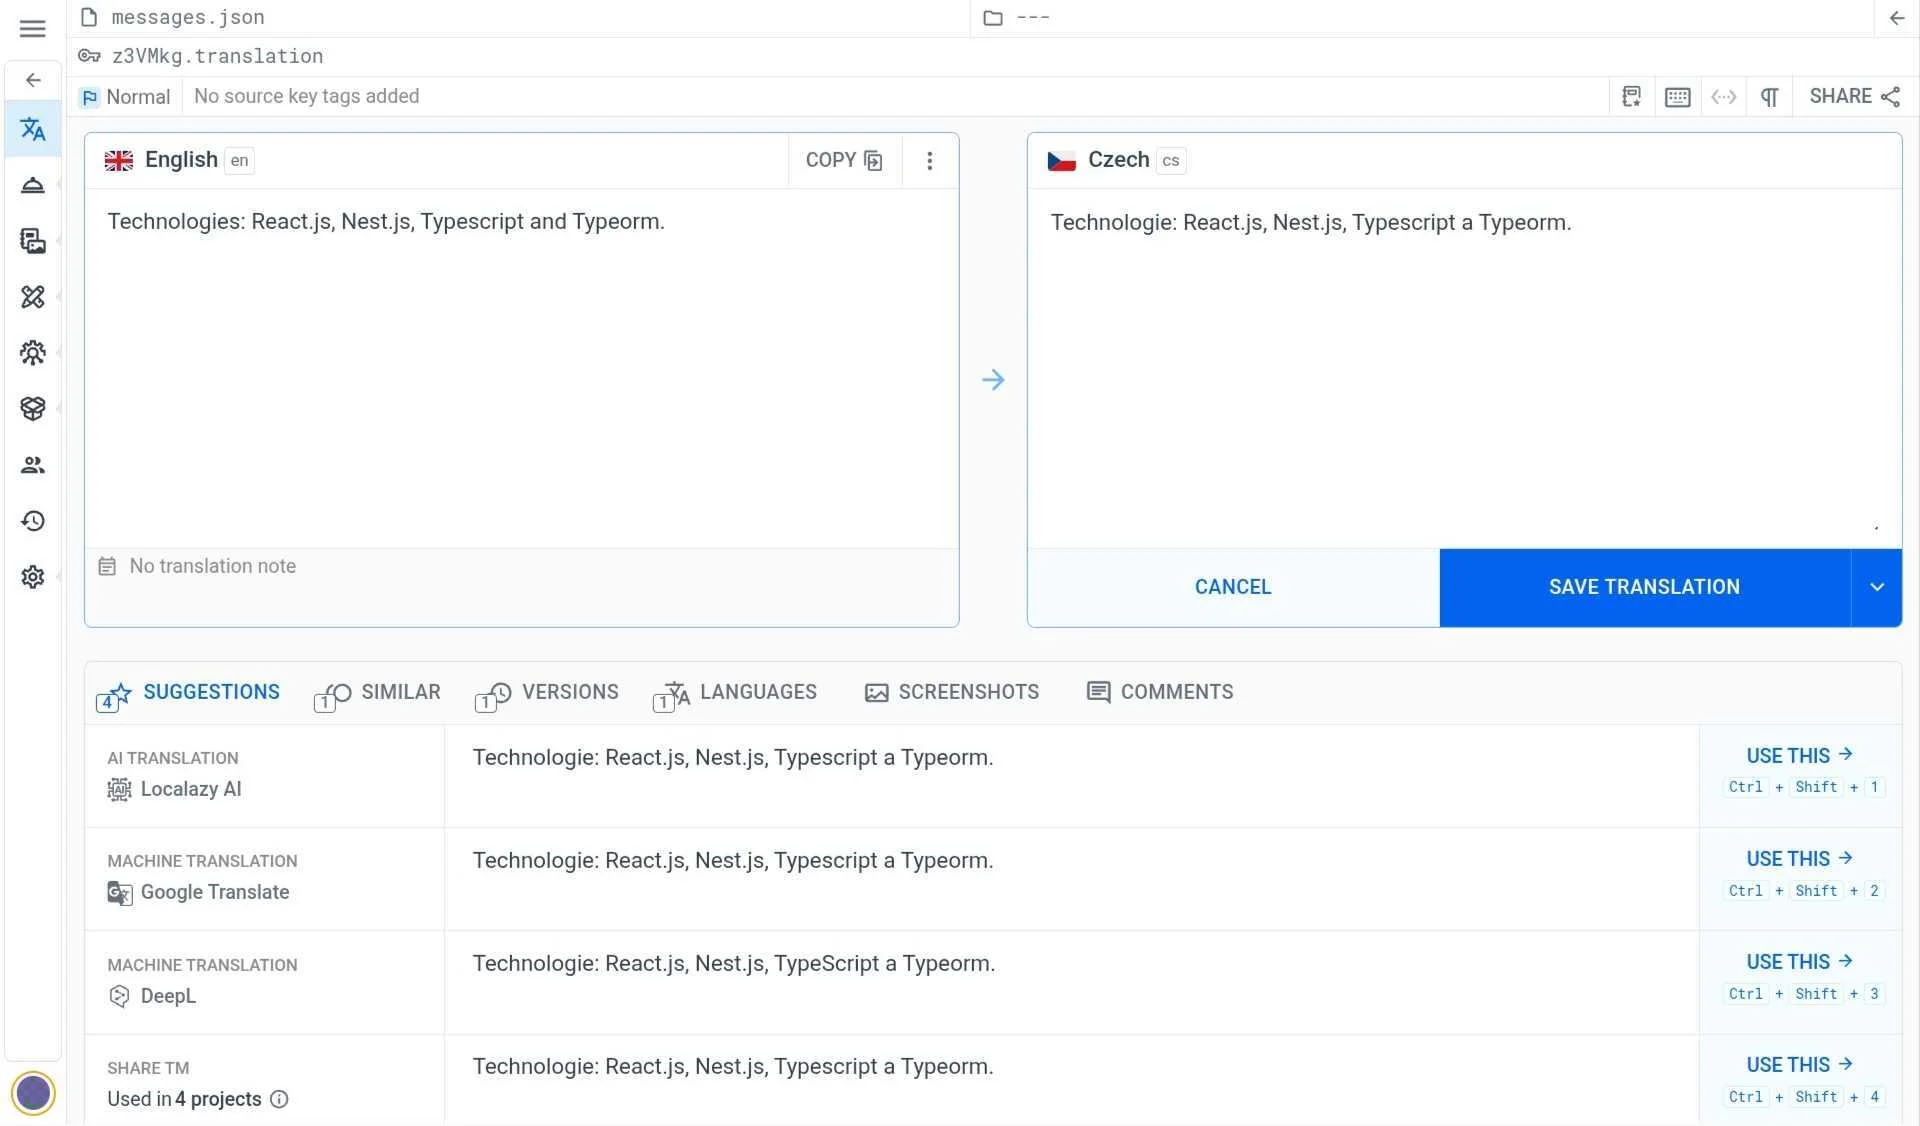
We will find different suggestions provided for us. You can use some of the machine translation options, like Google Translate or DeepL, directly from the translation interface, or for bulk and automated translation of your texts. You can also use Localazy AI if you're looking for a more accurate result that consistently uses your project's glossary, context, and style guide automatically.
The best translation option for your project will depend on your goals, needs, and budget. Check out the documentation on MT, this article about Localazy AI and our translation services guide for more info
Download 🔗
After translating our app, it is time to download the translated phrases.
Run the command in your app terminal:
localazy downloadThis command downloads all the freshly added languages and newly accepted phrases. We now have the updated translated version messages.json in the es and cs folders containing the translated phrases.
🔄 Translation to different languages 🔗
Lingui introduces the concept of compiled message catalogs. Before we load translated messages into our application, we need to compile them.
We will use the compile command to do this:
npm run compile
We can see that there is a new file, messages.js, for each locale inside the locales/{lang} folder. This file contains the compiled message catalog.
We will now load this file into our app and set the active language to en, and that becomes the default language. Update the main.tsx file to include the following snippets:
import { StrictMode } from "react";
import { createRoot } from "react-dom/client";
import "./index.css";
import App from "./App.tsx";
import { I18nProvider } from "@lingui/react";
import { i18n } from "@lingui/core";
import { messages as enMessages } from "./locales/en/messages";
import { messages as esMessages } from "./locales/es/messages";
import { messages as csMessages } from "./locales/cs/messages";

i18n.load({
  en: enMessages,
  es: esMessages,
  cs: csMessages,
});
i18n.activate("en");

createRoot(document.getElementById("root")!).render(
  <StrictMode>
    <I18nProvider i18n={i18n}>
      <App />
    </I18nProvider>
  </StrictMode>
);
The App.tsx should also be updated as below. This introduces the onClick function that includes the functionality for switching languages.
import { i18n } from "@lingui/core";
import "./App.css";
import UserProfile from "./components/UserProfile";

function App() {
  const switchLanguage = (lang: string) => {
    i18n.activate(lang);
  };

  return (
    <>
      <div>
        <button className="side-bar" onClick={() => switchLanguage("en")}>
          English
        </button>
        <button className="side-bar" onClick={() => switchLanguage("es")}>
          Spanish
        </button>
        <button className="side-bar" onClick={() => switchLanguage("cs")}>
          Czech
        </button>
      </div>
      <UserProfile />
    </>
  );
}

export default App;
✔️ Conclusion 🔗
In this article we demonstrated how to use Localazy and LinguiJS to localize a React application. Localazy is a powerful tool that makes translating applications faster, easier, error-proof, and more fun.
Now, you can download the repository with the demo project to explore it. If you have any questions, check out the Localazy documentation about the React integration or drop the team a line for quick support.