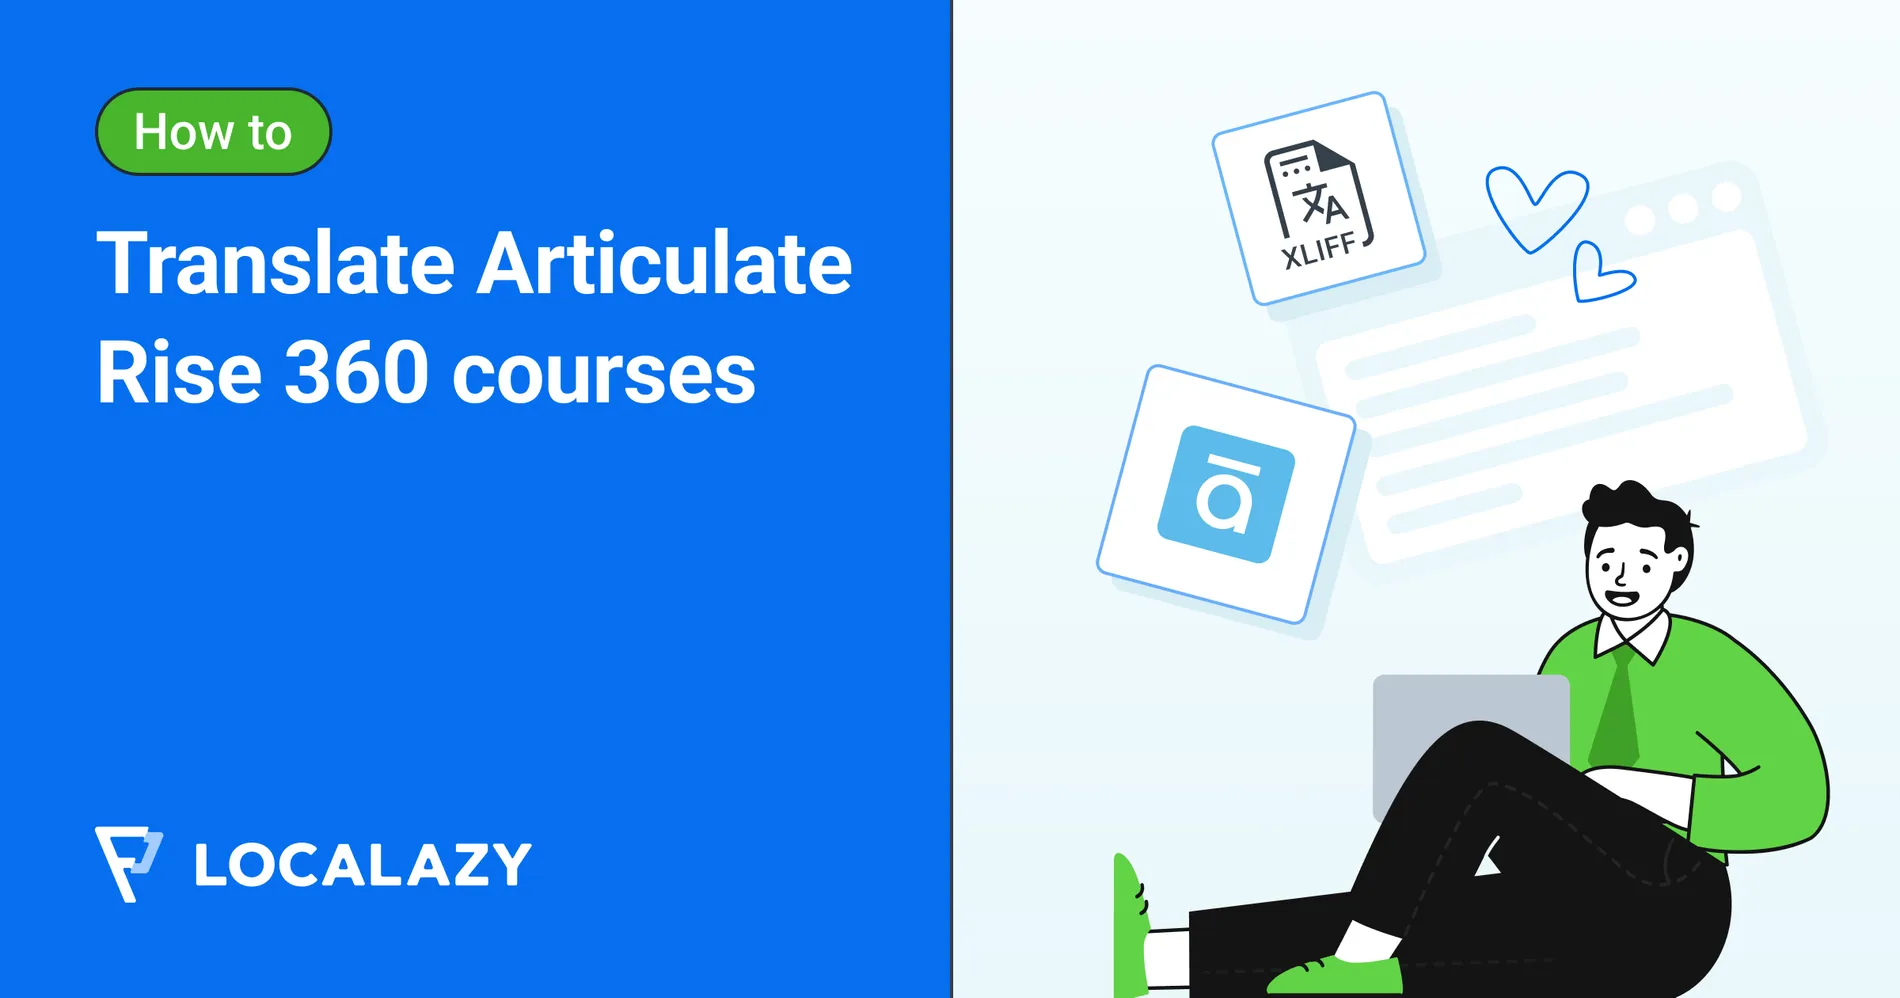
Translating Articulate Rise 360 courses requires careful XLIFF file handling to avoid import errors. This guide walks you through the complete workflow, from export to successful re-import.
☝️ Before you start 🔗
Articulate Rise 360 uses a specialized XLIFF format. If your upload fails or import doesn't work, check if you’ve selected the correct format variant, as XLIFF detection isn't always automatic. If the format is not the issue, contact our support and we'll help you identify the real cause.
Step 1: Duplicate your course in Rise 360 🔗
Each language requires a separate Rise 360 course because the platform doesn't support multiple languages within a single course file.
Rise 360 treats each language version as an independent course with its own XLIFF export. Before exporting:
- Open your source course in Rise 360.
- Duplicate it for each target language (e.g., "Course_DE", "Course_FR").
- Keep the original course structure unchanged.
Step 2: Export XLIFF files 🔗
Now, export both content and labels separately. Rise 360 stores course text and UI elements in different files, requiring two exports per language to capture all translatable content.
Open the duplicated course and:
- Go to Settings > Translations tab.
- Click Export XLIFF file.
- Enable Include HTML formatting (recommended).
- Save to your computer.
In the same course, click Settings and:
- Select the Labels tab.
- Click Export labels as XLIFF.
- Save separately.
You'll get two files per course: content.xliff and labels.xliff.
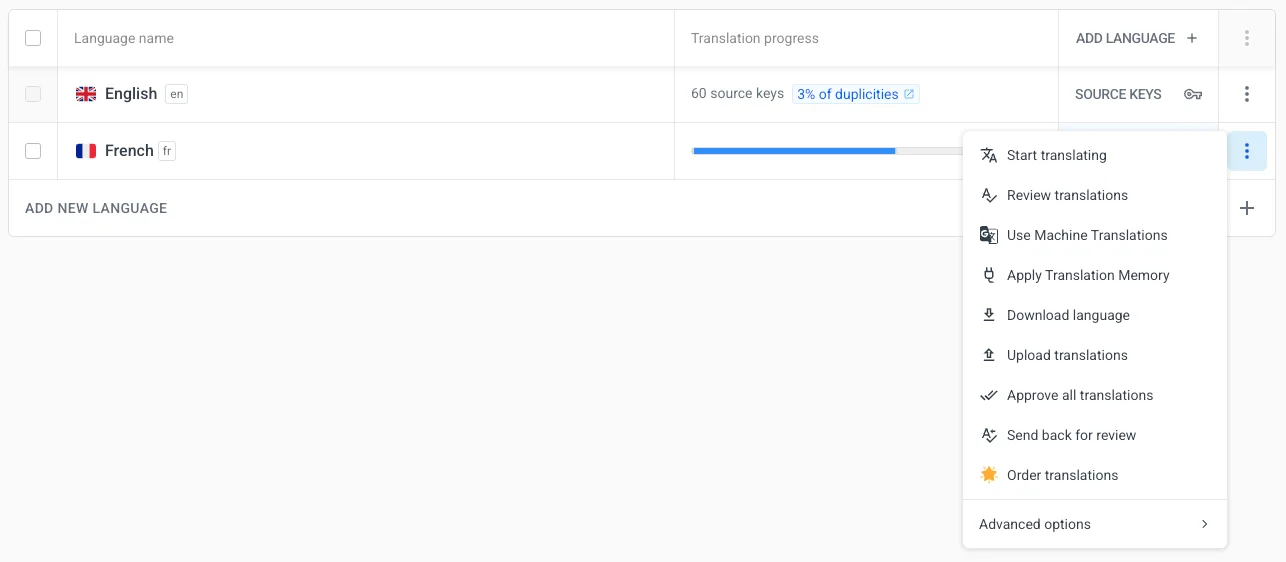
Repeat this export process for each target language duplicate. Each course must go through its own export-translate-import cycle because Articulate Rise validates that imported XLIFF files match their original source. Even though your duplicates are identical in content, their XLIFF files have different keys, which will cause a mismatch with Rise's import system.
This means you'll create separate Localazy projects for each target language. To share glossaries and translation memory across your projects and avoid duplicate setup work, you can use Localazy's Connected Projects feature.
Step 3: Upload to Localazy 🔗
The process is easy:
- Sign up or log in to Localazy.
- Create a new project.
- Upload both XLIFF files (content + labels).
- Add target language.
Localazy will parse the files, extract translatable strings, and prepare them for translation while preserving Rise 360's structure and formatting. Remember to pick the Articulate Rise 360 XLIFF format from the file format dropdown.

Step 4: Add context & translate 🔗
Before you translate everything, it is highly recommended you fill in they project's Context assets.
- Style guide tells your translators and Localazy AI how your content should feel.
- Glossary terms to maintain consistent terminology. This is especially important for courses!
When your context is prepared, it's time to use Localazy's translation features.
You can translate on your own, or with help from your team using the interface, but there are some helpful approaches to consider as well:
- Localazy AI for context-aware automated translations.
- Professional human translation can be ordered directly on the platform as well.
- Translation Memory to reuse existing translations across multiple courses.
When your courses are translated using the method/s you prefer, Localazy will validate the XLIFF structure automatically. Fix any flagged validation issues before downloading to ensure a successful Rise 360 import.
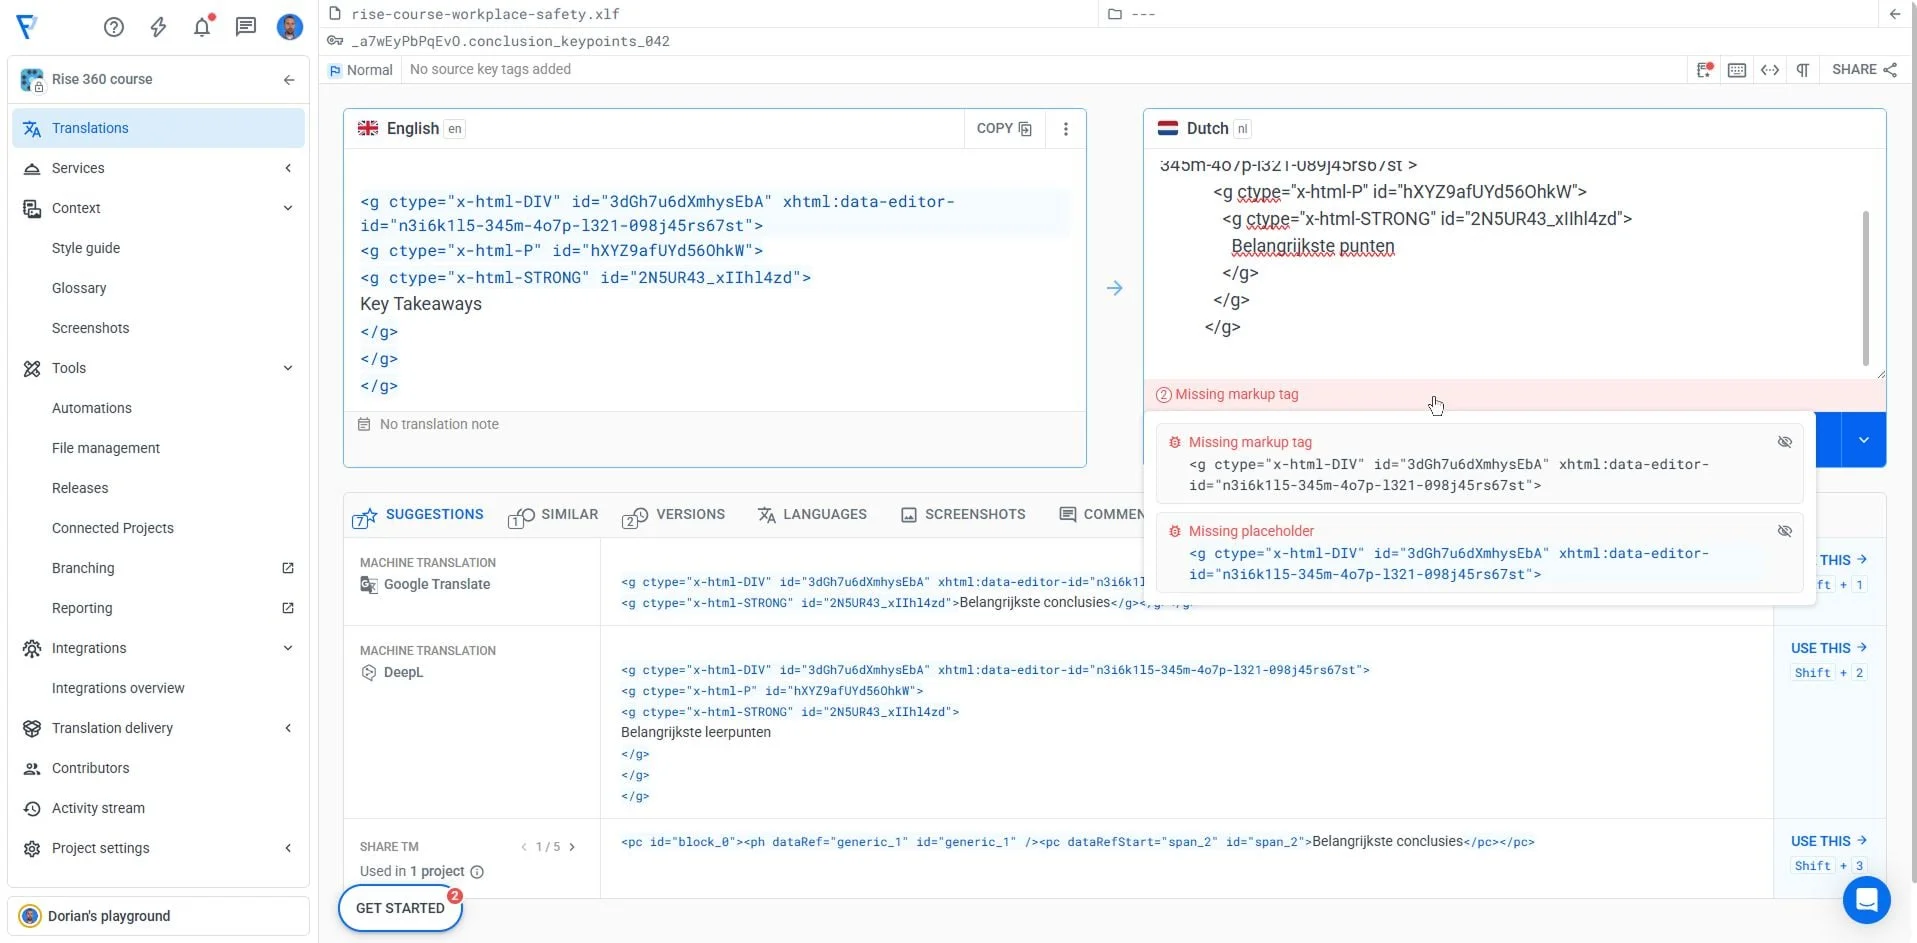
Step 5: Check validity before download 🔗
Before downloading, verify that all translations pass XLIFF validity checks. Rise 360 rejects files with structural errors, so catching these issues in Localazy saves time and prevents failed imports.
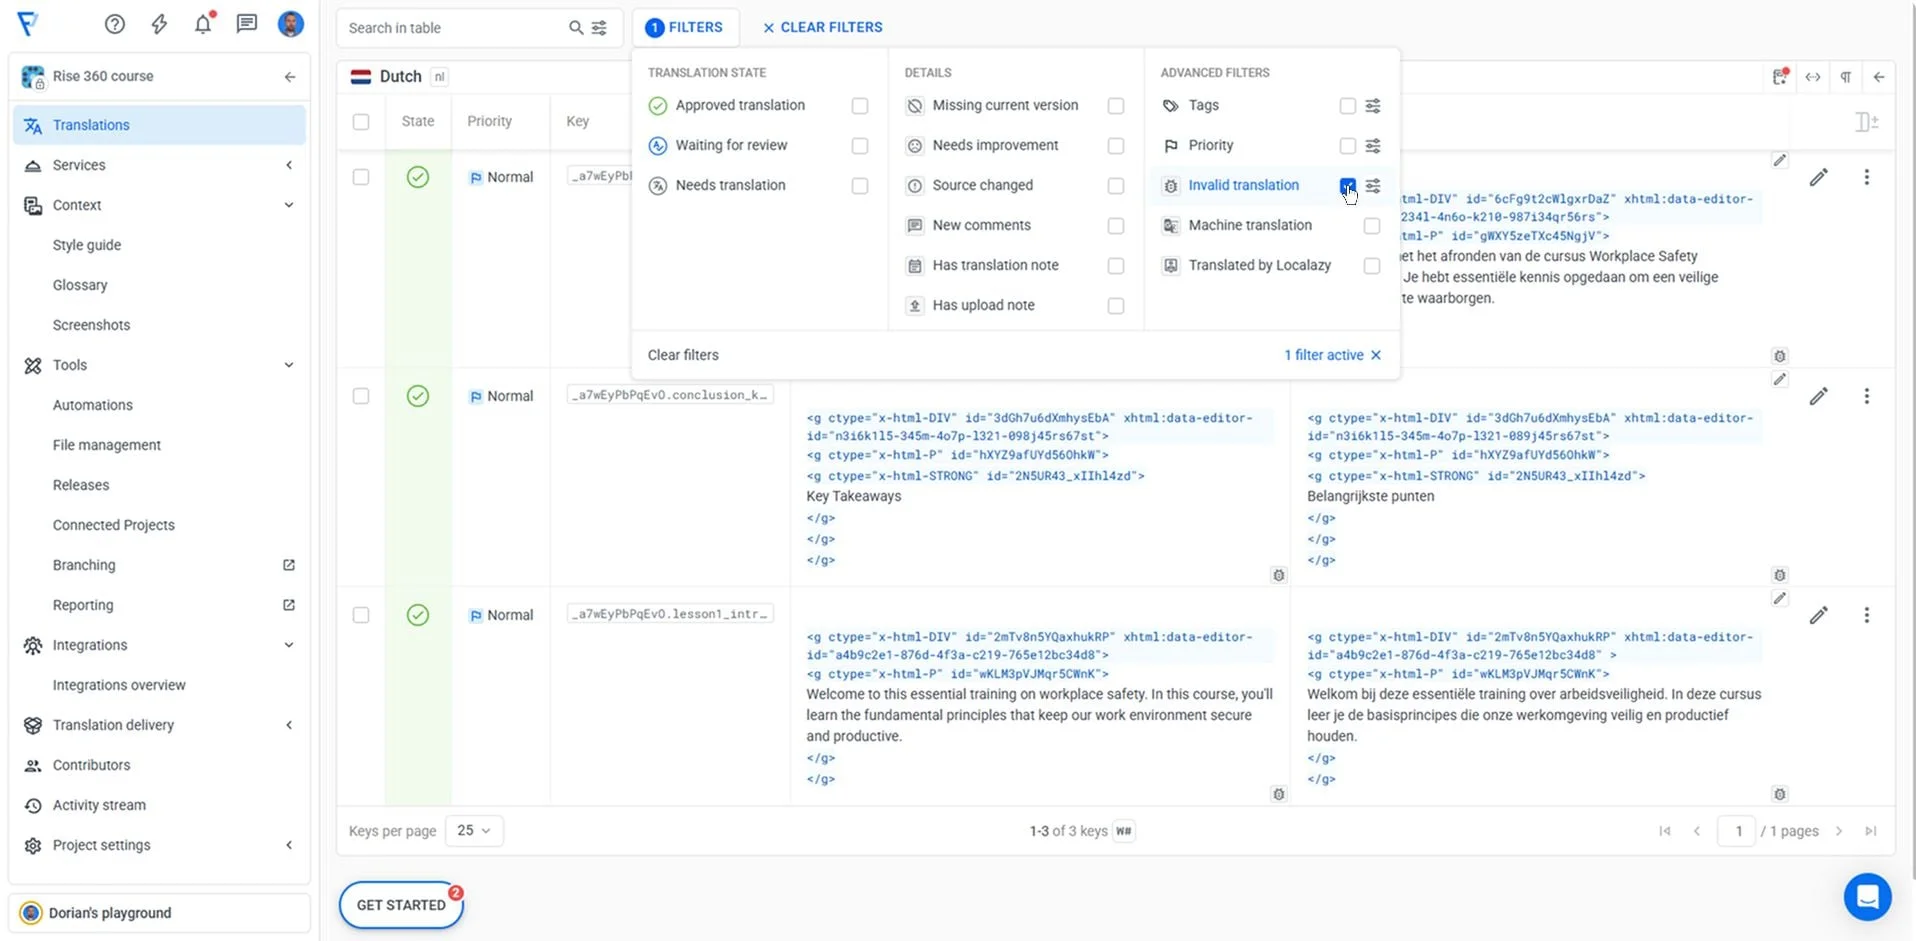
For this, go to the language table view and:
- Use the filters and select Invalid translation to display results with a detected issue.
- Fix flagged problems (usually HTML tag mismatches or missing placeholders).
- Make sure that all translations are complete.
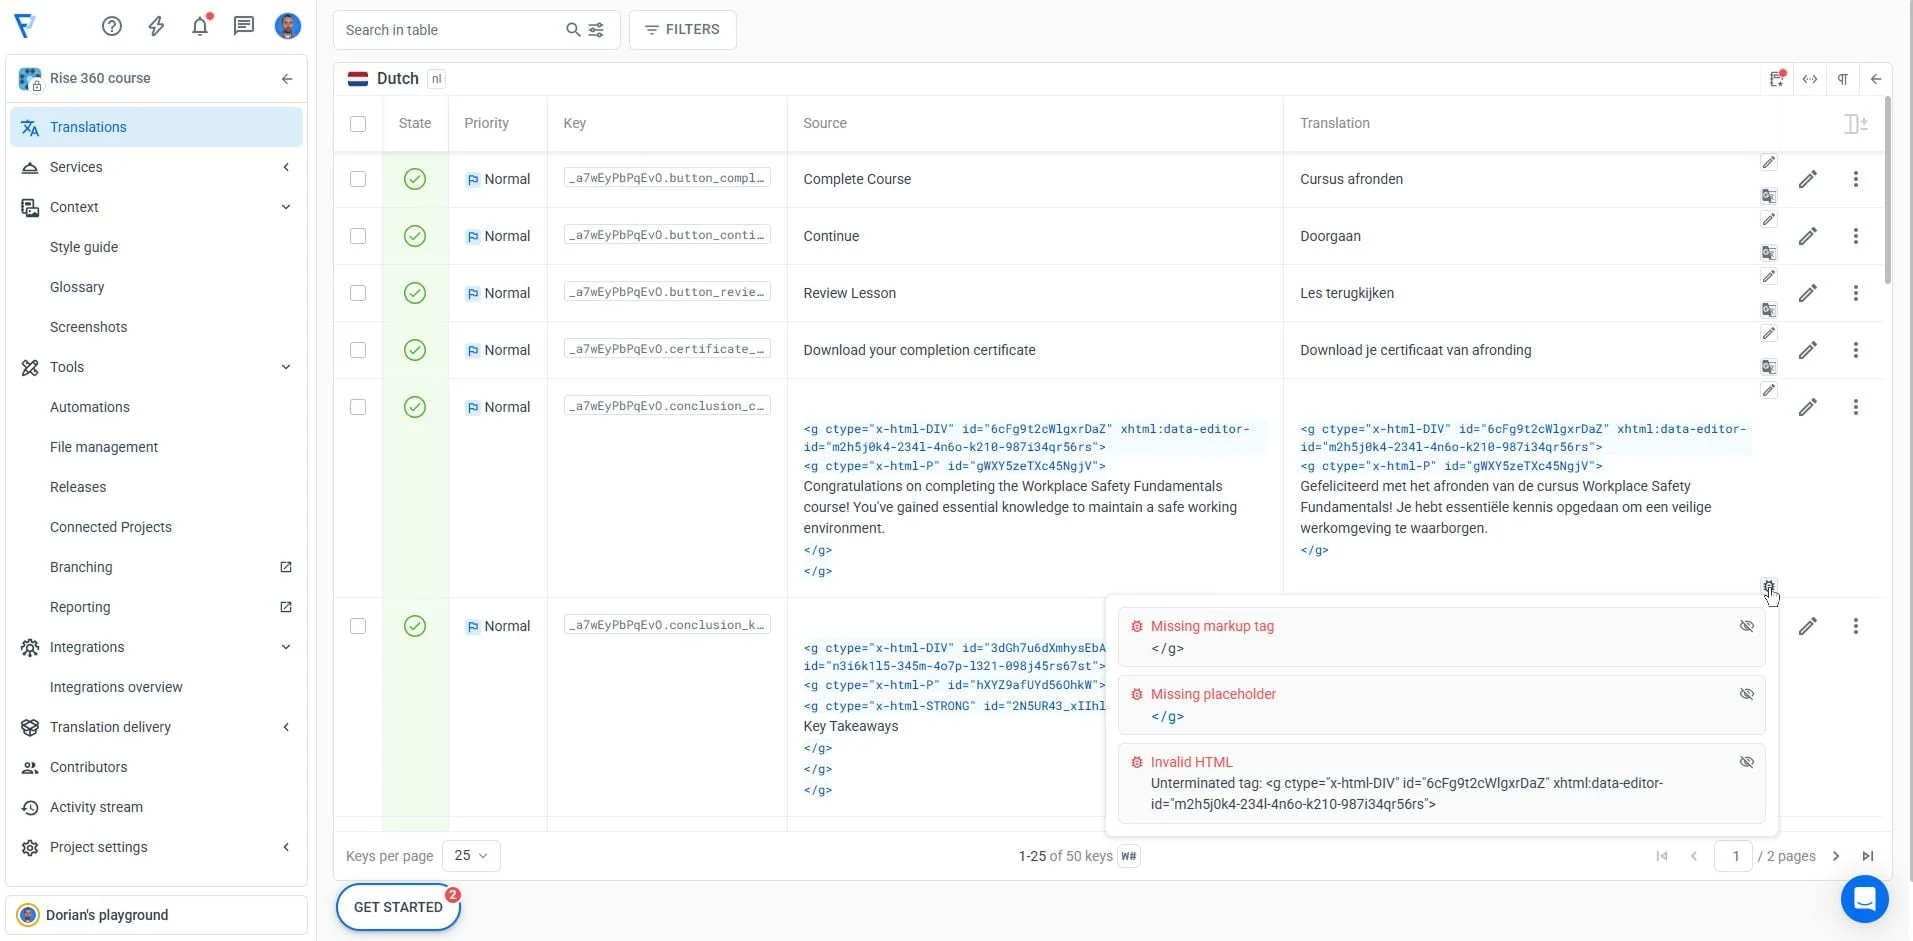
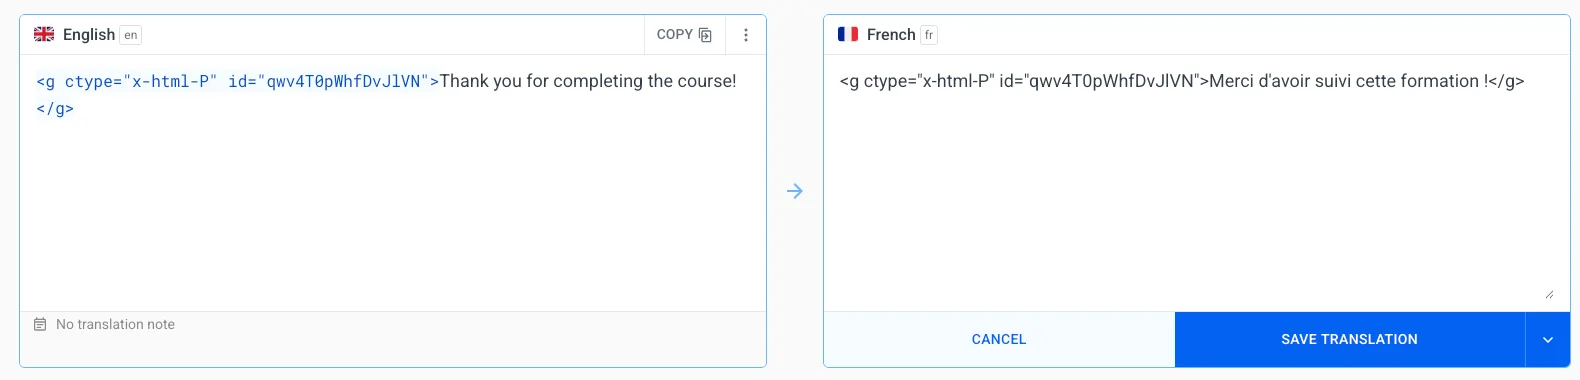
The most frequent problem with translated Articulate Rise XLIFF files involves broken or mismatched XML/HTML tags. Rise exports often contain nested <g> (group) elements with various ctype attributes representing different HTML structures.
Example of a typical Rise XLIFF structure:
<g ctype="x-html-DIV" id="3kRw9m2XLbcfjtNQ" xhtml:content-editor-id="f8e7a4d2-129b-4c6e-b892-543f89cd21a5" xmlns:xhtml="http://www.website.org/2026/xhtml">
  <g ctype="x-html-P" id="yHPQ4rWKNtx8DZaL">
    <g ctype="x-html-STRONG" id="9F7NK43_pAAwd5tu">
      Customer onboarding: Best practices for success
    </g>
  </g>
</g>
When translating, these nested tags must remain intact and properly closed. Frequent issues include:
- Opening a
<g>tag without closing it. - Accidentally deleting closing tags during translation.
- Breaking the nesting hierarchy (closing tags in wrong order).
Localazy's built-in validation helps catch these structural errors before they break your course import.
Step 6: Download translated files 🔗
Once translations are complete and validated, download the XLIFF files from Localazy. The exported files maintain Rise 360's required structure and are ready for direct import back into your duplicated courses.
- Go to File management in Localazy.
- Click Export & download.
- Save the translated XLIFF files to your computer.
Step 7: Import back to Rise 360 🔗
Import the translated XLIFF files into the duplicate courses you created in Step 1. Rise 360 will populate the course structure with translated content, creating fully localized versions ready for publishing.
Open the duplicate course created in Step 1:
- Go to Settings > Translations tab.
- Click Import translated text.
- Select your translated content file.
- Rise will process and apply translations automatically.
If import fails with validation errors, return to Localazy to address any remaining HTML tag issues flagged in the validation panel, then re-download and try again.
After importing content, import translated Rise's UI elements (buttons, navigation, etc.):
- In the same course, go to Settings > Labels tab.
- Select your target language from the dropdown menu.
- Rise automatically applies standard label translations.
- Review and customize labels if needed.
If certain text blocks still appear untranslated after import, they likely weren't included in the original XLIFF export. Custom blocks (currently in beta) and some embedded elements may not export to XLIFF format.
Check your Localazy project to verify if the missing text exists there. If not, simply add translations to these blocks manually in Rise.
🔄 Common workflows 🔗
One-time course translation 🔗
Follow steps 1-7 once per language. Keep exported XLIFF files as backups.
Ongoing course updates 🔗
Use Articulate Rise 360 templates and Rise examples as starting points. When updating courses, re-export the XLIFF file and upload to Localazy. Unchanged segments will reuse existing translations automatically.
Multi-course programs 🔗
Leverage Translation Memory across all Articulate Rise tutorials and training materials to maintain consistency without re-translating common content.
💡 Need more info about Localazy's e-learning localization features? Check out this guide
🖇️ Quick tips 🔗
- Always enable HTML formatting when exporting from Rise 360.
- Fix the validity issues in Localazy before downloading.
- Test import with one language before translating all languages.
💬 Need help? 🔗
If you encounter upload failures, import errors, or validity issues, contact our support team.
Happy localizing! 📚💙