Next.js is a React framework that provides you with building blocks that enable you to develop web applications that are both quick and efficient. In addition to providing your application with additional structure, features, and optimizations, Next.js is responsible for handling the necessary tooling and configuration for React.
As a framework, Next.js offers features that are useful during the development and production phases of the application-building process.
Next.js supports the use of Typescript, and with features such as Eslint and FastRefresh, the experience is optimized for both the developer and the consumer.
Next.js includes:
- 📂 Its compiler, which makes it possible to transform and minify codes;
- 🚧 its command-line interface (CLI), which allows the application to be built and started;
- 📨 and its Node.js runtime, which is used to execute the JavaScript code.
This makes it possible for Next.js to handle a significant portion of these code transformations as well as the underlying infrastructure, making it simpler for your app to be deployed to production.
🎯 Goal 🔗
Using Next.js, we will build a landing page for a digital agency, and as part of this tutorial, we will investigate Localazy's localization features by utilizing the concepts of Next.js internationalization.
📏 Prerequisites 🔗
- Install Node.js if you do not already have it installed. It is required that you use Node.js version 18 or a later version. You will want to install nvm and upgrade your node version to 18 or higher if you are using a version that is lower than 18.
- This tutorial will require you to use your text editor and the terminal application on your device.
- A fundamental understanding of React, although this tutorial will be as simple as practicable.
🪜 The complete code can be found in the repository on GitHub; however, we will proceed to build the project step by step for this article.
🧑💻 Project Bootstrap 🔗
Default config 🔗
At this stage, we will begin the process of bootstrapping a Next.js application. The following command should be executed in your terminal to create a new Next.js application.
Launch the terminal and navigate to the folder you want to use for the project from the command prompt. Execute the command:
npx create-next-app digital-agencyA few prompts will be displayed, and we will choose all the default configurations before proceeding. After this, an application for digital-agency will be created.
The file structure should be similar to the one shown below.
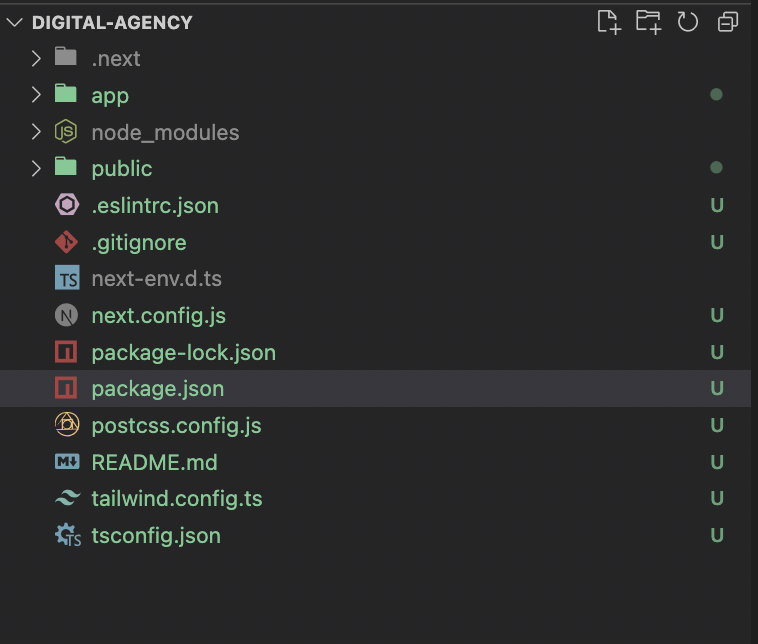
You can start the application's development server with the following command:
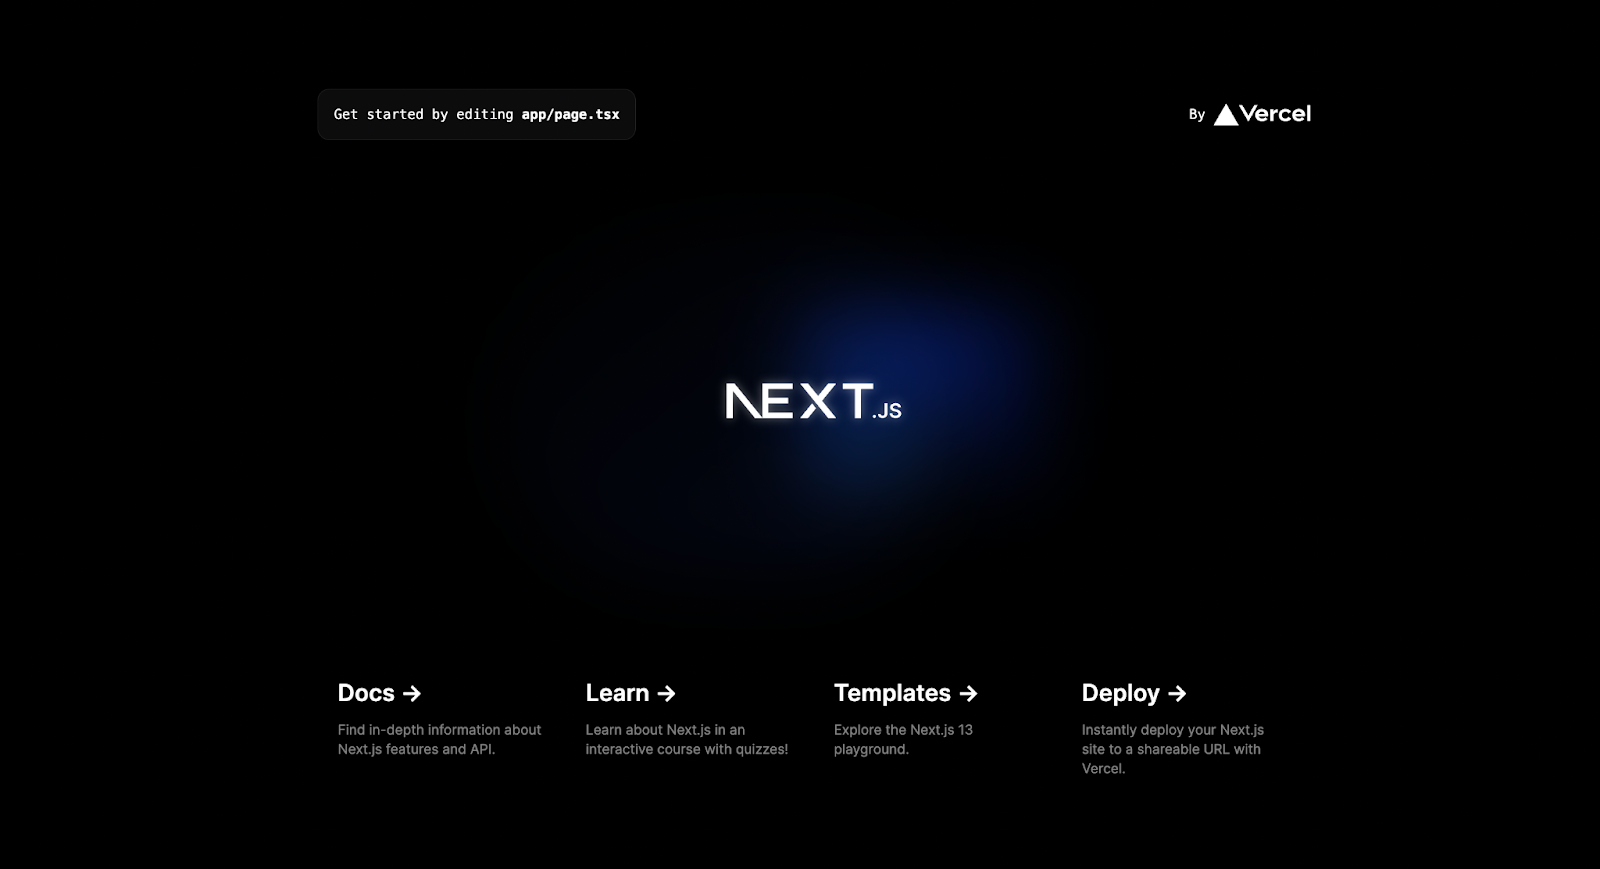
npm run devOur new Next.js application will be accessible at http://localhost:3000. We can now modify the app/page.tsx file to create our landing page.
Add source content 🔗
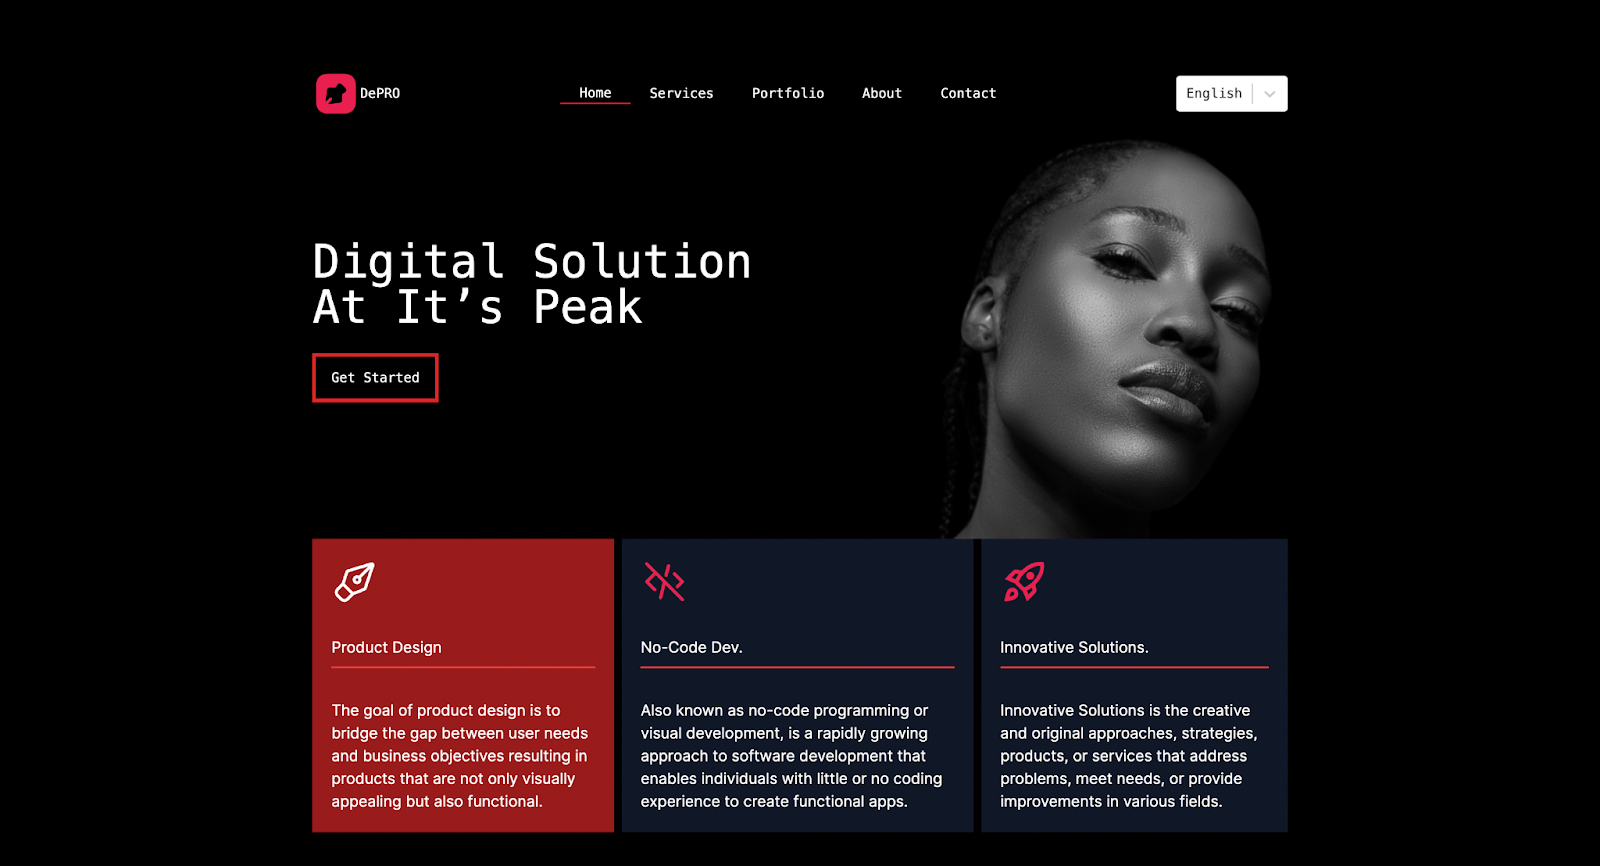
Within this section, we will make modifications to the landing page and add content that is written in English.
You can edit the app/page.tsx file to include the following code snippets:
import Image from "next/image";
export default function Home() {
return (
<main className="max-w-5xl m-auto min-h-screen flex-col items-center justify-between pt-20 pb-24">
<div className="max-w-5xl w-full items-center justify-between font-mono text-sm lg:flex mb-2">
<div className="flex items-center">
<Image
src="/logo.svg"
alt="Next.js Logo"
width={50}
height={137}
priority
/>
<p>DePRO</p>
</div>
<div>
<ul className="items-center justify-between font-mono text-sm lg:flex">
<li className="px-5 border-b-2 border-red-600">Home</li>
<li className="px-5">Services</li>
<li className="px-5">Portfolio</li>
<li className="px-5">About</li>
<li className="px-5">Contact</li>
</ul>
</div>
</div>
<div className="max-w-5xl w-full items-center justify-between font-mono text-sm lg:flex">
<div>
<h1 className="text-5xl w-9/12">Digital Solution At It's Peak</h1>
<button className="my-6 p-3 border-4 border-red-600 px-4">
Get Started
</button>
</div>
<div>
<Image
src="/background.svg"
alt="Next.js Logo"
width="500"
height={137}
priority
/>
</div>
</div>
<div className="flex">
<div className="p-5 bg-red-800">
<Image src="/pd.svg" alt="Next.js Logo" width={50} height={37} />
<p className="my-8 border-b-2 pb-2 border-red-500">
Product Design.{" "}
</p>
<p>
The goal of product design is to bridge the gap between user needs
and business objectives resulting in products that are not only
visually appealing but also functional.
</p>
</div>
<div className="p-5 bg-gray-900 mx-2">
<Image src="/no-code.svg" alt="Next.js Logo" width={50} height={37} />
<p className="my-8 border-b-2 pb-2 border-red-500">No-Code Dev.</p>
<p>
Also known as no-code programming or visual development, is a
rapidly growing approach to software development that enables
individuals with little or no coding experience to create functional
apps.
</p>
</div>
<div className="p-5 bg-gray-900 ">
<Image
src="/solution.svg"
alt="Next.js Logo"
width={50}
height={37}
/>
<p className="my-8 border-b-2 pb-2 border-red-500">
Innovative Solutions.
</p>
<p>
Innovative Solutions is the creative and original approaches,
strategies, products, or services that address problems, meet needs,
or provide improvements in various fields.
</p>
</div>
</div>
</main>
);
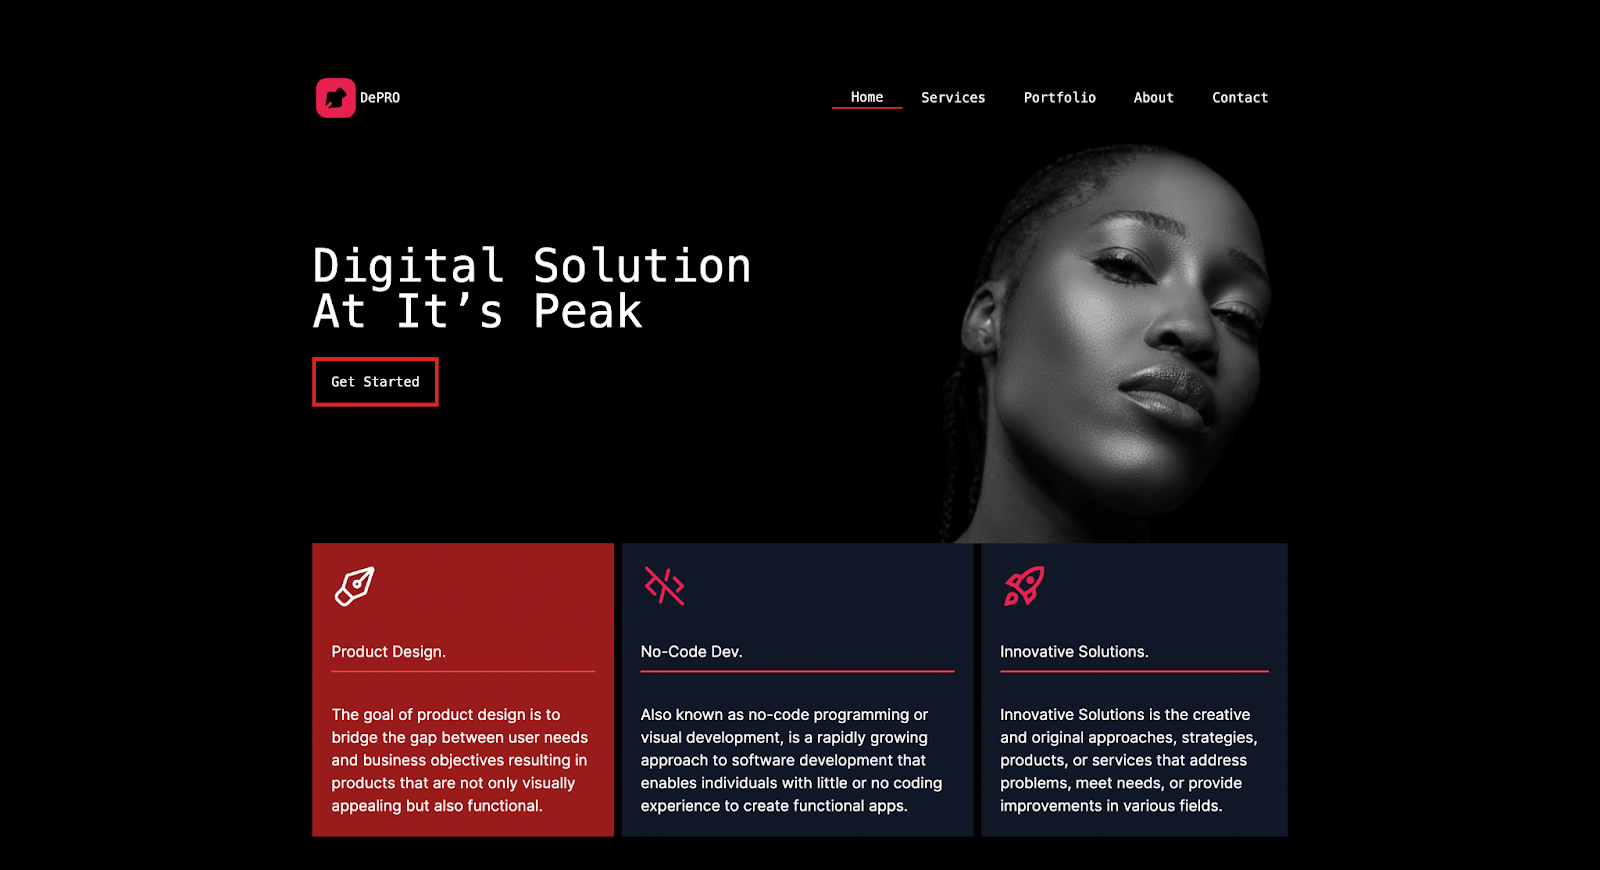
}Tailwind CSS is utilized for styling in the code above. You should now see the following page when you visit http://localhost:3000
Next-intl installation 🔗
In this step, we will use the Next.js built-in internationalization routing support. Internationalization is an important aspect of web development because it allows us to reach a global audience by allowing users who prefer content in their native language to access our application. By focusing on users underserved by businesses that only offer services in English, it becomes simple to carve out a niche. 🔦
This article will make use of the next-intl library, which is one of several existing libraries that support Next.js internationalization. Other libraries that support Next.js internationalization include next-i18n, next-multilingual, and next-translate, amongst others.
It is necessary for us to install next-intl before we can get started.
npm install next-intlCreate a file called i18n.ts in the root directory and a request configuration, as shown below.
import { getRequestConfig } from "next-intl/server";

export default getRequestConfig(async ({ locale }) => {
    return {
        messages: (await import(`./locales/${locale}.json`)).default,
    };
});
The next step is to include the following code snippets in the next.config.ts file.
/** @type {import('next').NextConfig} */
const nextConfig = {}

const withNextIntl = require('next-intl/plugin')('./i18n.ts');

module.exports = withNextIntl(nextConfig);
Through this process, the plugin is configured, and an alias is created in order to import your i18n configuration into Server Components.
In the root directory of our project, we would create a locales folder. The folder will serve as a repository for the various translations that are contained within the application. Create a file called en.json within the locales folder. This file should contain the English translation, which is the default language.
{
    "home": "Home",
    "services": "Services",
    "portfolio": "Portfolio",
    "about": "About",
    "contact": "Contact",
    "title": "Digital Solution At It’s Peak",
    "button": "Get Started",
    "productDesignTitle": "Product Design",
    "productDesignDescription": "The goal of product design is to bridge the gap between user needs and business objectives resulting in products that are not only visually appealing but also functional.",
    "noCodeTitle": "No-Code Dev.",
    "noCodeDescription": "Also known as no-code programming or visual development, is a rapidly growing approach to software development that enables individuals with little or no coding experience to create functional apps.",
    "innovativeTitle": "Innovative Solutions.",
    "innovativeDescription": "Innovative Solutions is the creative and original approaches, strategies, products, or services that address problems, meet needs, or provide improvements in various fields."
}
Within the app/page.tsx, we would import useTranslations from the next-intl package and edit the hardcoded strings with the respective keys within the en.json file.
Ensure that the dynamic keys match the intended string content used earlier. The code snippet can be seen below:
import React from "react";
import { useTranslations } from "next-intl";
import Image from "next/image";

function Home() {
  const t = useTranslations();

  return (
    <main className="max-w-5xl m-auto min-h-screen flex-col items-center justify-between pt-20 pb-24">
      <div className="max-w-5xl w-full items-center justify-between font-mono text-sm lg:flex mb-2">
        <div className="flex items-center">
          <Image
            src="/logo.svg"
            alt="Next.js Logo"
            width={50}
            height={137}
            priority
          />
          <p>DePRO</p>
        </div>

        <div>
          <ul className="items-center justify-between font-mono text-sm lg:flex">
            <li className="px-5 border-b-2 border-red-600">{t("home")}</li>
            <li className="px-5">{t("services")}</li>
            <li className="px-5">{t("portfolio")}</li>
            <li className="px-5">{t("about")}</li>
            <li className="px-5">{t("contact")}</li>
          </ul>
        </div>
      </div>
      <div className="max-w-5xl w-full items-center justify-between font-mono text-sm lg:flex">
        <div>
          <h1 className="text-5xl w-9/12">{t("title")}</h1>
          <button className="my-6 p-3 border-4 border-red-600 px-4">
            {t("button")}
          </button>
        </div>
        <div>
          <Image
            src="/background.svg"
            alt="Next.js Logo"
            width="500"
            height={137}
            priority
          />
        </div>
      </div>

      <div className="flex">
        <div className="p-5 bg-red-800">
          <Image src="/pd.svg" alt="Next.js Logo" width={50} height={37} />
          <p className="my-8 border-b-2 pb-2 border-red-500">
            {t("productDesignTitle")}{" "}
          </p>
          <p>{t("productDesignDescription")}</p>
        </div>
        <div className="p-5 bg-gray-900 mx-2">
          <Image src="/no-code.svg" alt="Next.js Logo" width={50} height={37} />
          <p className="my-8 border-b-2 pb-2 border-red-500">
            {t("noCodeTitle")}
          </p>
          <p>{t("noCodeDescription")}</p>
        </div>
        <div className="p-5 bg-gray-900 ">
          <Image
            src="/solution.svg"
            alt="Next.js Logo"
            width={50}
            height={37}
          />
          <p className="my-8 border-b-2 pb-2 border-red-500">
            {t("innovativeTitle")}
          </p>
          <p>{t("innovativeDescription")}</p>
      </div>
      </div>
    </main>
  );
}

export default Home;
At this stage, you should get a 404 page not found error. This should be resolved in the subsequent steps.
Create a middleware.ts file that contains a list of the locales that the project will support, as well as a config matcher for the paths.
import createMiddleware from "next-intl/middleware";

export default createMiddleware({
  locales: ["en", "de", "fr", "cs"], // A list of all supported locales
  defaultLocale: "en",
});

export const config = {
  matcher: ["/", "/(de|en|cs|fr)/:path*"],
};
We will create a new folder within the app folder that will be referred to as [locales], and then we will transfer all of the files that are contained within the app into the [locales] folder. This will resolve the issue of the 404 page not found error.
The file structure should look like this:
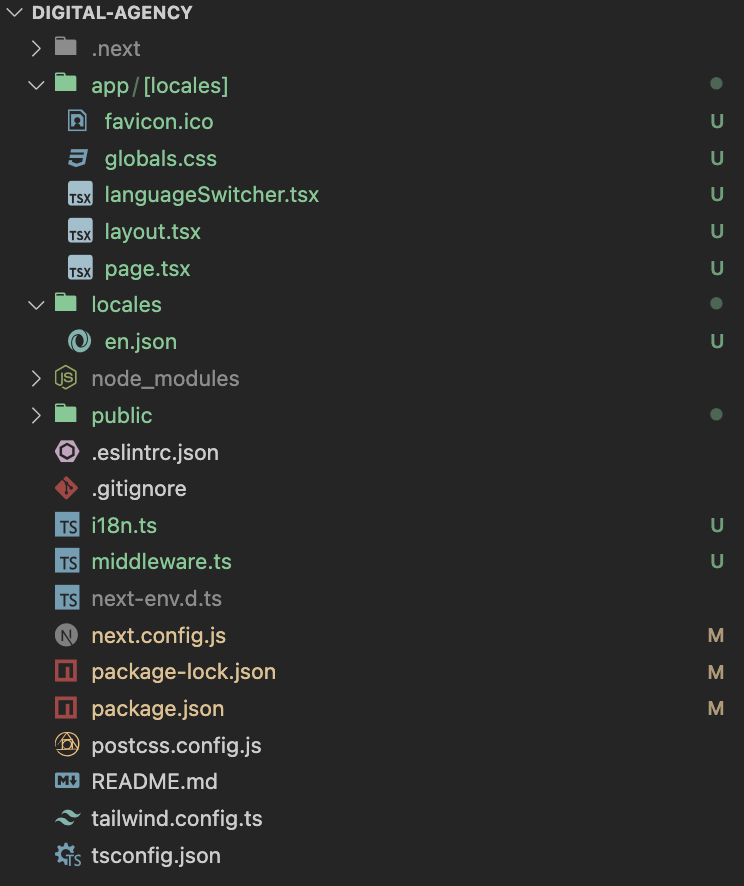
Create a component within the app/[locales] folder called LanguageSwitcher. This component will use a function that handles change using a react-select package to handle the language switch between locales.
Import react-select as an npm package npm i react-select
"use client";

import { useRouter } from "next/navigation";
import { useState } from "react";
import Select from "react-select";

const LanguageSwitcher = () => {
  const [selectedOption, setSelectedOption] = useState({
    value: "en",
    label: "English",
  });

  const router = useRouter();
  const languageOptions = [
    { value: "en", label: "English" },
    { value: "de", label: "German" },
    { value: "cs", label: "Czech" },
    { value: "fr", label: "French" },
  ];

  const handleChange = (selectedOption: any) => {
    setSelectedOption(selectedOption);
    router.push(`/${selectedOption.value}`);
  };

  return (
    <Select
      className="bg-gray-900 border-none"
      options={languageOptions}
      value={selectedOption}
      onChange={handleChange}
      isSearchable={false}
    />
  );
};

export default LanguageSwitcher;
Within the page.tsx file, include the LanguageSwitcher component just below the navigation links.
import React from "react";
import { useTranslations } from "next-intl";
import Image from "next/image";
import LanguageSwitcher from "./languageSwitcher";

function Home() {
  const t = useTranslations();

  return (
    <main className="max-w-5xl m-auto min-h-screen flex-col items-center justify-between pt-20 pb-24">
      <div className="max-w-5xl w-full items-center justify-between font-mono text-sm lg:flex mb-2">
        <div>
          <ul className="items-center justify-between font-mono text-sm lg:flex">
           // .....
          </ul>
        </div>
          <LanguageSwitcher /> // include this new line to code
      </div>
      // ....
    </main>
  );
}

export default Home;
The English translation is accessible if you run the application server at this moment; however, the translations for the other languages are not accessible.
We would handle the localization of our Nextjs application using localazy.
🚩 Localazy Integration 🔗
Localazy is a universal translation management platform that supports a wide range of frameworks and formats via its command-line interface.
A new application would need to be created on your dashboard, and we would need to sign up or register for a Localazy account. At the integration screen, you can search for Next.js and select its integration.
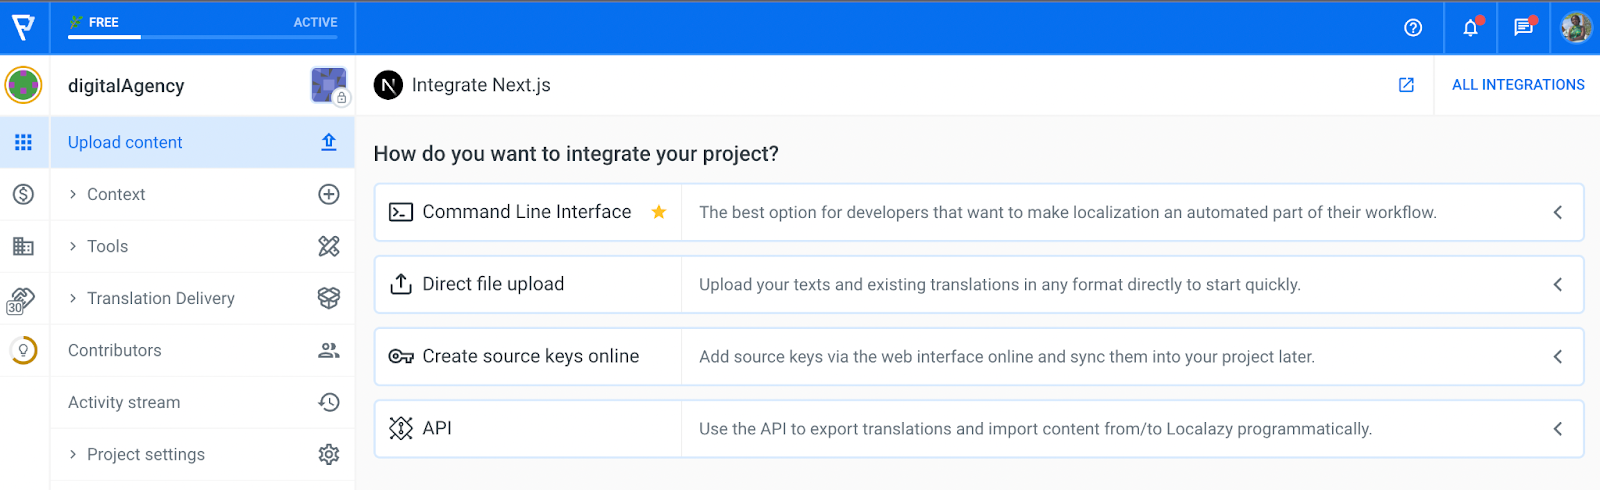
As can be seen in the above image, there are several ways to incorporate Next.js into our project. But for developers who wish to automate localization as part of their workflow, the Command Line Interface is the best option because it is simpler.
Install Localazy CLI 🔗
In the first step of this process, we will install the Localazy CLI for your operating system. There are several methods for doing this; in this case, we will install it as an NPM package.
npm install -g @localazy/cliCreate the localazy.json config file 🔗
In the project's root directory, create a configuration file called localazy.json. By using the access key located on the project settings tab, authorization keys are available in this file. Additionally, it contains code snippets that specify how files should be located and how to upload and download content.
{
    "writeKey": "appWriteKey",
    "readKey": "appReadKey",

    "upload": {
        "type": "json",
        "files": "locales/en.json"
    },
    "download": {
    	"files": "locales/${lang}.json"
    }
}
Upload source strings 🔗
Use the Localazy upload command to upload the source string. We could incorporate the Localazy commands into the package.json scripts to maintain command consistency.
"scripts": {
    "dev": "next dev",
    "build": "next build",
    "start": "next start",
    "lint": "next lint",
    "upload": "localazy upload", //localazy command to upload content
    "download": "localazy download" //localazy command to download content
},
To upload our source content to the Localazy project, run:
npm run uploadTranslate with Localazy 🔗
After refreshing your application, you should be able to see the English language on the list.
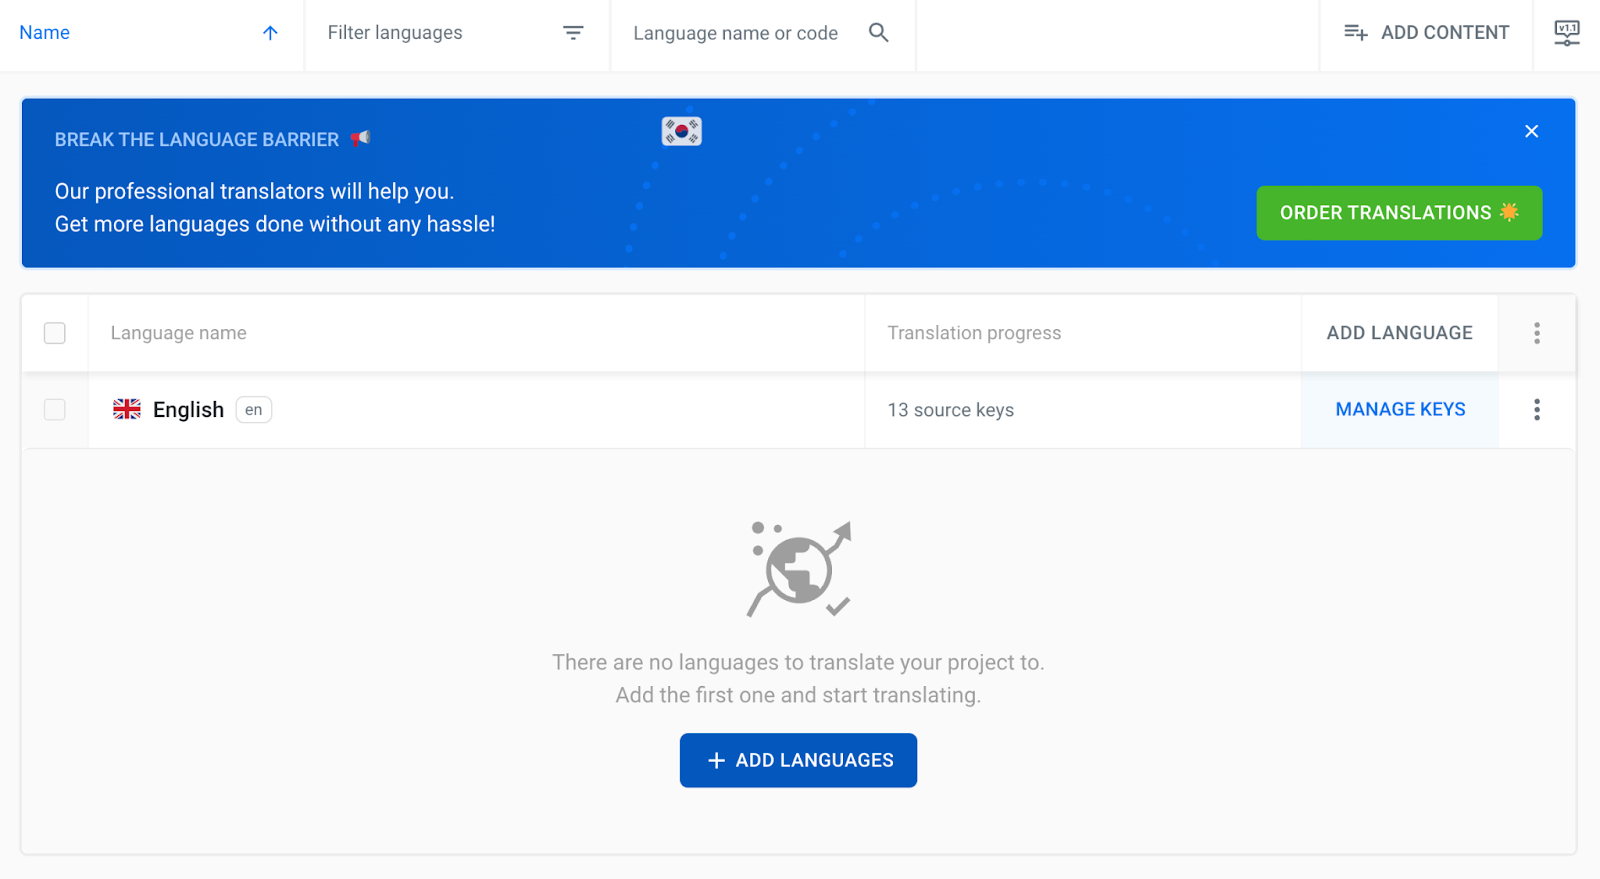
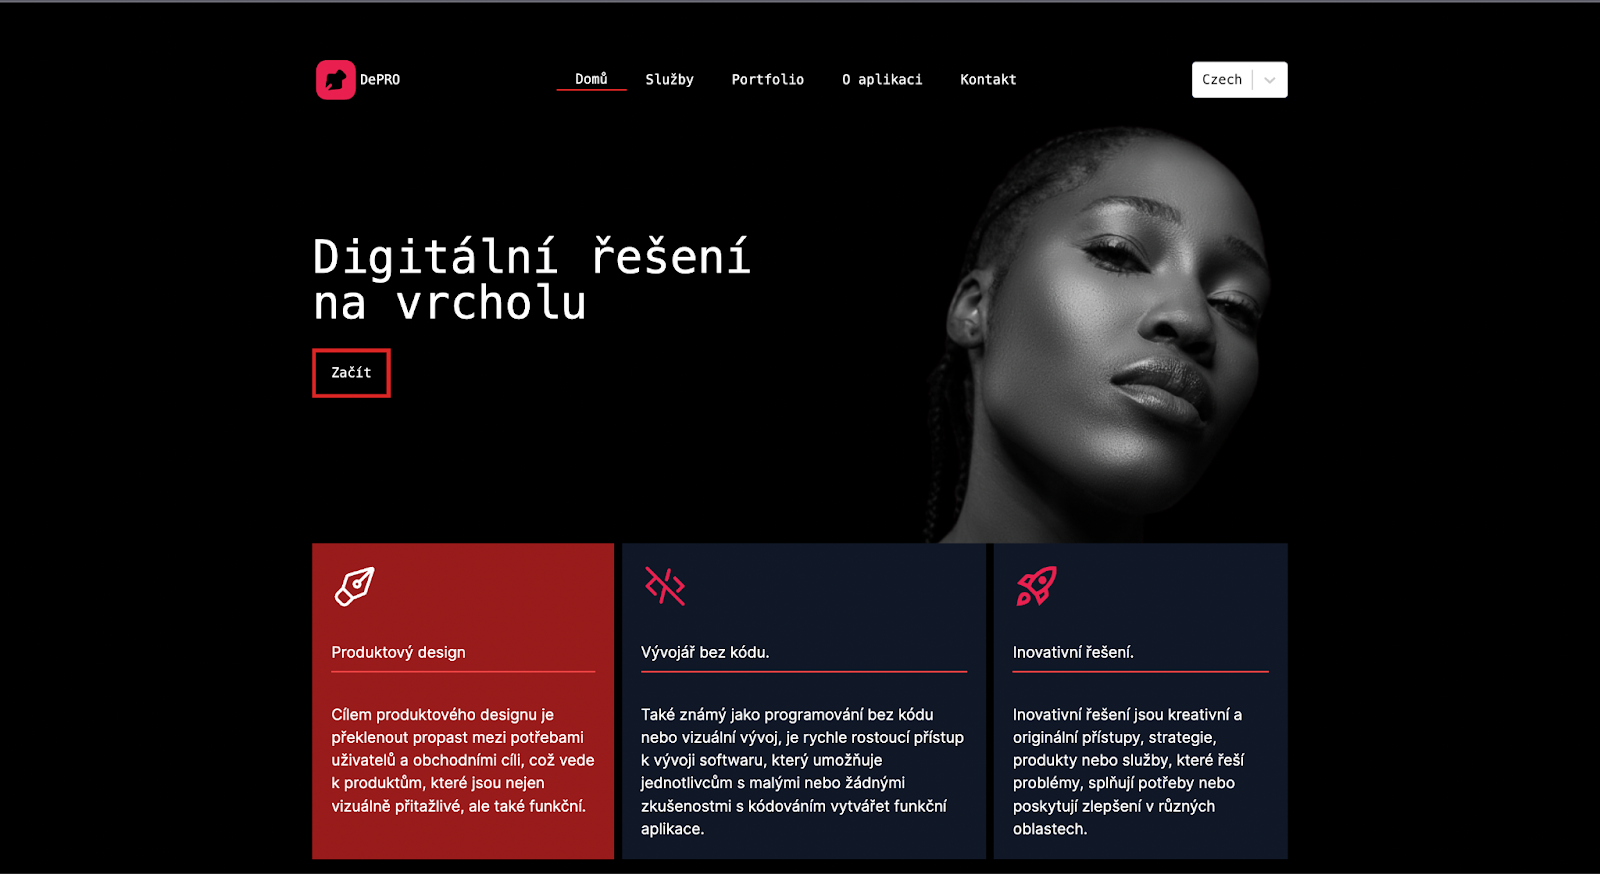
Then, select Add Languages from the dashboard and include as many languages as you can. In this case, the contents would be translated into Czech (cs), German (de), and French (fr).

For the translation of your project, Localazy provides three options that you can select and combine:
- 💪🏻 Translate on your own or invite contributors - You can start translating on your own and use our built-in suggestion system.
- 🦾 Translate everything in bulk via machine translation - With the Localazy Professional plan, you can instantly translate all strings by running a machine translation over the content. This is great for the first iteration and localization testing of any project.
- 🚩 Fully automate the translation process with the Continuous Localization services - Once your Localazy integration is set up, you can order translations from our vetted translators and get your project translated by professionals automatically. The service is also proactive, so you don't have to micromanage translators, and you can visit Localazy only once in a while to check the progress.
🗣️ Go to the Localazy CLI guide to learn more about uploading and downloding your strings.
Download translations 🔗
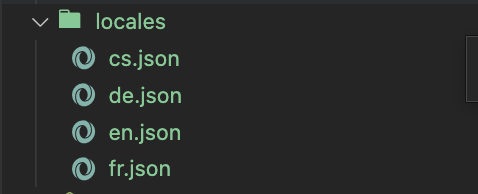
We can use the download command in order to download the translations. Enter the following command into the terminal and execute it:
npm run downloadSpecifying the location where the translated files should be saved is determined by the download object. With a .json extension, the translated files would be stored in the locales folder.
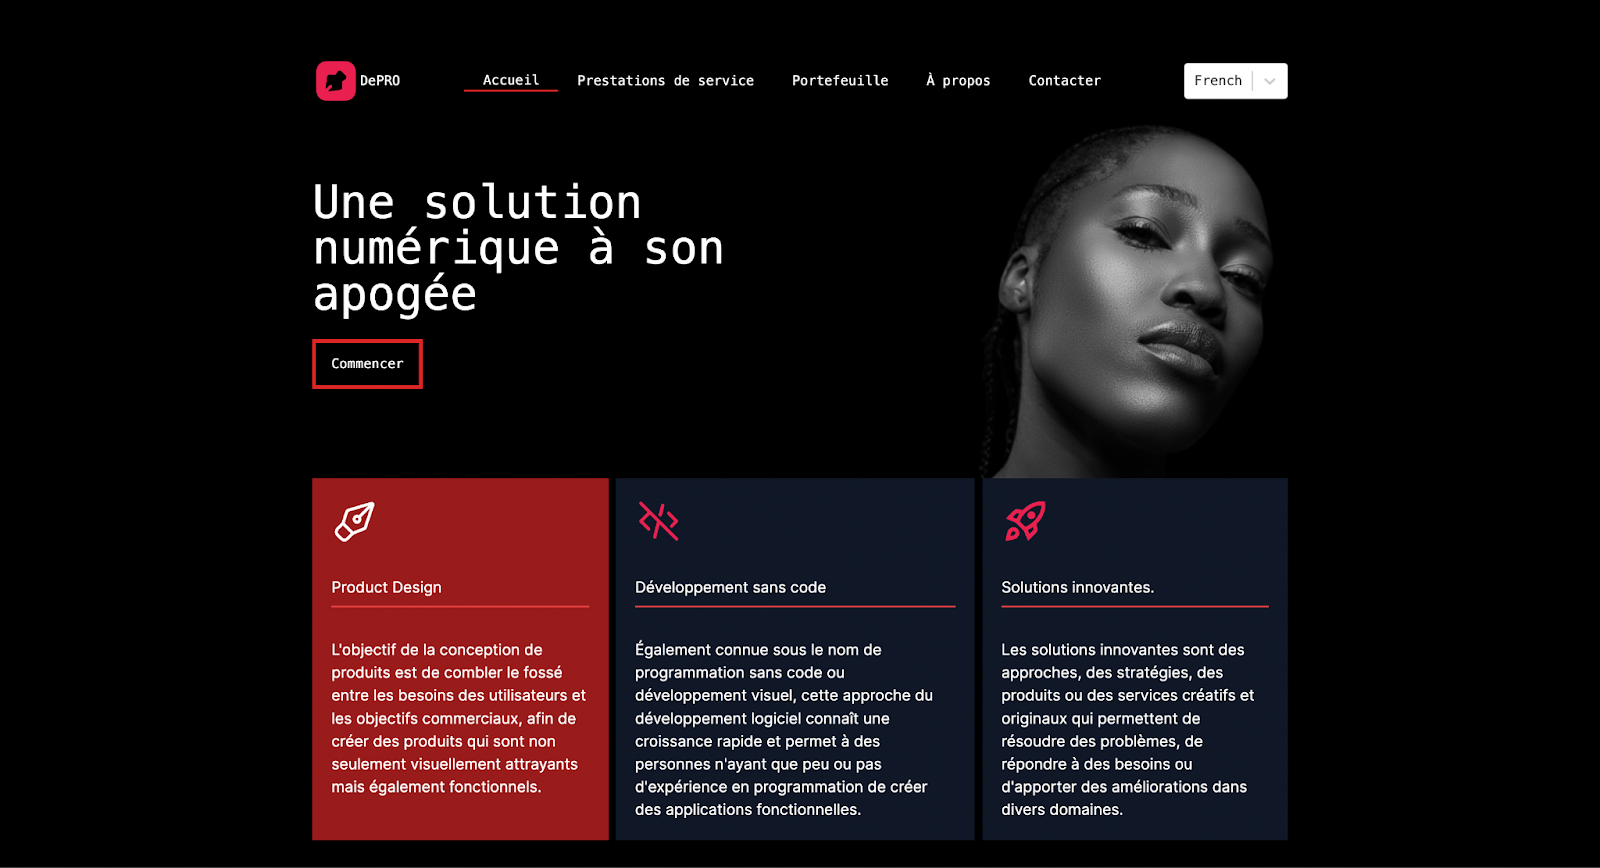
The web page's user interface now allows you to switch between languages, and the content of the page will change according to the language you select:

✔️ Conclusion 🔗
Through the course of this article, we've gained knowledge on how to build a Next.js application, how to manage internationalization by utilizing the next-intl library, and how to localize the content of our application by utilizing Localazy. We hope this helped! The complete code can be found in the GitHub repository.