Angular is a web framework that empowers developers to build fast, reliable applications. It provides a broad suite of tools, APIs, and libraries to simplify and streamline your development workflow.
The framework gives you a solid platform on which to build fast, reliable applications that scale with both the size of your team and the size of your codebase. In this article, we will create a demo app showing how to localize an Angular app with angular-18n and Localazy.
📋 Prerequisites 🔗
- Install Node.js if you don't have it already. The Angular CLI requires a minimum Node.js version of v20.19 for Angular v20, which is the most recent version as of the time of writing this article.
- Install Angular CLI using the command
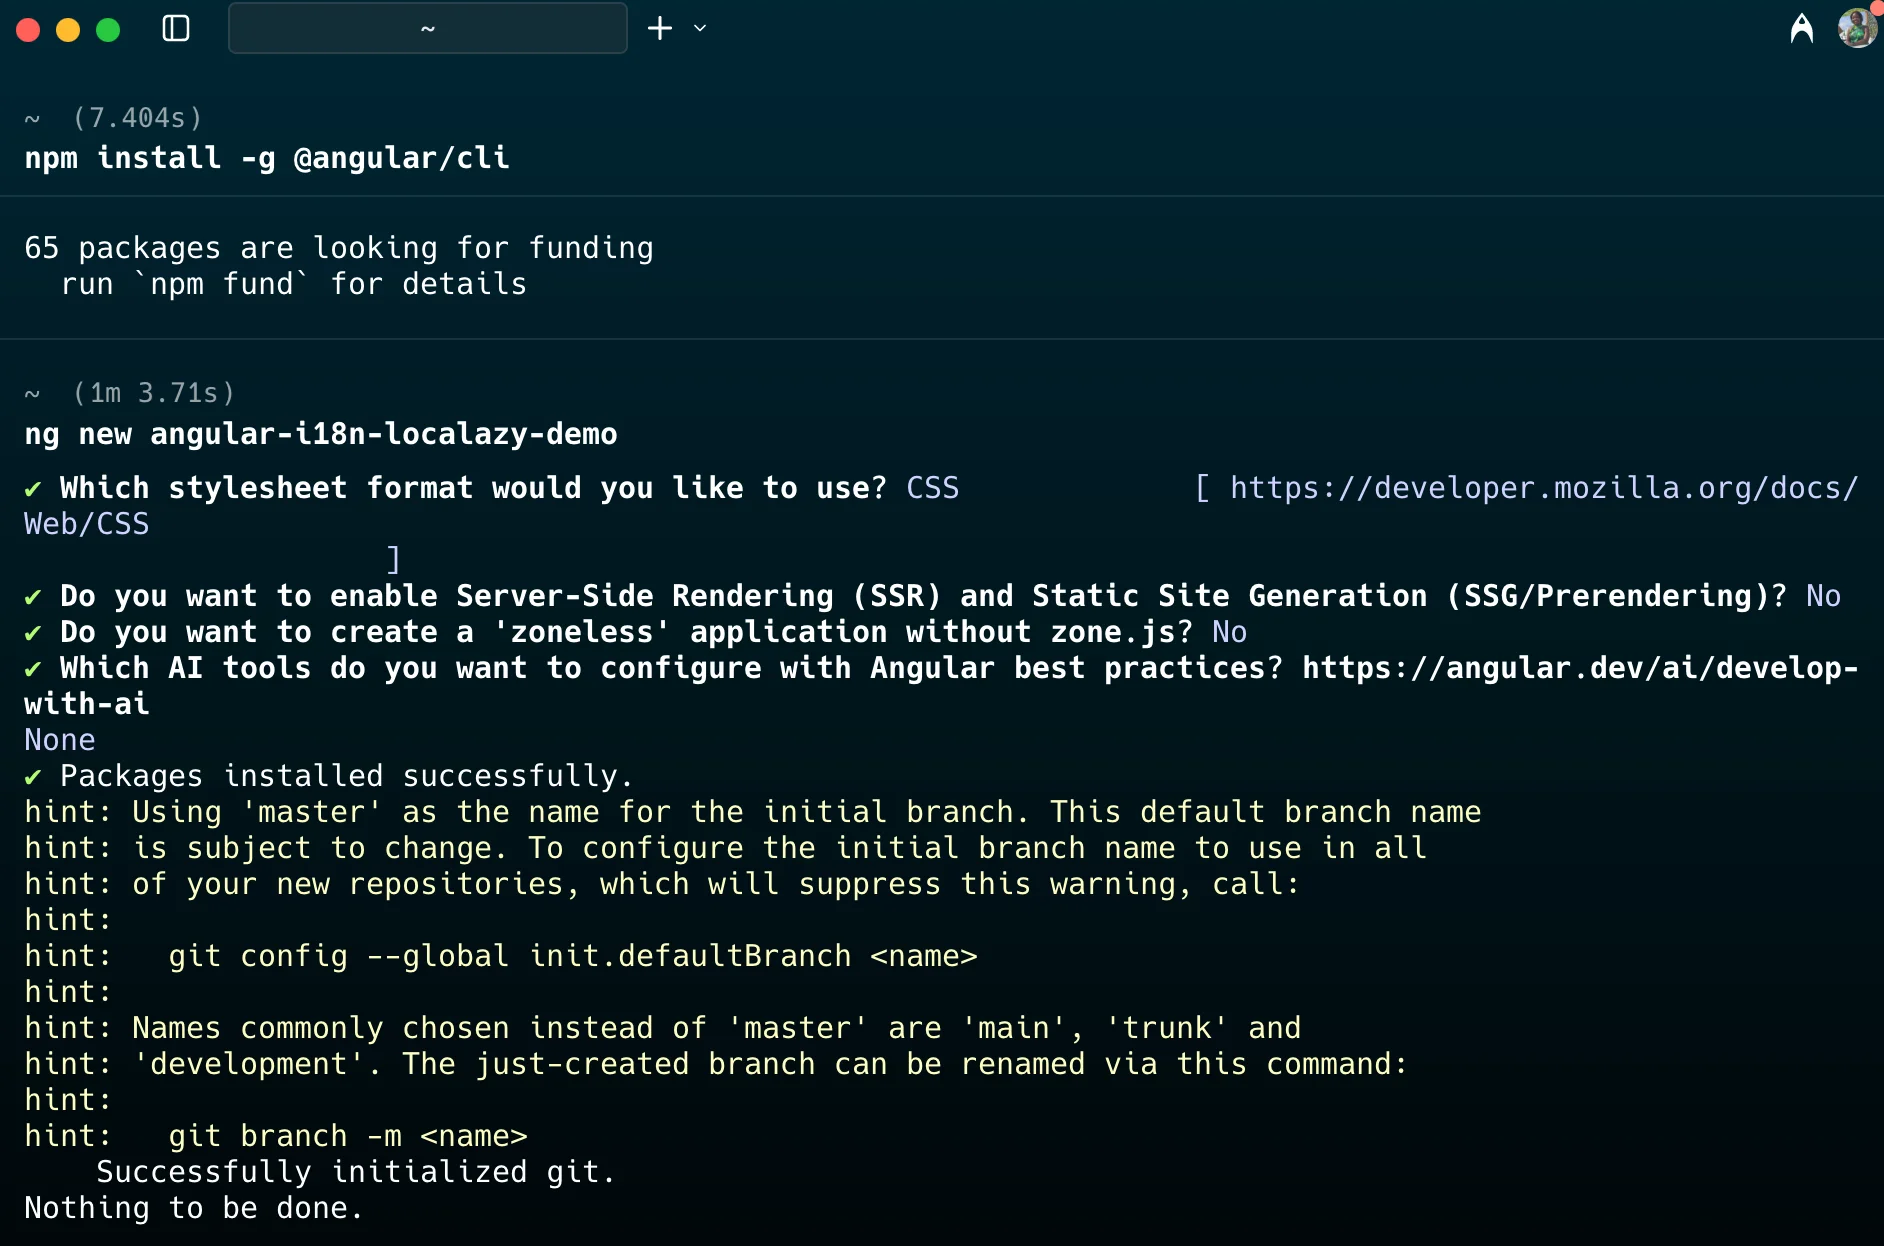
npm install -g @angular/cli
👩🏾💻 Set up a new Angular project 🔗
In your terminal, run the CLI command ng new with the desired project name. In the following example, we'll be using the angular-i18n-localazy-demoproject name:
ng new angular-i18n-localazy-demo
You will be presented with some configuration options for your project. Use the arrow and enter keys to navigate and select which options you desire.
If you don't have any preferences, just hit Enter to take the default options and continue with the setup.
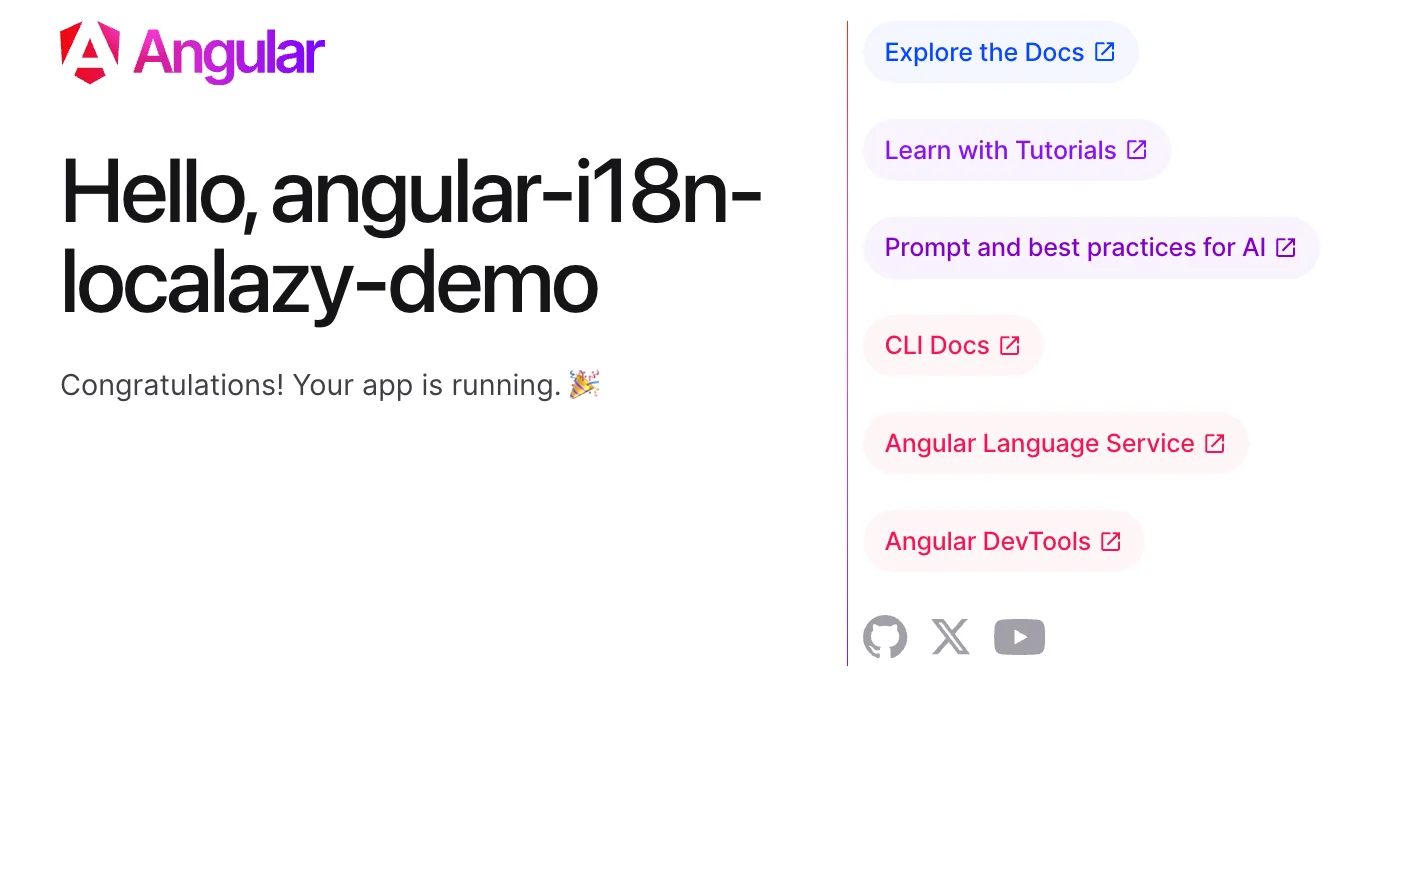
At this point, we are ready to run our project locally!
To start a local development server, run the command:
ng run startThis command should open a browser window with the application running.
We can temporarily stop the server and initiate the process of internationalization.
Internationalization (i18n) is the process of preparing your application to support multiple languages and regional formats without needing code changes. It involves extracting text from templates, managing translation files, and handling formats like dates or currencies.
The package that is needed for internationalization in Angular is @angular/localize. It was introduced in v9 and adds i18n support to an Angular app.
You can find detailed information about internationalization in the official Angular documentation.
To add the @angular/localize package, use the following command to update the package.json and TypeScript configuration files in your project:
ng add @angular/localize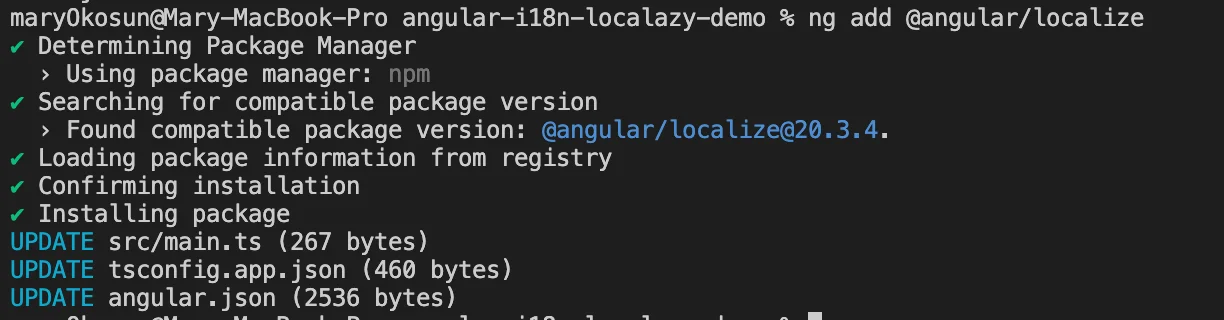
🔧 Preparing templates for translations 🔗
Our project should follow a standard Angular project structure. We’ll do some work on our app component template. The app.html file placement is shown in the tree below.
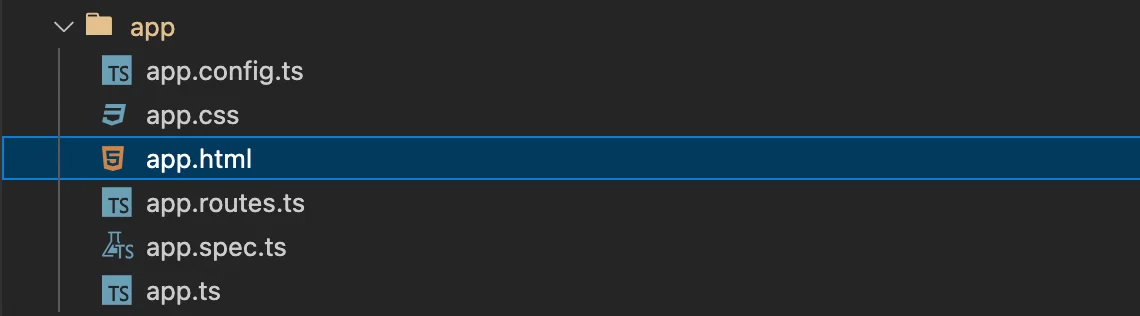
Open the file app.html and replace its content with our boilerplate:
<style>
  h1 {
    font-size: 2.125rem;
  }

  main {
    width: 60%;
    margin: 10% auto;
    padding: 50px;
    background: #eae6e4;
  }

  div {
    padding: 5px 0;
  }
  span {
    padding: 5px;
  }
</style>

<main class="main">
  <!-- CODE 1 -->
  <h1 i18n>
    Hello!! We're thrilled that you've decided to use Localazy for translating your {{ title() }} app!
  </h1>

  <!-- CODE 2 -->
 <ng-container i18n>I am free, wrapped just in a body</ng-container>

  <!-- CODE 3 -->
  <div
    i18n="merged div translation"
    i18n-data-title="merged div translation"
    data-title="Can we also translate this? Awesome!"
  >
    Can we also translate this? Awesome!
  </div>

  <!-- CODE 3 -->
  <div>
    <input type="number" min="0" [(ngModel)]="minutes" />
    <span i18="icu_plural">
      Updated {minutes(), plural, =1 {one minute ago} other {{{ minutes() }} minutes ago}}
    </span>
  </div>

  <!-- CODE 4 -->
  <div>
    <select [(ngModel)]="user">
      <option value="male" i18n>Male</option>
      <option value="female" i18n>Female</option>
      <option value="you" i18n>in love with Localazy!</option>
    </select>
    <span i18n>The author is {{ user() }}</span>
  </div>
</main>
Block 1: i18n attribute 🔗
<h1 i18n>
    Hello!! We're thrilled that you've decided to use Localazy for translating your {{ title() }} app!
 </h1>
The i18n attribute marks the text within the <h1> tag for translation. The extracted translated files will appear in the translation file, allowing translators to provide equivalents in other languages.
Block 2: Text grouping 🔗
<ng-container i18n>I am free, wrapped just in a body</ng-container><ng-container> is a grouping element in Angular templates that does not render any actual HTML in the DOM. This means the text exists freely within the body without any form of tags or wrappers. The i18n attribute also marks the text within for translation.
Block 3: Data attributes 🔗
 <div
    i18n="merged div translation"
    i18n-data-title="merged div translation"
    data-title="Can we also translate this? Awesome!"
  >
    Can we also translate this? Awesome!
  </div>
Within the <div> tag, we can translate both the element text and HTML attributes (like data-title).
i18n="merged div translation" provides a description to translators, while i18n-data-title="merged div translation" marks the data-title attribute for translation as well.
Block 4: Pluralization 🔗
 <div>
     <input type="number" min="0" [(ngModel)]="minutes" />
      <br />
      <span i18n>Updated </span>
      <span i18="icu_plural">
        {minutes(), plural, =1 {one minute ago} other {{{ minutes() }} minutes ago}}
      </span>
 </div>
This block handles pluralization with Angular’s ICU syntax. The input binds to the component variable minutes using [(ngModel)]. The first span marks the text within the tag for translation. The second span displays a message that depends on the minutes value:
If minutes == 1, the span reflects one minute ago. Otherwise, the span shows, for example, 5 minutes ago.
The code snippet above respects the CLDR rules and, therefore, will be parsed in Localazy. If we don’t respect the rules, we do not lose a phrase, don’t worry. It will be transferred to Localazy and kept as-is.
You can get familiar with the list of possible forms for common world languages on the Language Plural Rules of the Unicode Common Locale Data Repository (CLDR)
Block 5: User attributes 🔗
<div>
    <select [(ngModel)]="user">
      <option value="male" i18n>Male</option>
      <option value="female" i18n>Female</option>
      <option value="you" i18n>in love with Localazy!</option>
    </select>
    <span i18n>The author is {{ user() }}</span>
  </div>
The <select> binds to a component variable user. The options themselves (Male, Female, etc.) are marked with i18n for translation.
The span displays: "The author is male" / "The author is female" / "The author is in love with Localazy!" depending on the selected value.
To avoid compilation errors, we need to import FormsModule into our app.ts file. This gives template-driven forms support, like [(ngModel)].
We can also include the code snippets:
protected readonly minutes = signal(0);
protected readonly user = signal('localazy');
Signal is the new Angular reactive primitive (introduced in Angular v16) used to create reactive state variables just like useState()in React. Each property (minutes, user) is a signal, a reactive value that automatically triggers re-render when changed.
Modify the file so it looks like this:
import { Component, signal } from '@angular/core';
import { RouterOutlet } from '@angular/router';
import { FormsModule } from '@angular/forms';

@Component({
  selector: 'app-root',
  imports: [RouterOutlet, FormsModule],
  templateUrl: './app.html',
  styleUrl: './app.css'
})
export class App {
  protected readonly title = signal('angular-i18n-localazy-demo');
  protected readonly minutes = signal(0);
  protected readonly user = signal('localazy');
}
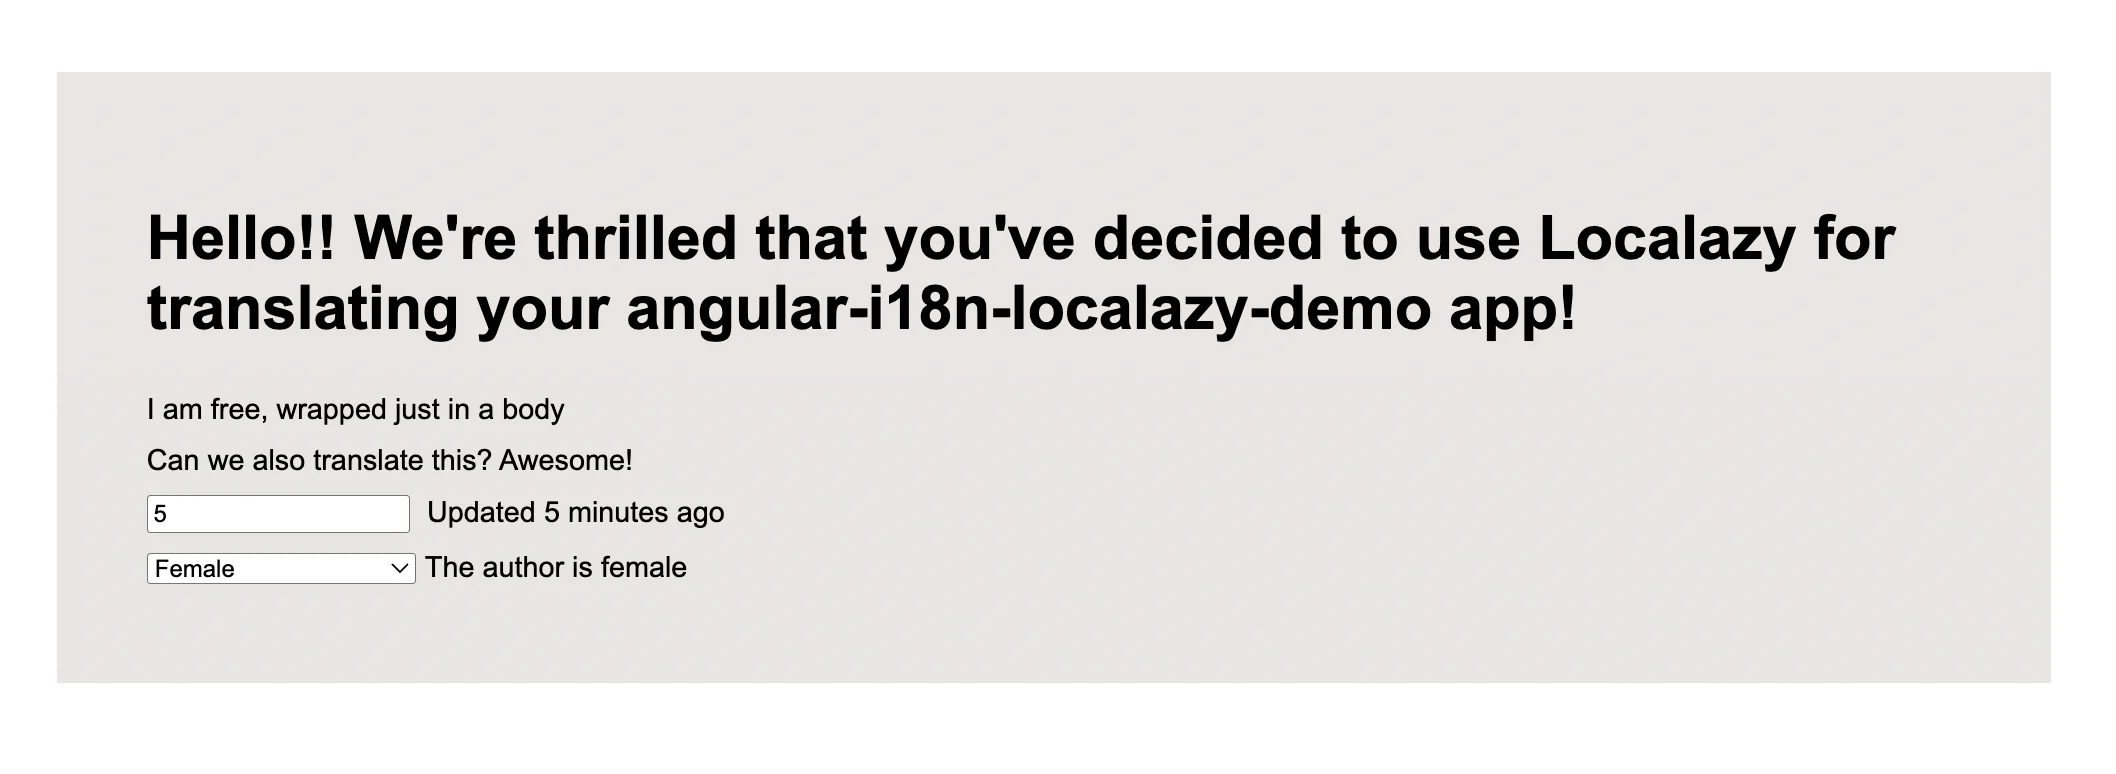
The UI should be similar to the following screenshot:
📨 Extracting a source language file 🔗
Our template is now prepared and ready to be translated. Now we need to define a source language in the angular.json configuration file. Open the file and add:
...
"projects": {
  "angular-i18n-localazy-demo": {
    ...
    "i18n": {
        "sourceLocale": "en",
      },
      ...
  }
}
To ensure that we have a correct setup, a sourceLocale value should be equal to Localazy project’s source language code (in our case “en”).
Next, we'll use the Angular CLI command to extract the marked text in the template into the source language file. Open a terminal window in the project root directory and run:
ng extract-i18n --output-path src/locale --out-file en.xliff --format=xlf2This command creates a en.xliff file in the ./src/locale directory.

🪁 Localization with Localazy 🔗
Once your app is internationalized, localization (l10n) comes into play, as this is where you adapt your app for specific audiences by translating the extracted text, adjusting formats, and applying cultural differences.
i18n sets up your app for global readiness, while localization makes it feel native to each user’s region
This is the part where the real fun begins. In any project, we certainly do not want to handle things that can be automated manually. A manual approach is error-prone, boring, and takes a long time. And localization is undoubtedly one of the processes that can benefit from automation.
Create a new project 🔗
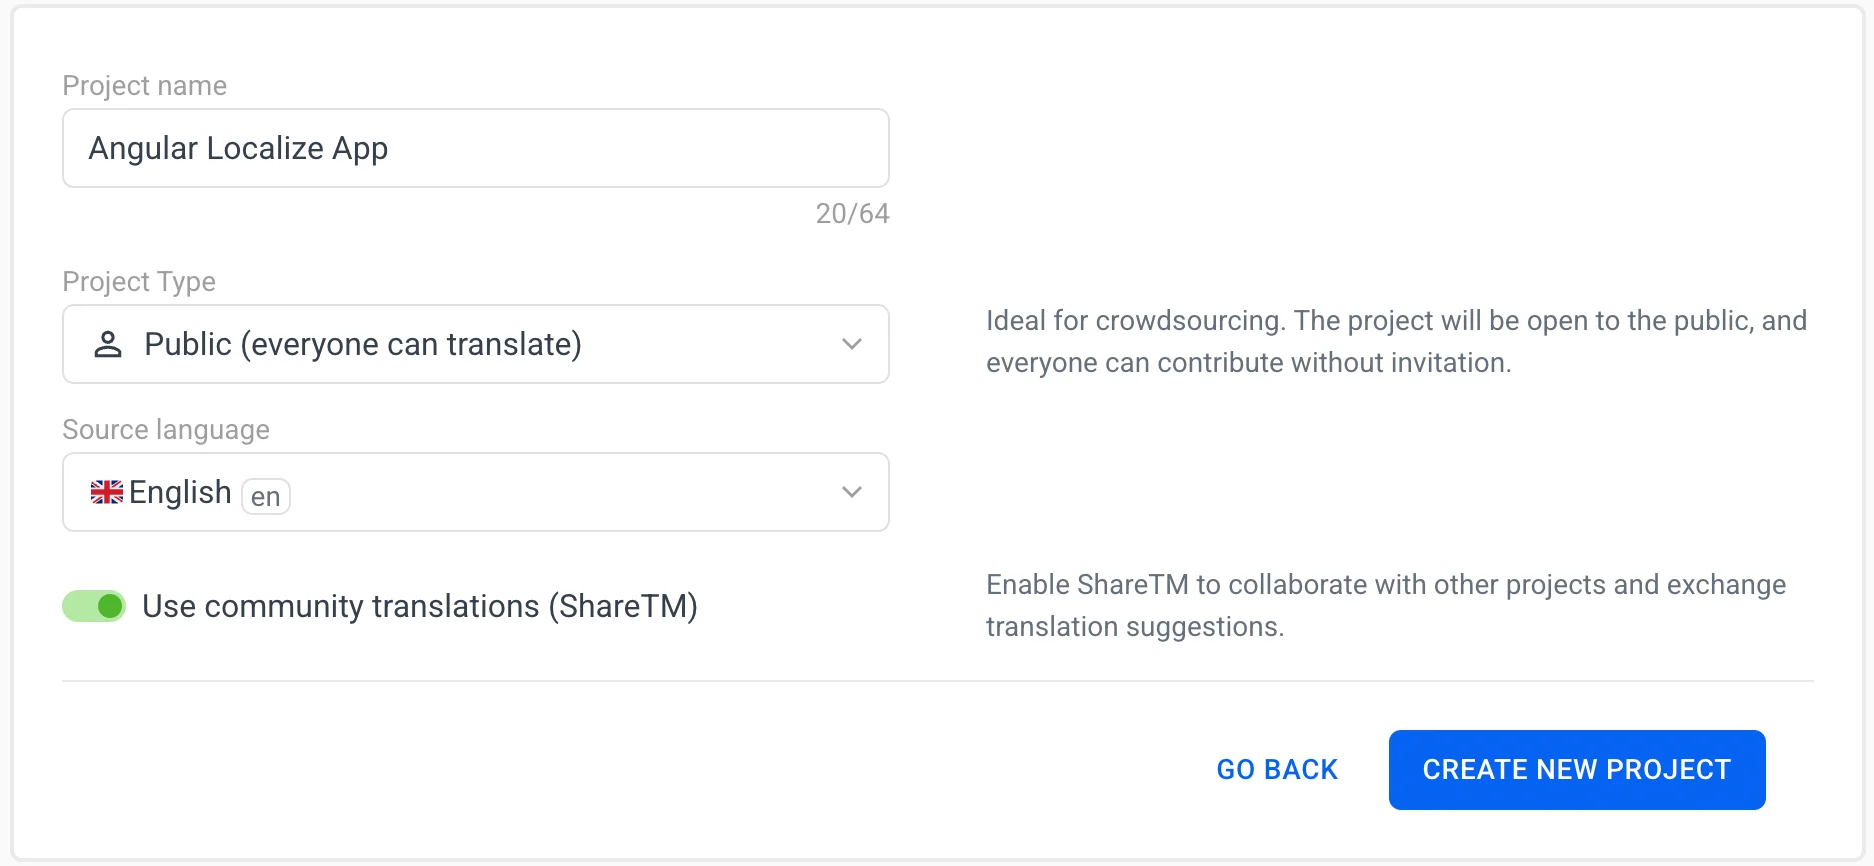
Go to Localazy signup, join our community by creating an account, then create a new project. We can leave it public so other contributors can freely help with translating our app. Select English as a source language (generally, of course, you can use any other). Also, enable the Use community translations (ShareTM) option, so some parts of the app can be translated automatically.
The project is successfully created. On the integration filter, we can search and choose Angular.
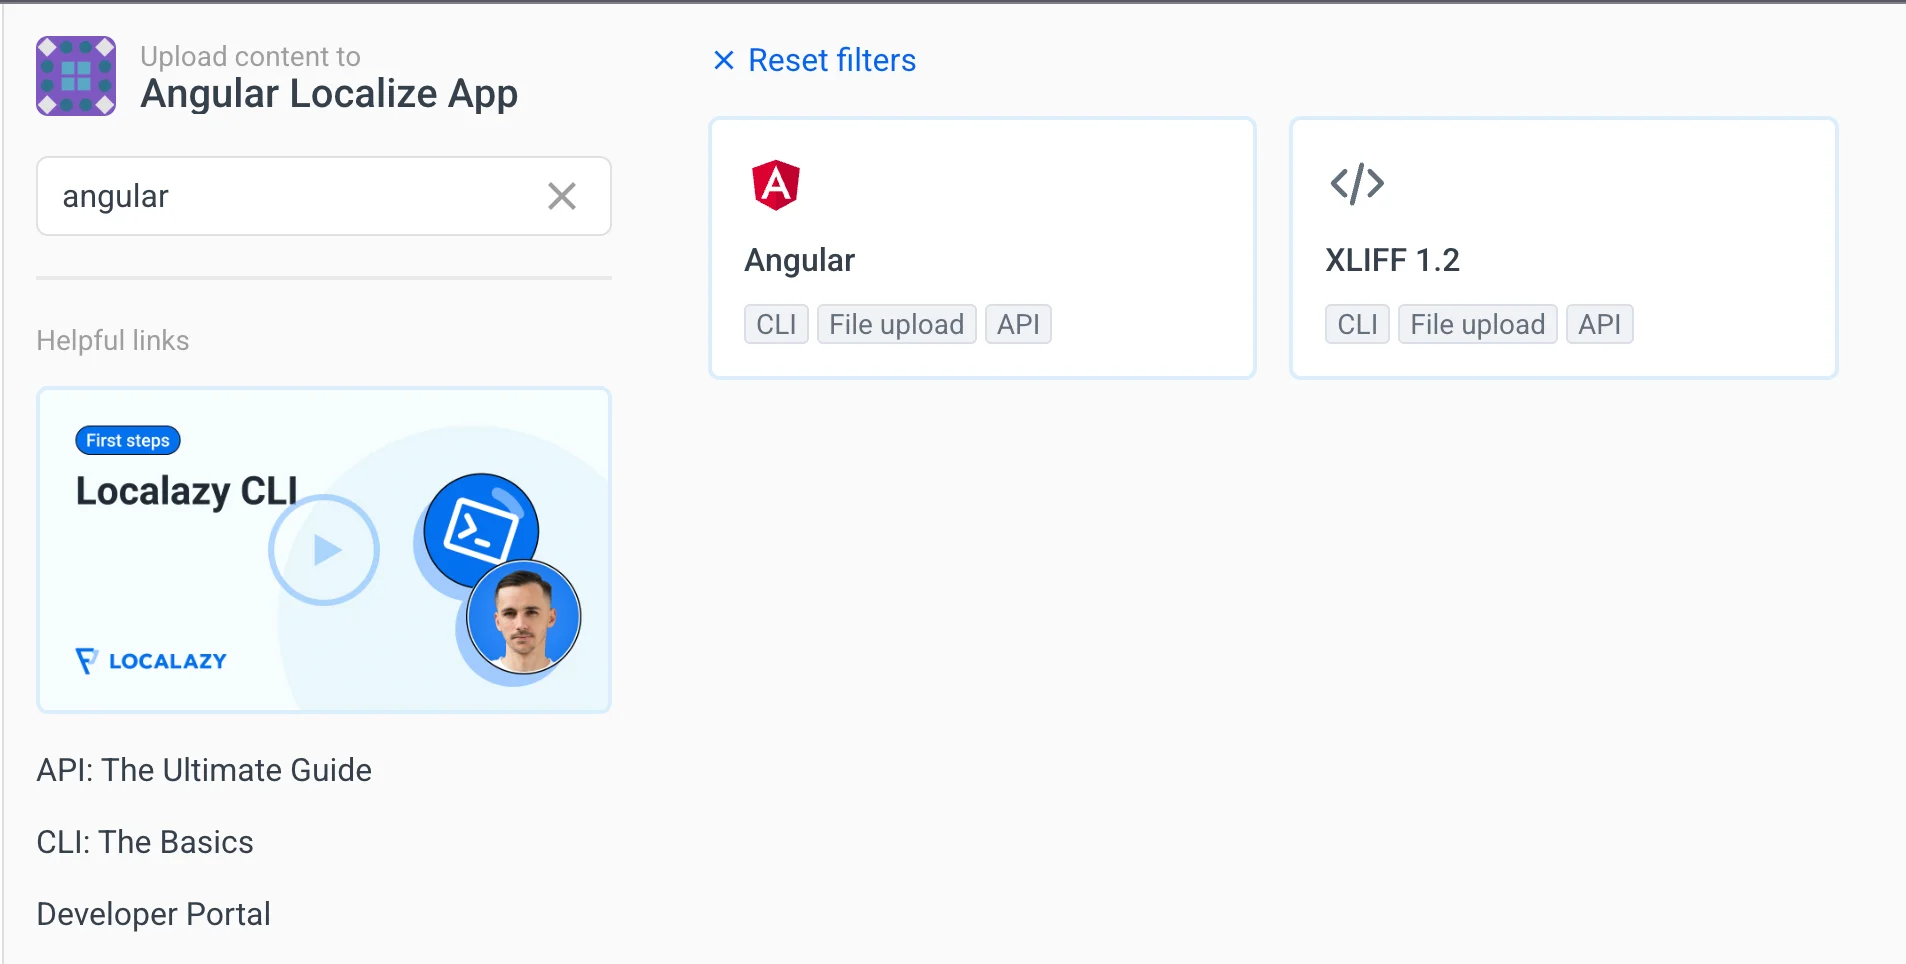
Angular integration and content upload 🔗
After clicking on the Angular button, we see the integration instructions.
Let’s dig into the process a step at a time:
- Install Localazy CLI by running the command in our demo app’s terminal.
npm install -g @localazy/cli2. Afterwards, create a configuration file localazy.json in the root folder of your project. Modify the file and include the following snippets:
{
"writeKey": "<your-write-key>",
"readKey": "<your-read-key>",
"upload": {
"type": "xliff",
"files": "src/locale/en.xliff",
"features": ["parse_plurals_icu"]
},
"download": {
"files": "src/locale/${lang}.xliff"
}
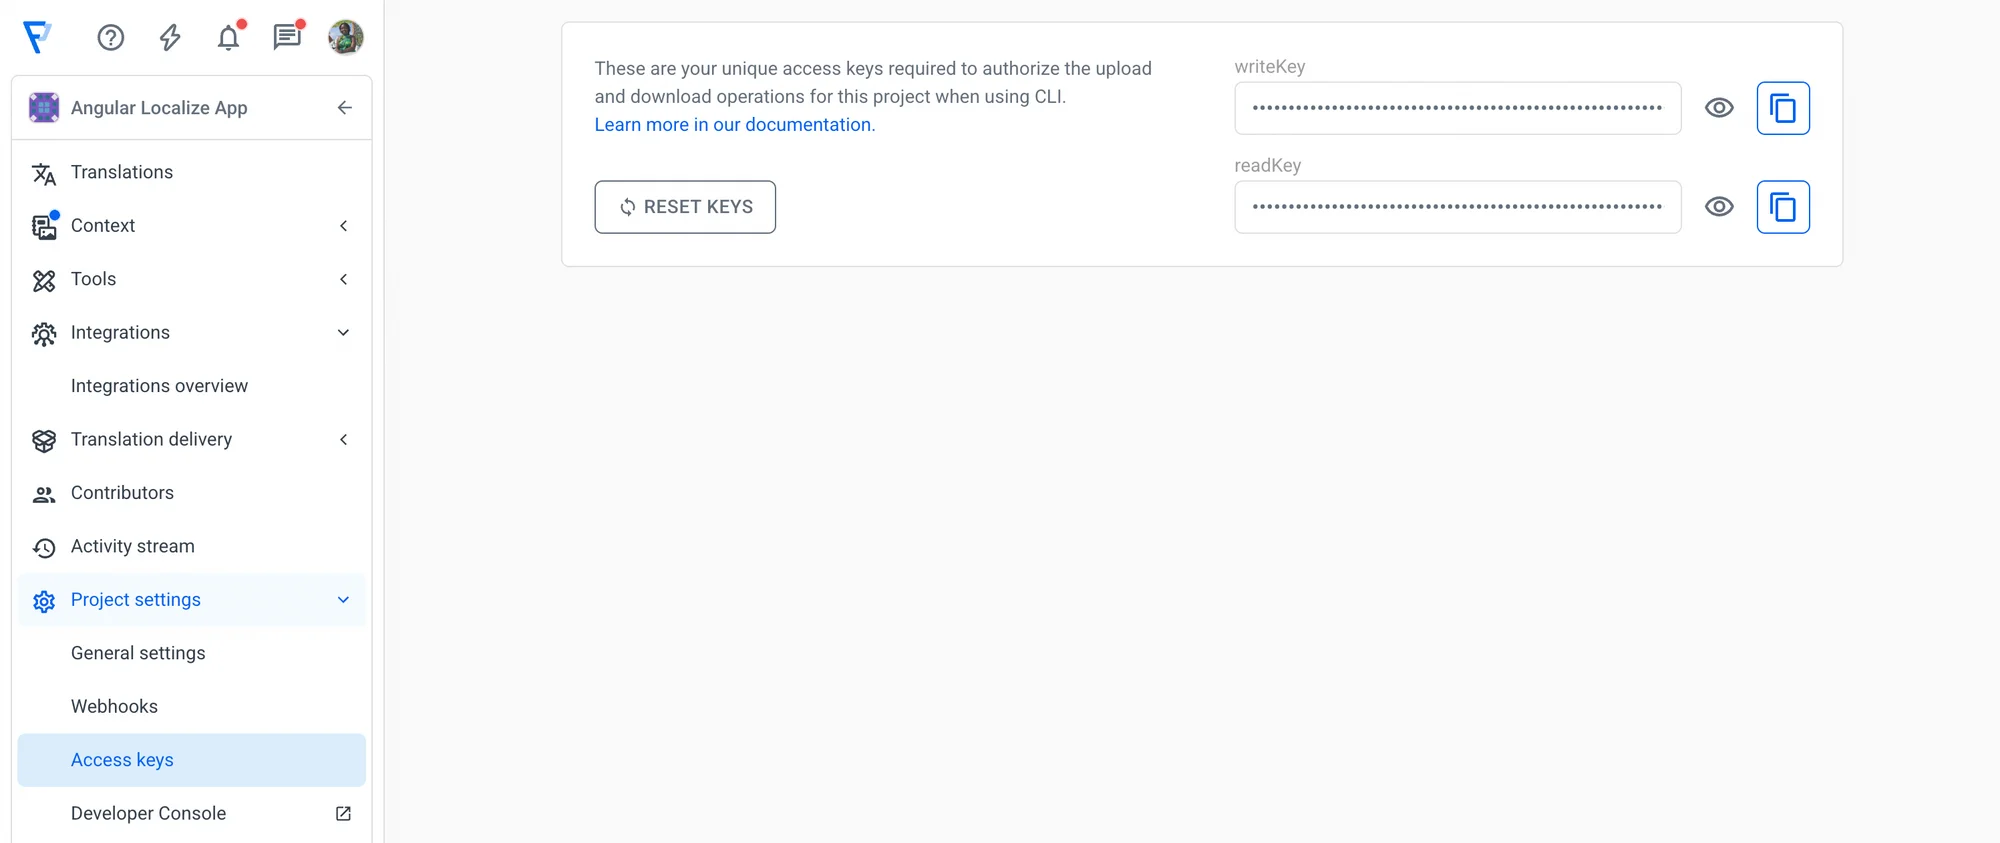
}The writeKey and the readKey can be obtained from the Access Keys tab on the project dashboard. These keys are used to authorize our request.
The upload section instructs Localazy CLI on how to collect files to be uploaded and, optionally, provides metadata for these files. In our case, the type of file we'll upload to the dashboard is an XLIFF file, which can be found in the src/locale directory. Because we have defined some plurals string resources in ICU Message Format earlier, we need to add parsing support for ICU plurals within the upload section.
The download section describes how to process translated files and where to write them. In our case, after successful translation, the downloaded translated files will be placed in src/locale/${lang}, where lang is the language of the translated file.
Now it’s finally time to upload our source language phrases to Localazy. Navigate to the project terminal and run the following command:
localazy upload -s
Great! We’ve just simulated (-s stands for simulate) the upload without actually uploading anything. It is a good practice to test out the configuration to make sure that nothing unexpected occurs.
For example, having an incorrect writeKey or (and) readKey pasted would output lines similar to these:
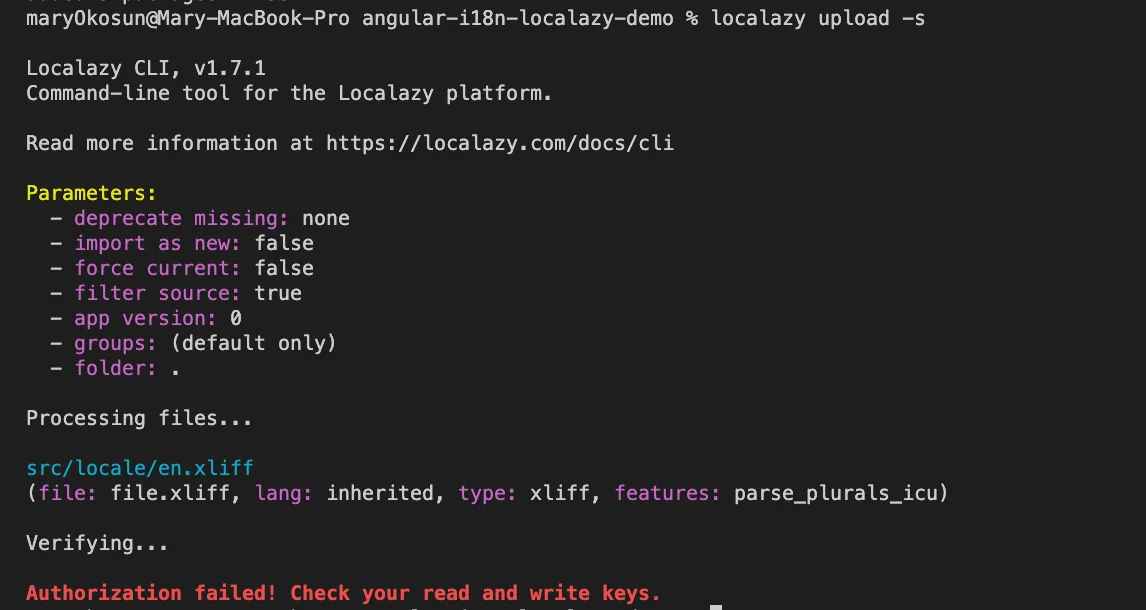
However, with the correct writeKey and readKey, a proper simulation will verify and validate the process.
Now let’s upload the phrases for real:
localazy uploadWe can either refresh the browser to see the uploaded content or redirect to the project link in the terminal:
Verifying...

Validating...

Uploading 1 kB...

Upload results: 9 added, 0 updated, 0 deprecated
Using 230 out of 800 source keys

Your app on Localazy: https://localazy.com/p/angular-localize-app
Translation and download 🔗
The next step is to add new languages.
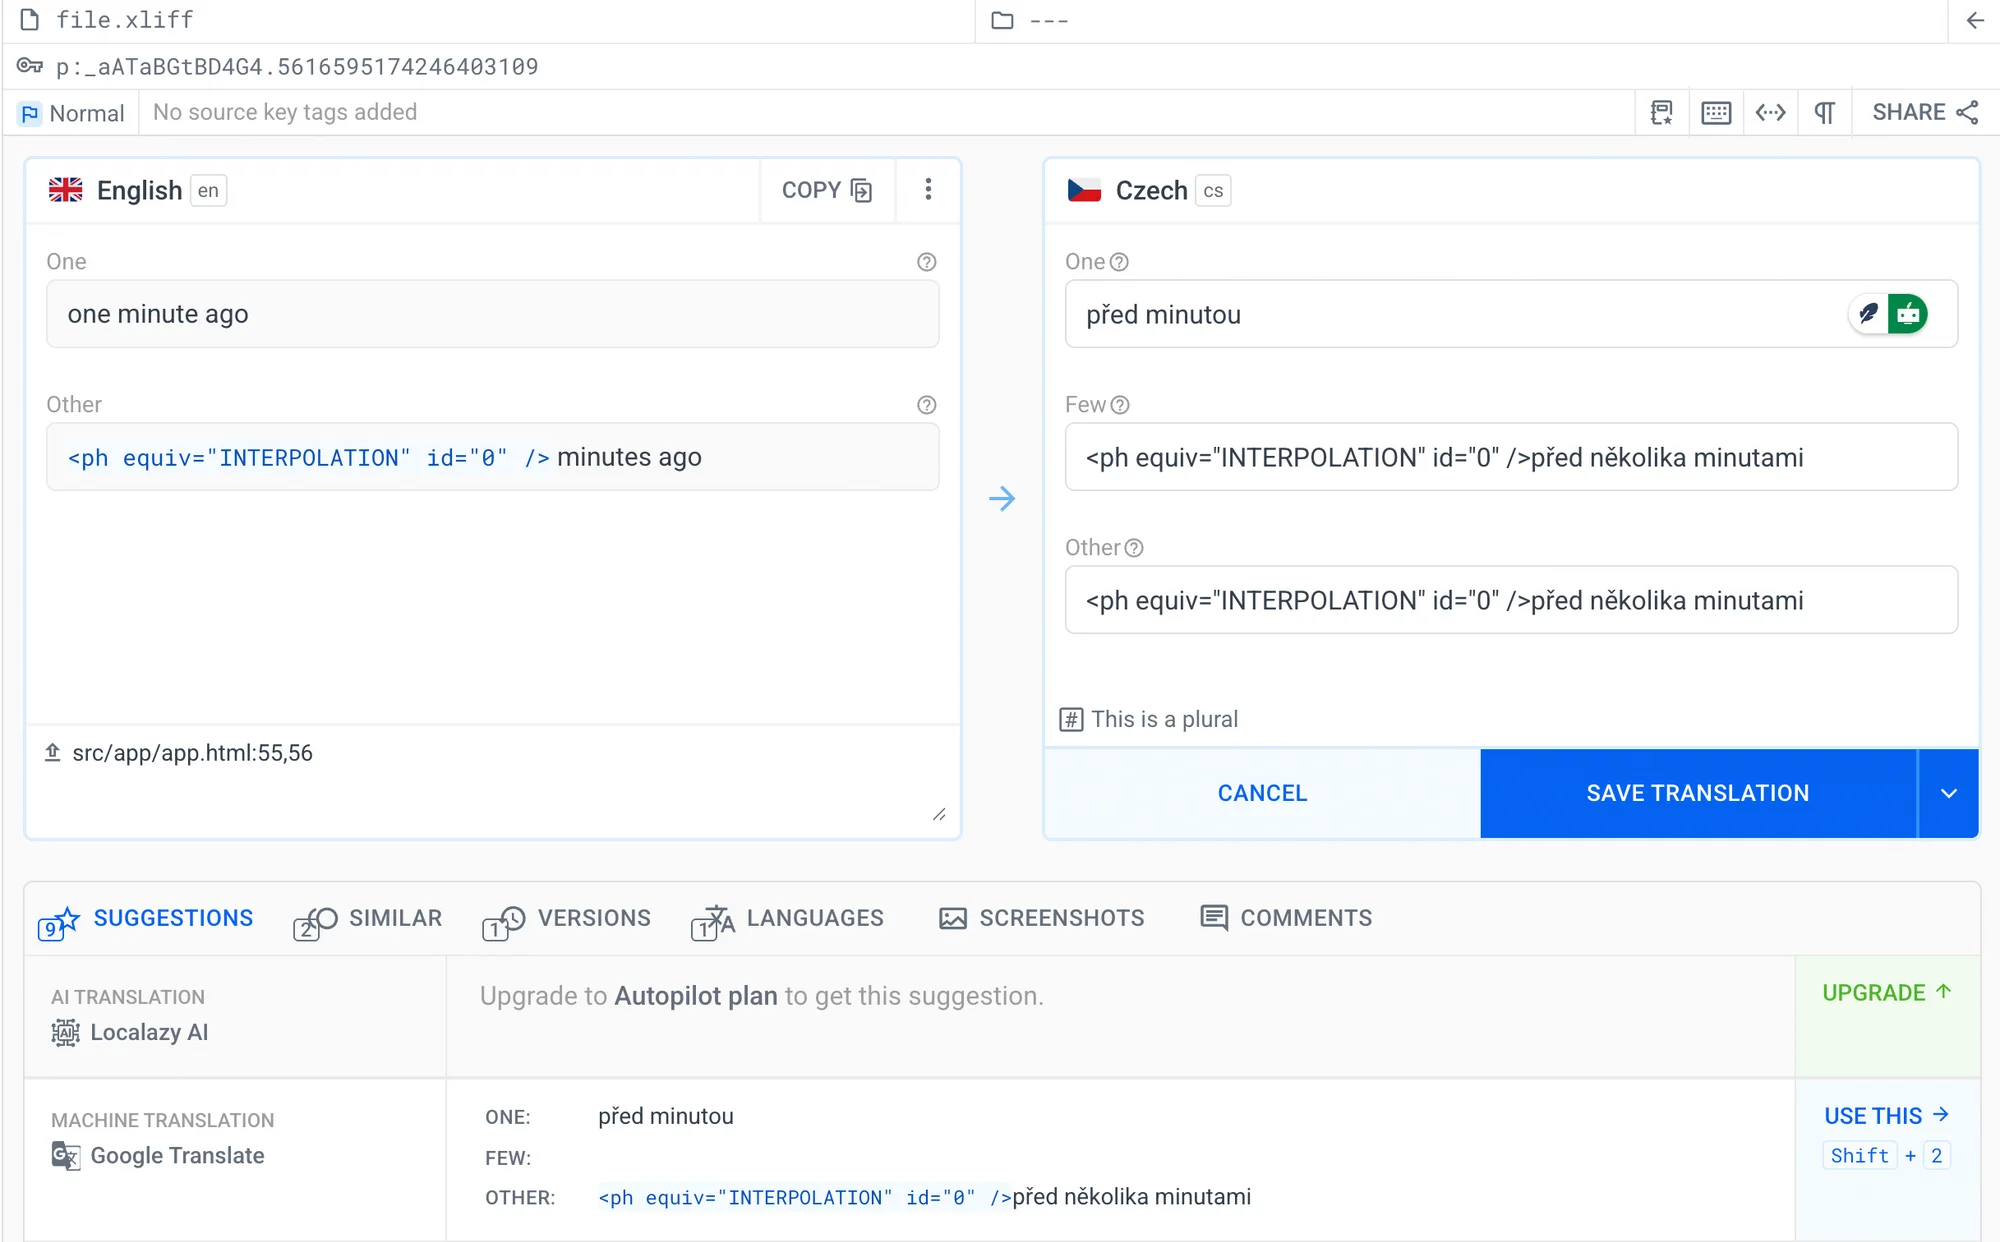
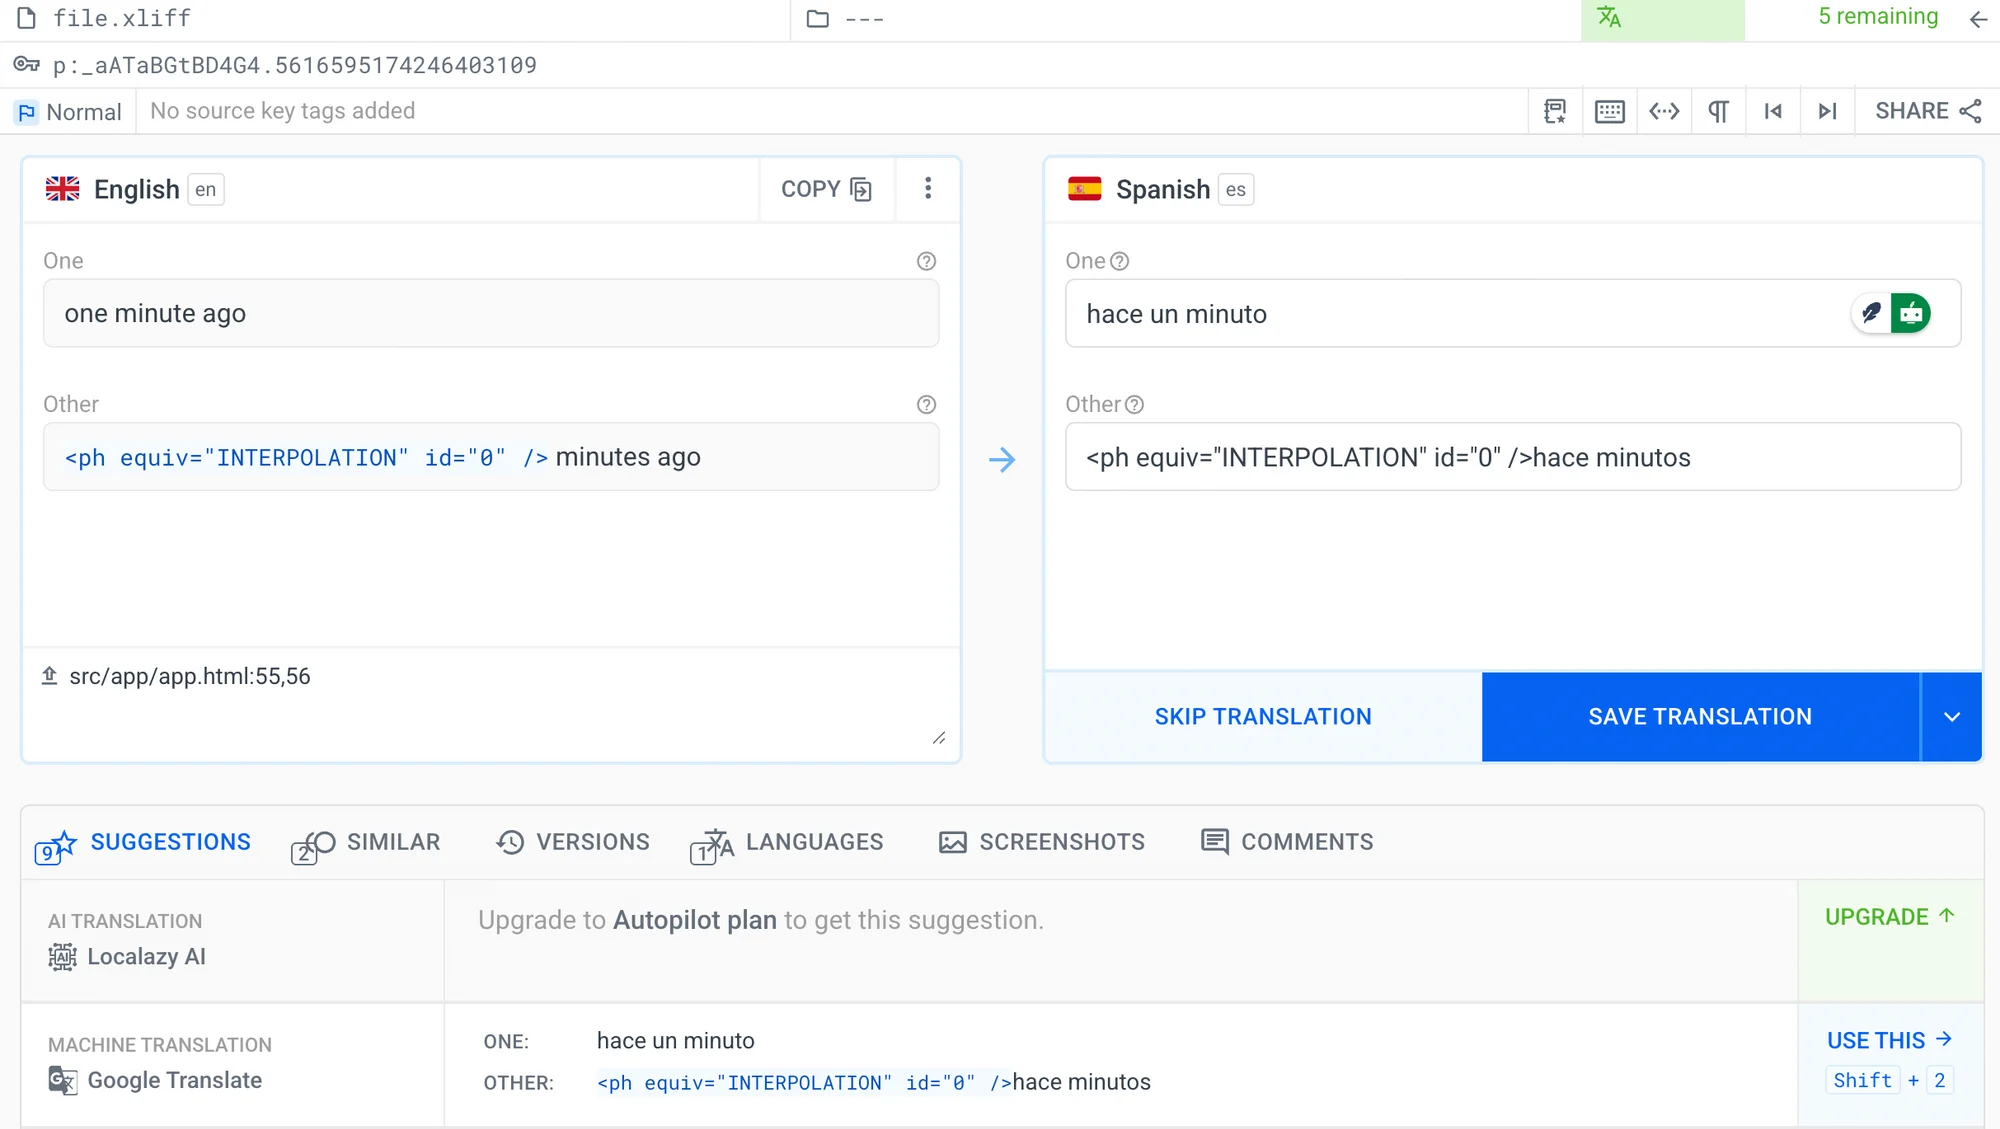
In our case, we will be translating our content to Czech (cs) and Spanish(es):
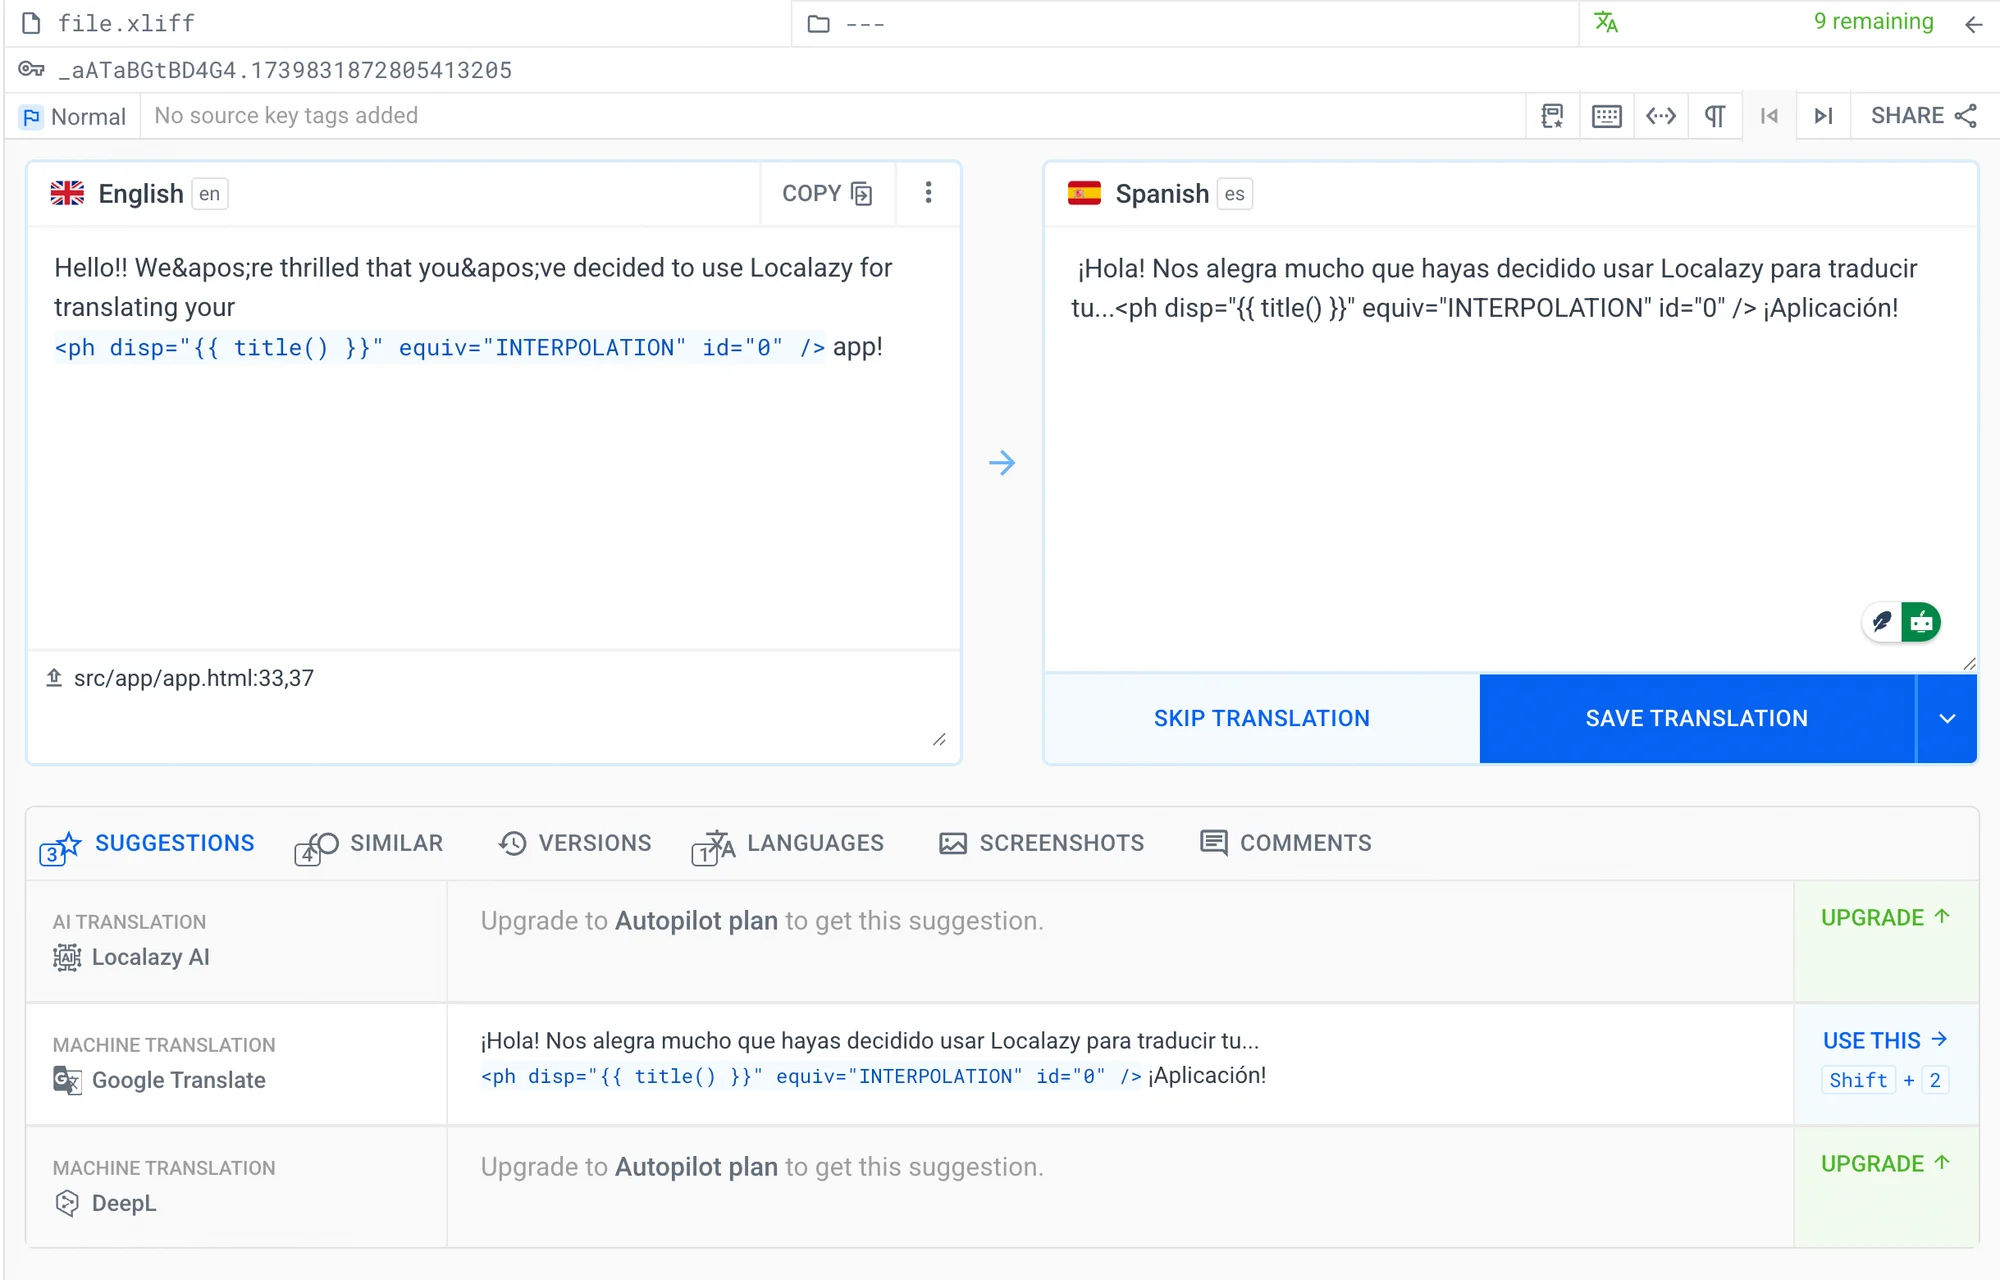
Using the pluralization rules we mentioned earlier, we can notice that Localazy automatically recognized the language plural rules. When translating to Czech(cs), we can see that we have options for one, few, and others, while for the translation to Spanish(es), we have options for only one and others according to the language plural rules noted above:
Translating plural rules is possible either through pre-translation with Localazy AI or using human translators. Both suggestions can be activated for the Autopilot plan and higher.
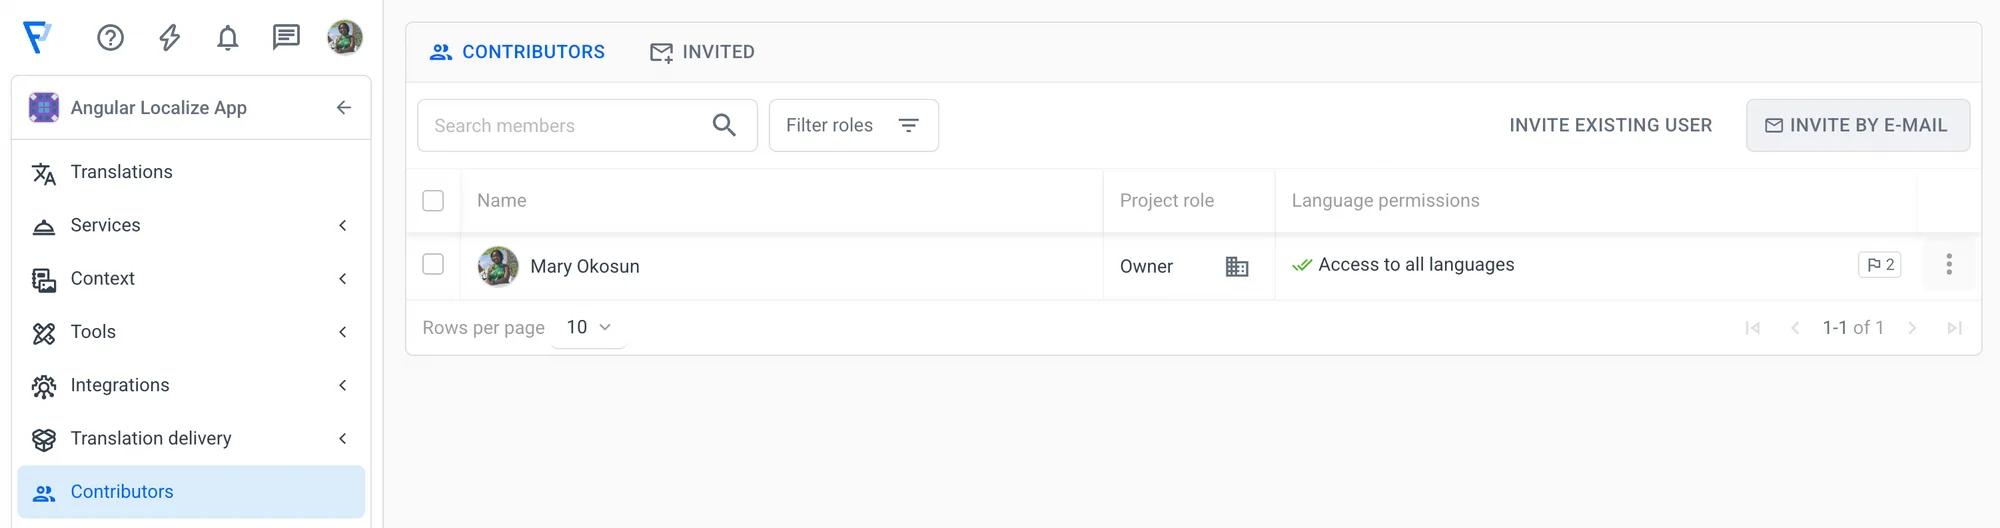
After the initial automatic translations with your preferred MT engine or Localazy AI, we can invite human reviewers as contributors and translators by email and assigning them a specific language to translate:
We can also place an order for professional human translators and reviewers and let Localazy’s team of professional linguists handle it for you. This hybrid process checks and improve these translations, giving us speed and accuracy with less manual effort.
Let’s finish translating our app and get back to our Angular project.
It’s time to download our translated phrases:
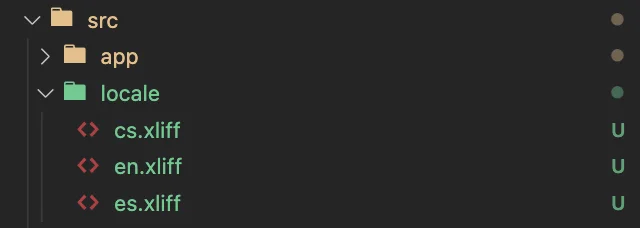
localazy downloadThis command downloads all the freshly added languages and newly accepted phrases. We now have the cs.xliff and es.xliff files in our locale folder containing translated phrases. Let’s build the project!
🗣️ Build your project in different languages 🔗
Due to the deployment complexities of i18n and the need to minimize rebuild time, the development server only supports localizing a single locale at a time. For these reasons, we need to update the angular.json project configuration that allows serving more locales at distinct ports at the same time.
Firstly, we need to define locales in the build configuration. Use the i18n project option to define a map of locale identifiers to translation files. Adapt the following code snippet from angular.json:
...
"projects": {
  "angular-i18n-localazy-demo": {
    ...
    "i18n": {
        "sourceLocale": "en",
        "locales": {
           "cs": {
            "translation": "src/locale/cs.xliff"
          },
          "es": {
            "translation": "src/locale/es.xliff"
          }
        }
      },
      ...
  }
}
Next, we need to apply specific build options for each locale. To do that, we can create a custom locale-specific configuration by specifying a single locale, as shown in the following example:
...
"projects": {
"angular-i18n-localazy-demo": {
...
"architect": {
"build": {
...
"configurations": {
...
"cs": {
"localize": [
"cs"
]
},
"es": {
"localize": [
"es"
]
},
"en": {
"localize": [
"en"
]
}
}
},
"serve": {
...
"configurations": {
...
"en": {
"buildTarget": "angular-i18n-localazy-demo:build:en",
"port": 4200
},
"cs": {
"buildTarget": "angular-i18n-localazy-demo:build:cs",
"port": 4201
},
"es": {
"buildTarget": "angular-i18n-localazy-demo:build:es",
"port": 4202
}
}
}
},
...
}
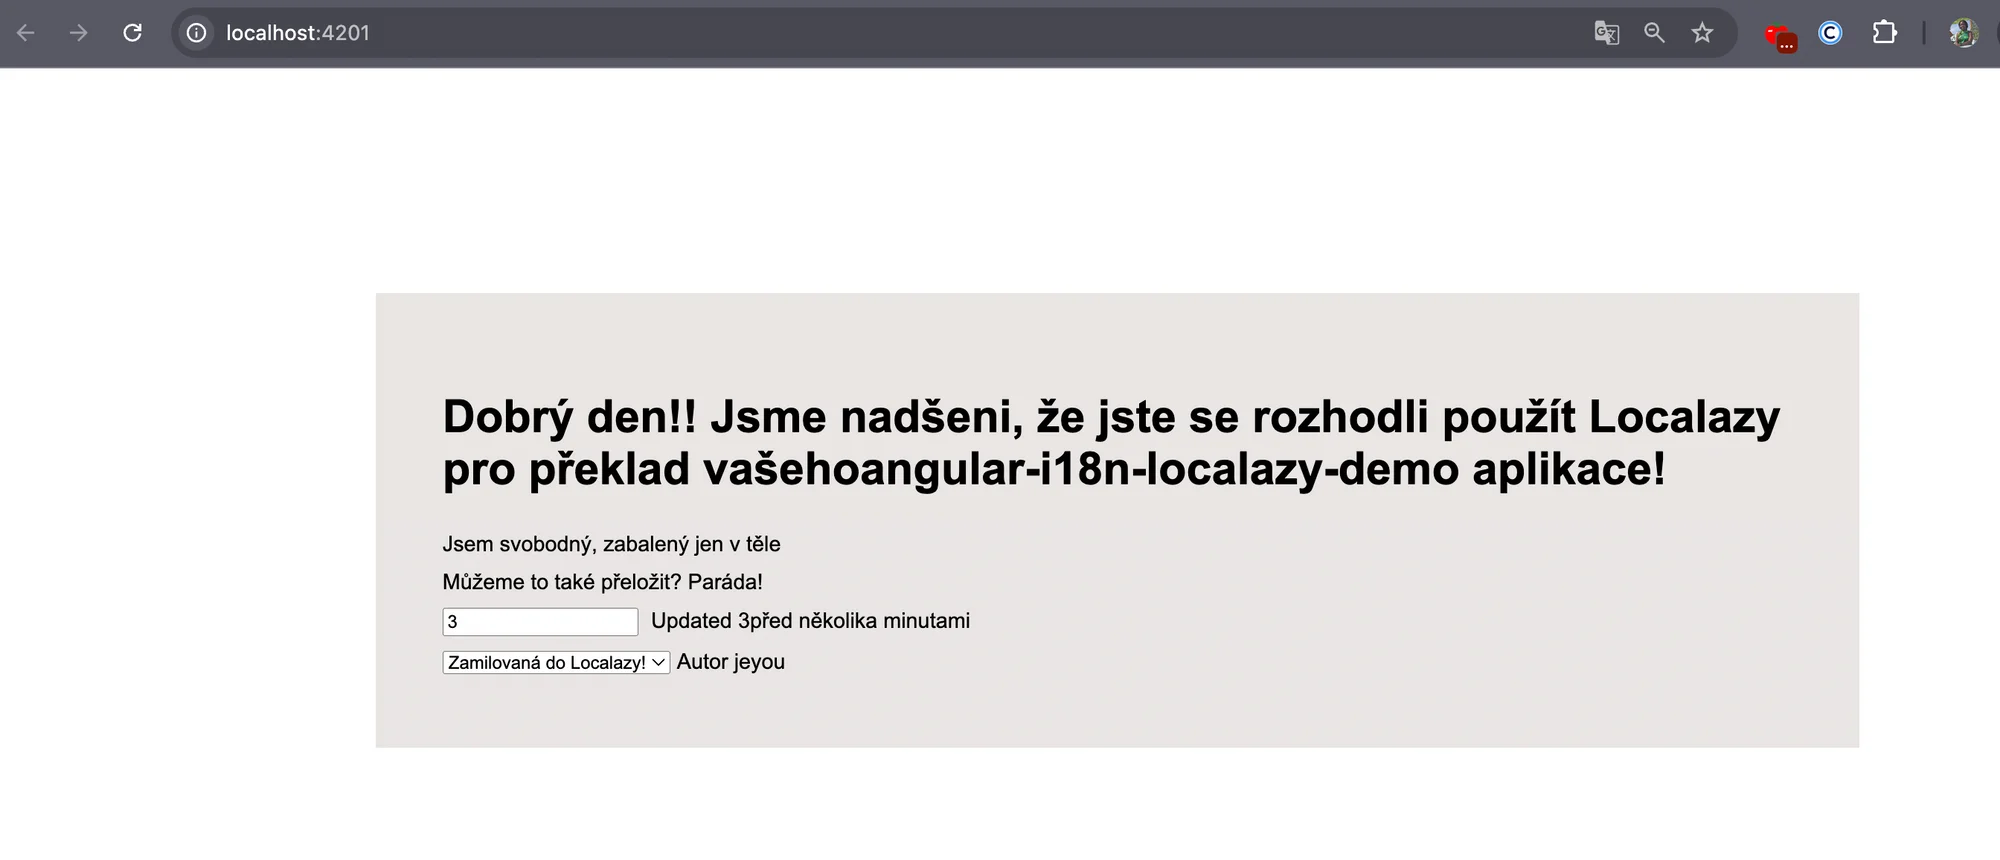
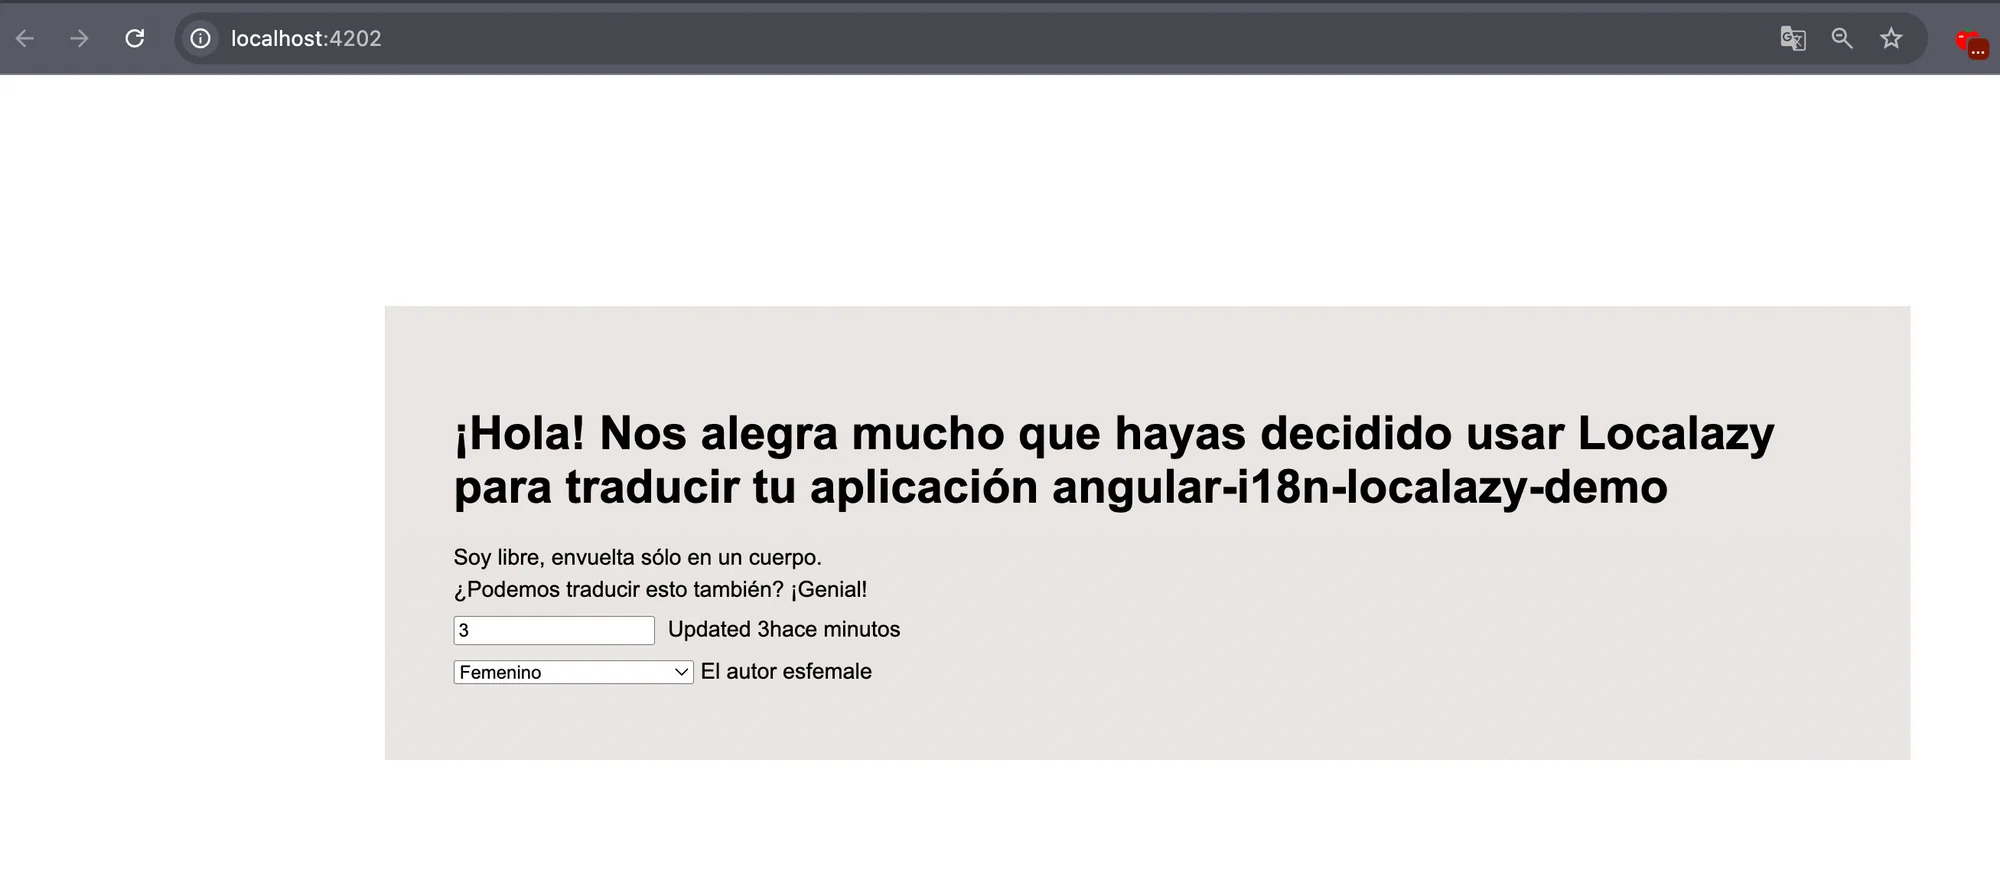
}Great! Our locale-specific project configuration is ready. Use three terminal windows pointing into the project root and run a command in each:
# 1st terminal window
ng serve -c=en

# 2nd terminal window
ng serve -c=cs

# 3rd terminal window
ng serve -c=es
✔️ Conclusion 🔗
In this article, we demonstrated how to use Localazy and the angular-i18n library to localize an Angular App. Localazy is a powerful tool that makes translating Angular and other applications faster, easier, error-proof, and more fun.
Now, you can download the repository with the demo project to explore it or start localizing Angular apps on your own! If you have any questions, check out the Localazy FAQs about the framework or drop the team a line for quick support. 📞