Before you get into today's topic, read the previous articles in this series to see what you can achieve with Automations:
- Translate Content Immediately After Uploading with MT
- Fine-Tune Your UX Copy Before Translating It
- Prevent Translation of Unwanted Strings
- Delete Deprecated Keys Automatically
- Apply Any Filters
❓ Why automate showing keys? 🔗
When going through a migration or project rebranding, there may be a bunch of keys that contain obsolete words, such as the old name of your app or links, etc. They are still present on Localazy and visible to translators, so if you keep translating your project while migrating/rebranding it at the same time, your translators could end up focusing on translations that will later be changed. That's a waste of their time and your money.
One possible solution is to stop translating everything until all texts are adapted for the new version. This could slow down the process and put pressure on the product team.
The other option is to hide the keys containing specific keywords so they are invisible to translators. That's a simple solution, but you need to remember to show these keys again as soon as they are migrated/rebranded. Or, our Automations can do that for you!
⚙️ Setting up the automation 🔗
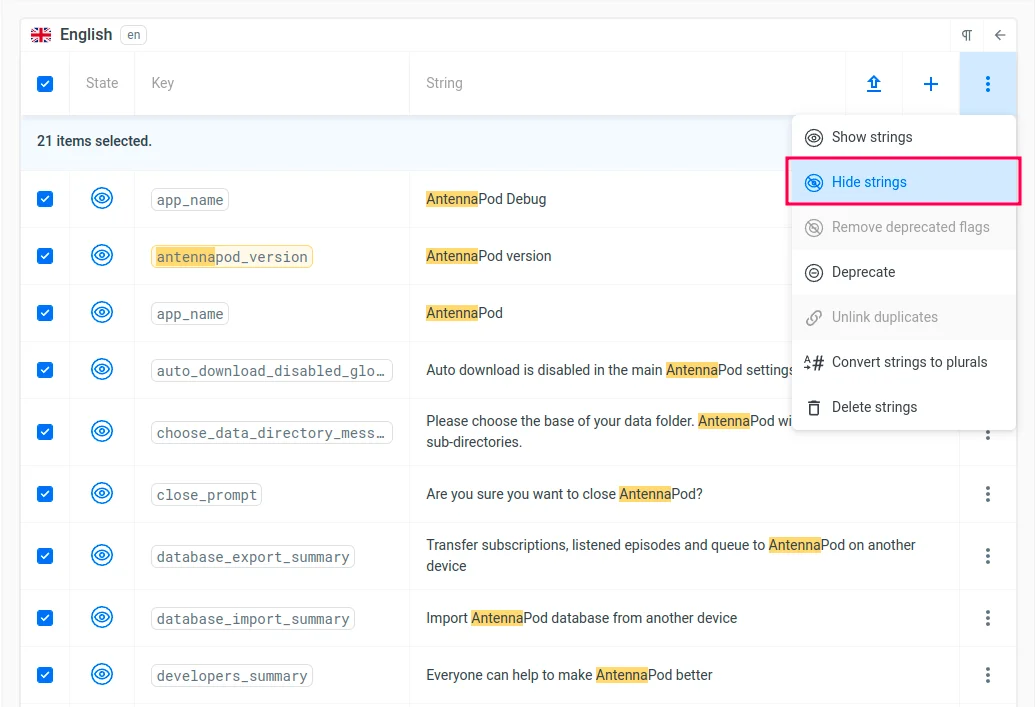
1. Hide all the obsolete keys 🔗
Just navigate to your project on Localazy, go to the source language management, and filter out keys containing your specific keywords. Select them all and hide them.
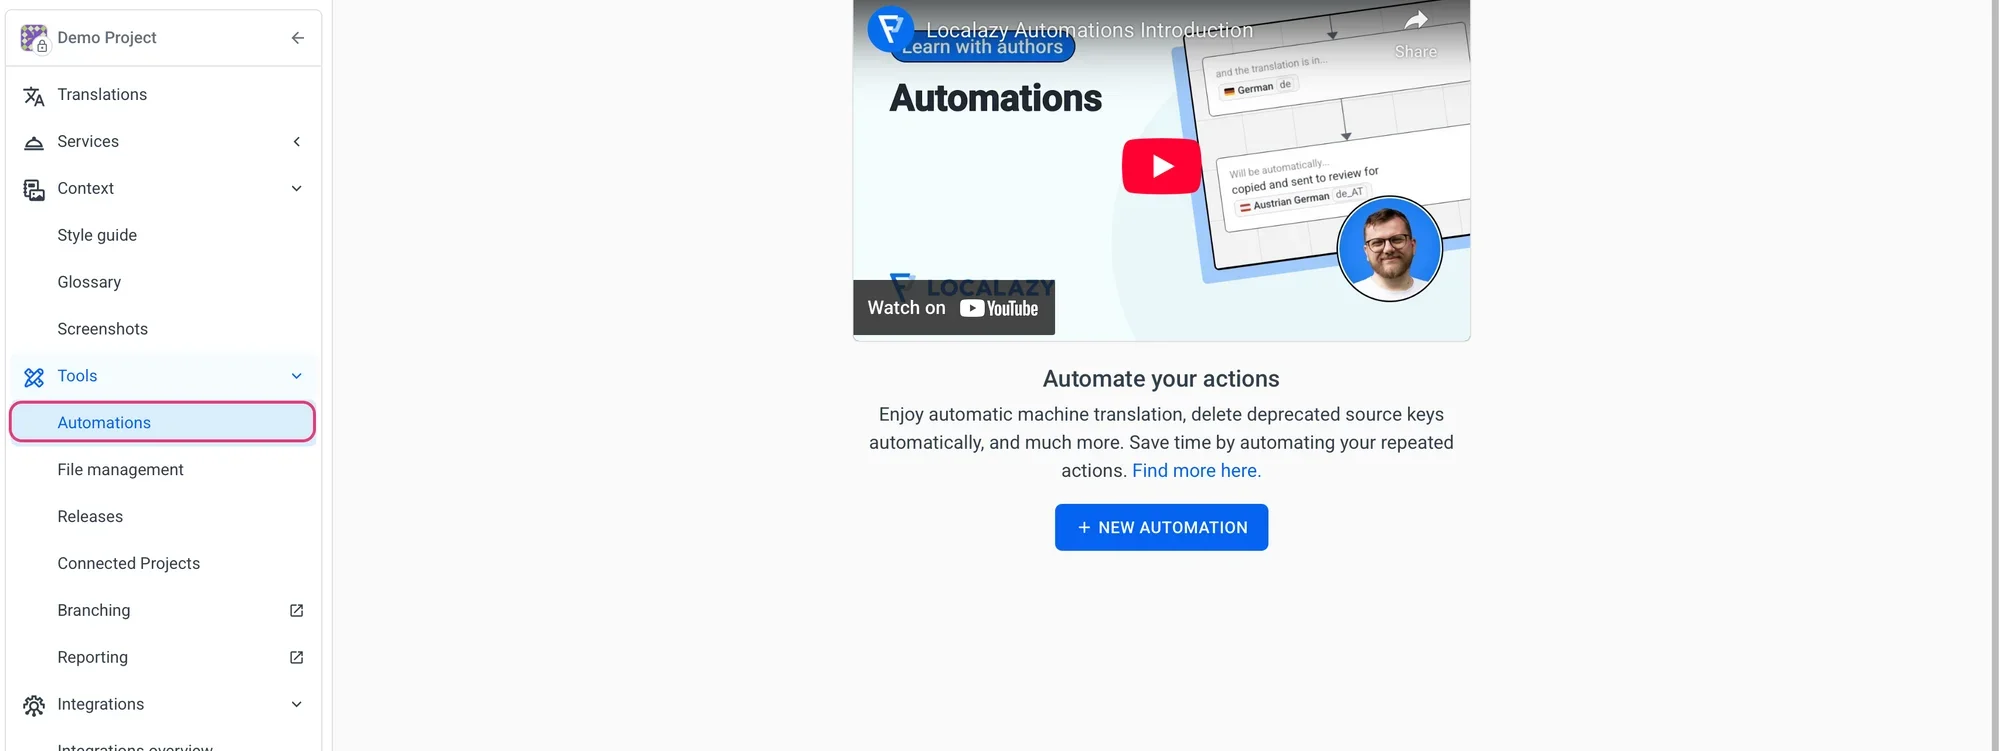
2. Create and configure a new automation 🔗
To create a new automation, go to the Localazy dashboard on the left and under Tools, you'll find Automations. Tap on "+ NEW AUTOMATION" and that's it (refer to the full docs on Automations for help).
My new automation is ready, needs to be configured. So, let's edit it.
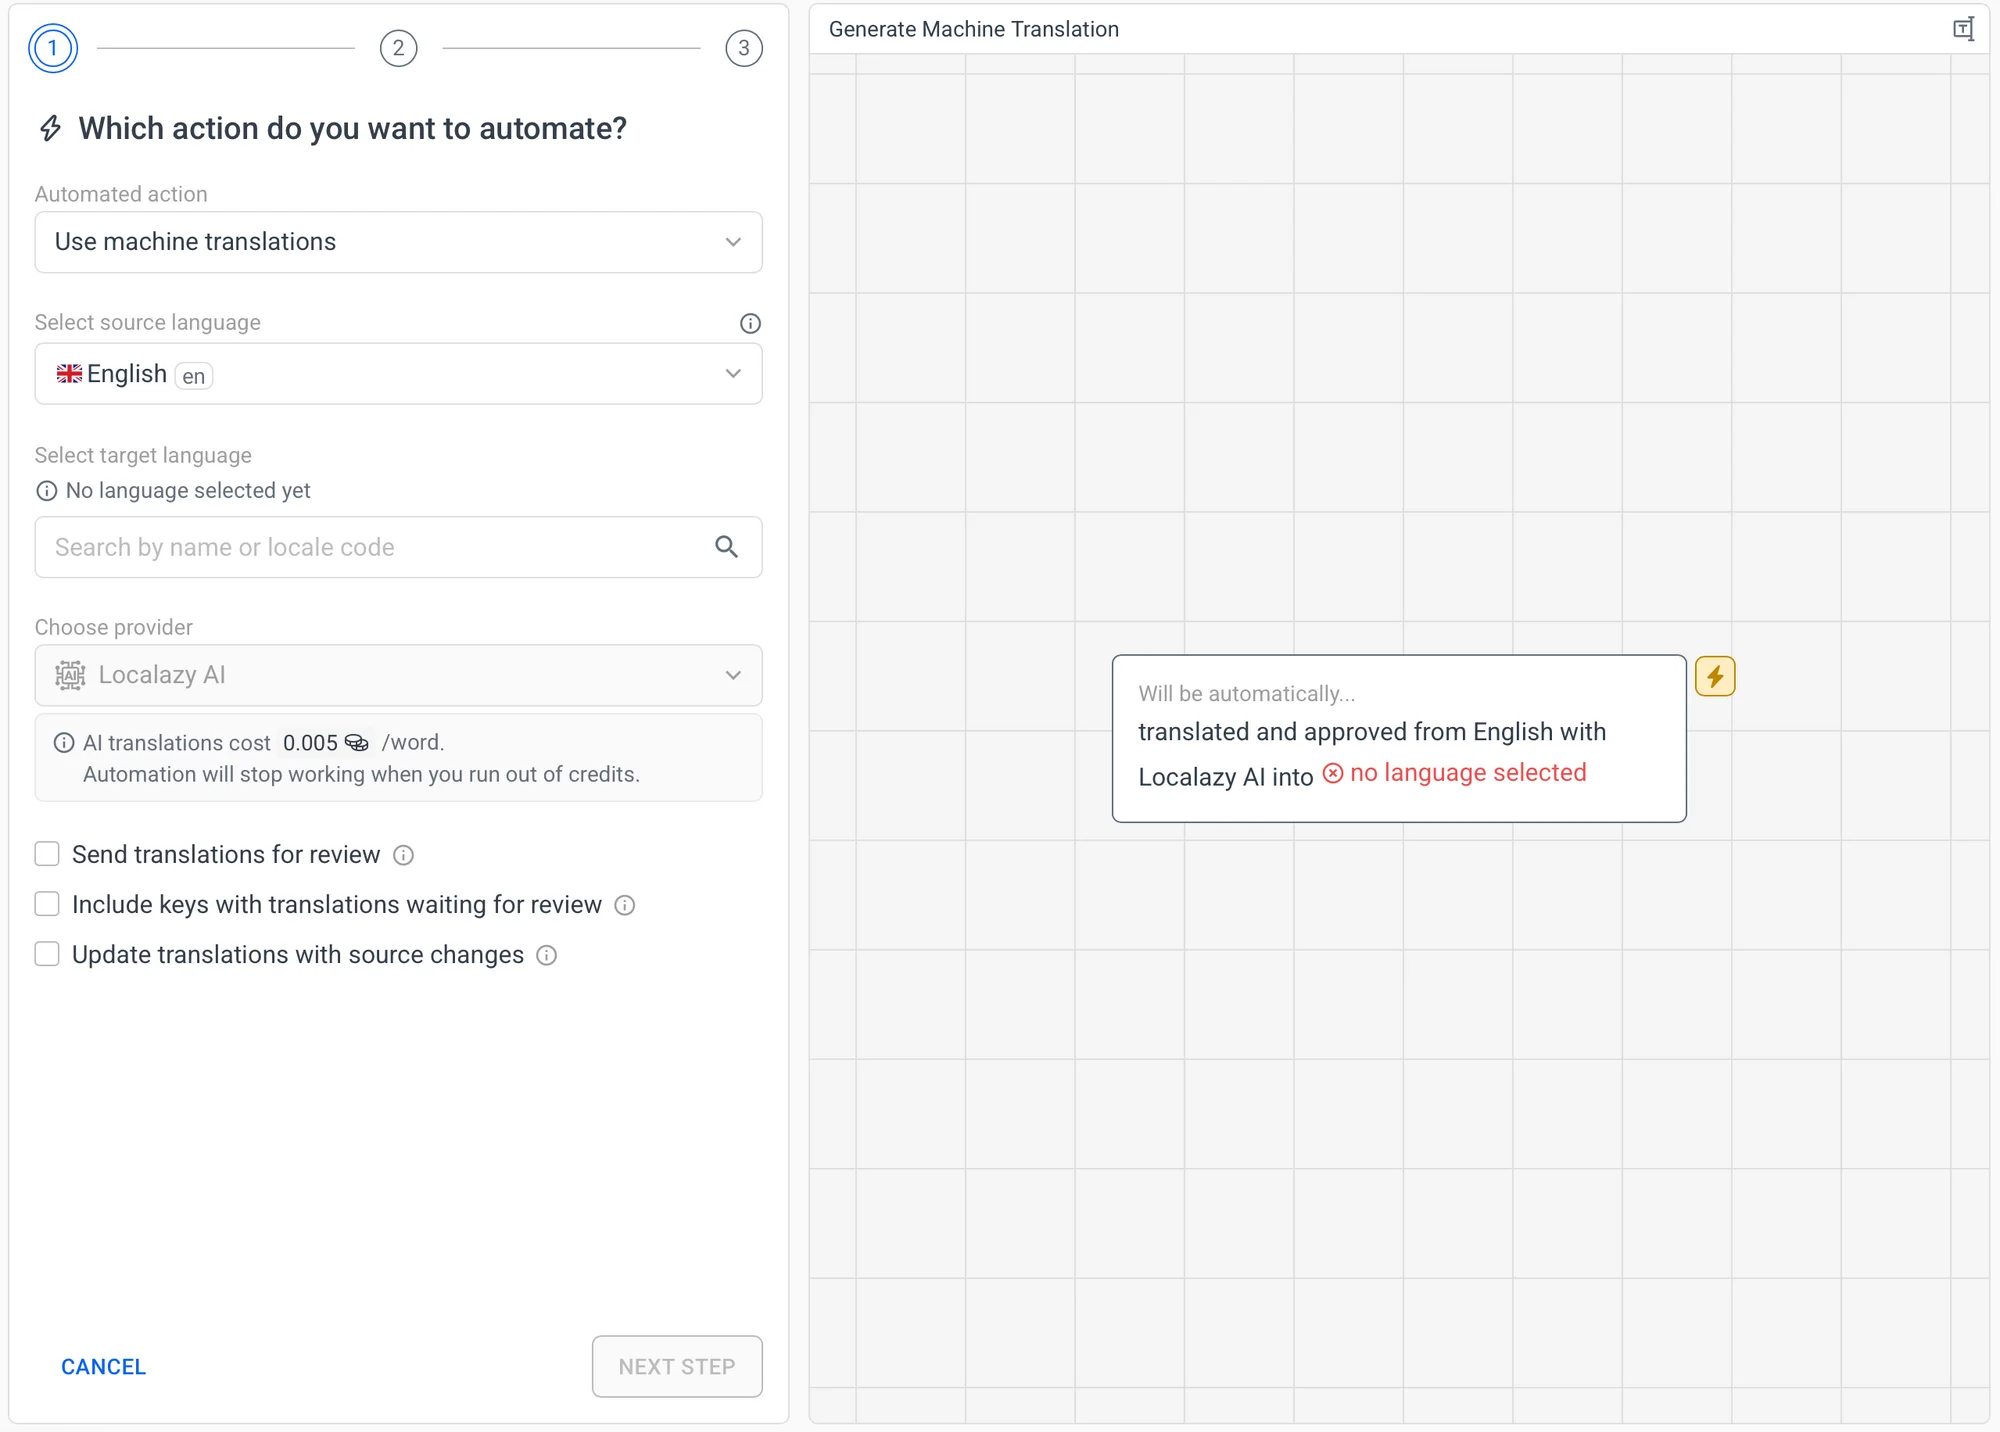
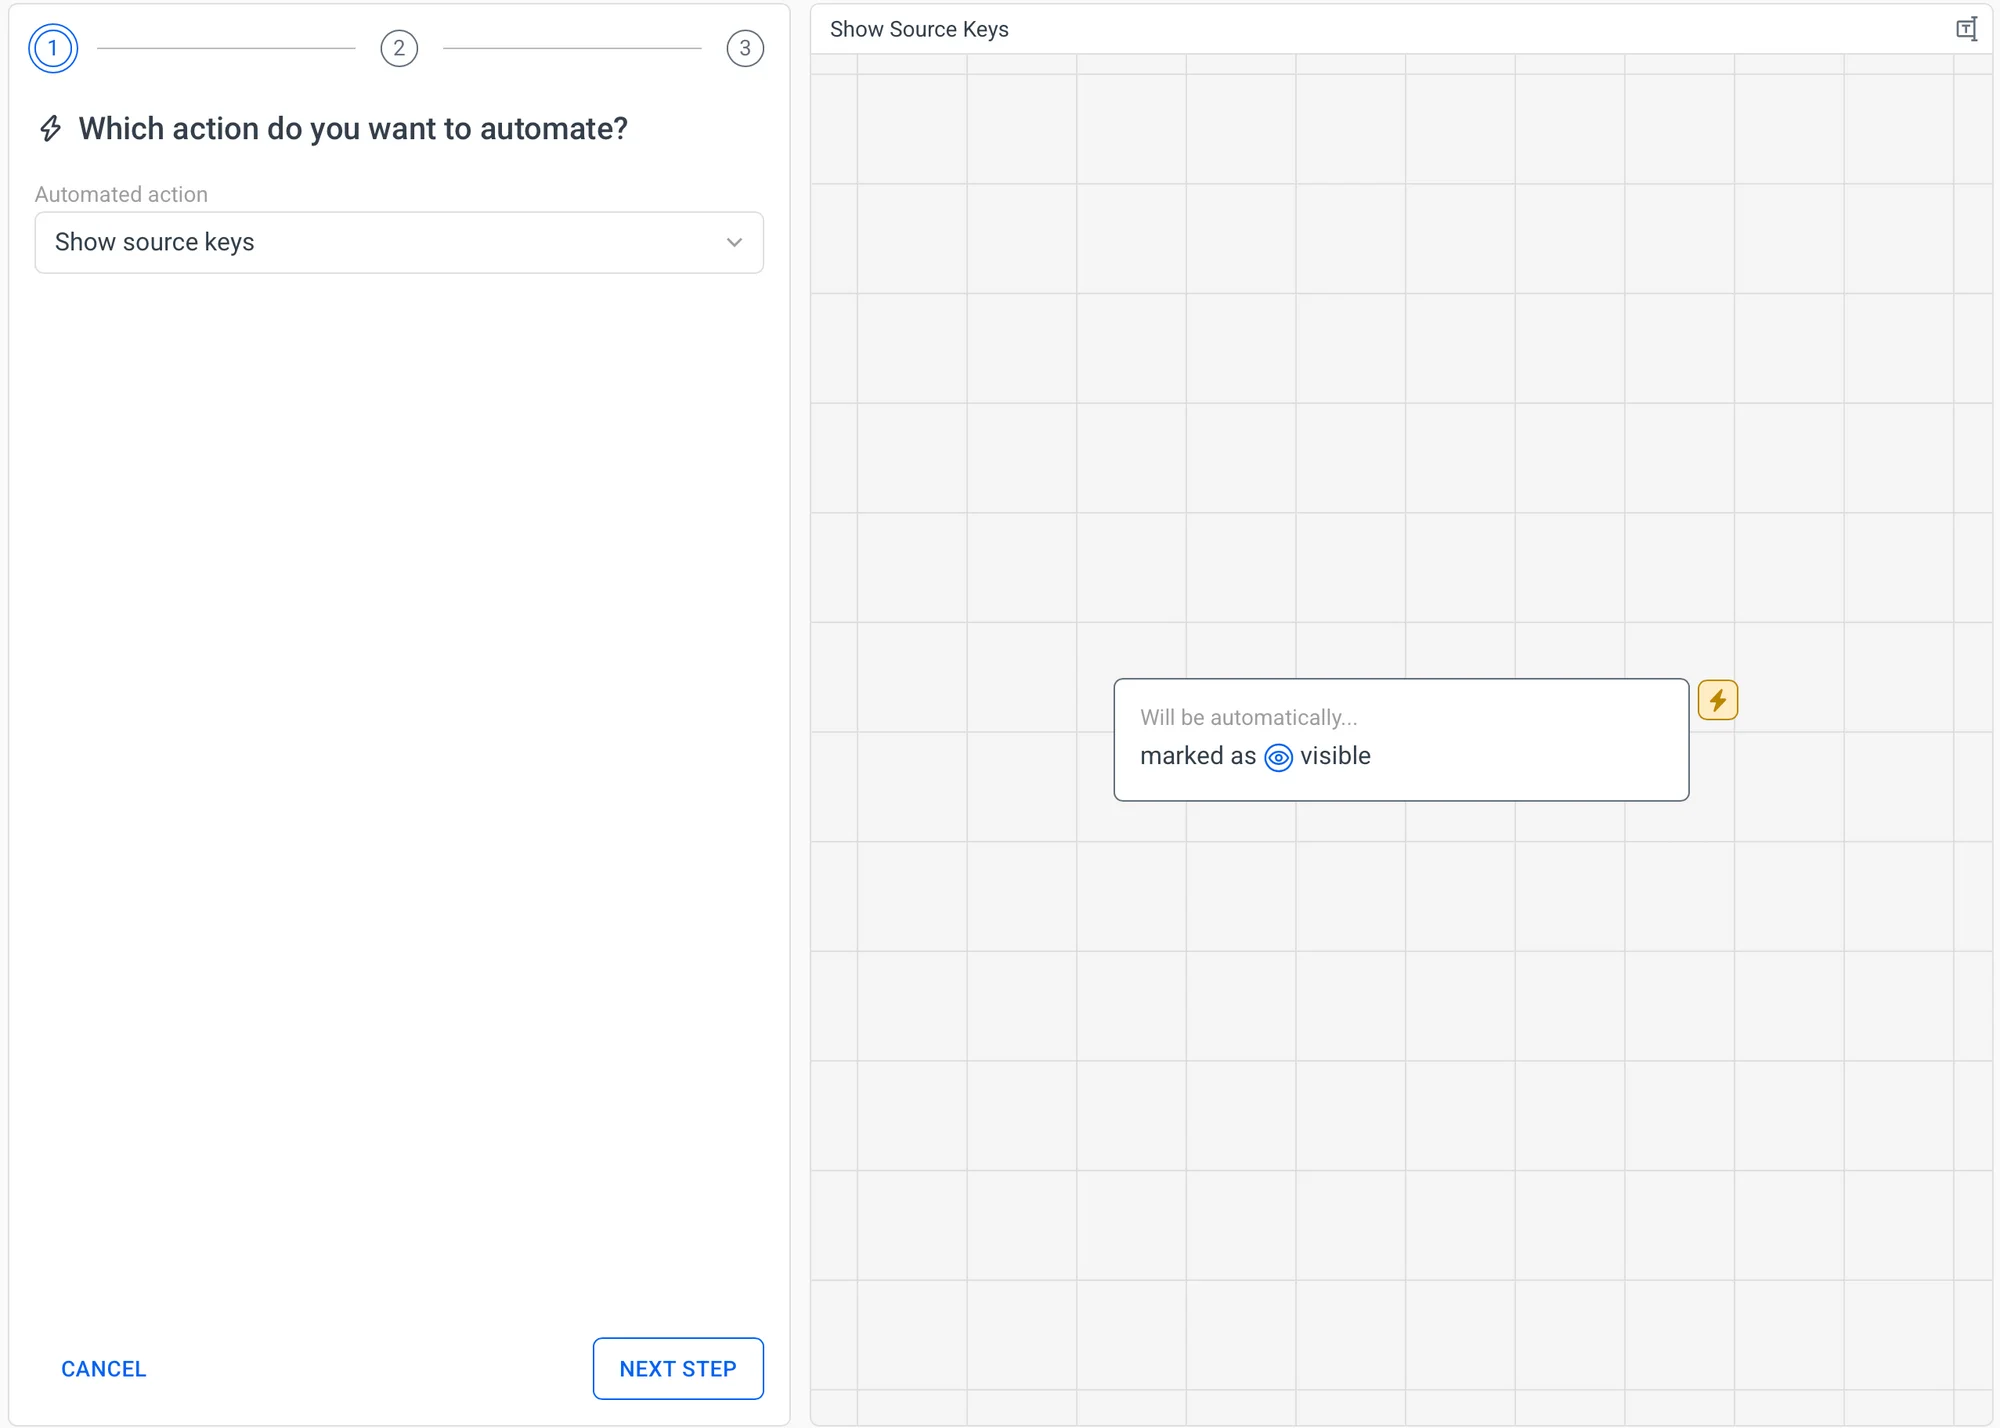
Now, for the first step, we have to select the desired action, which is to Show source keys.
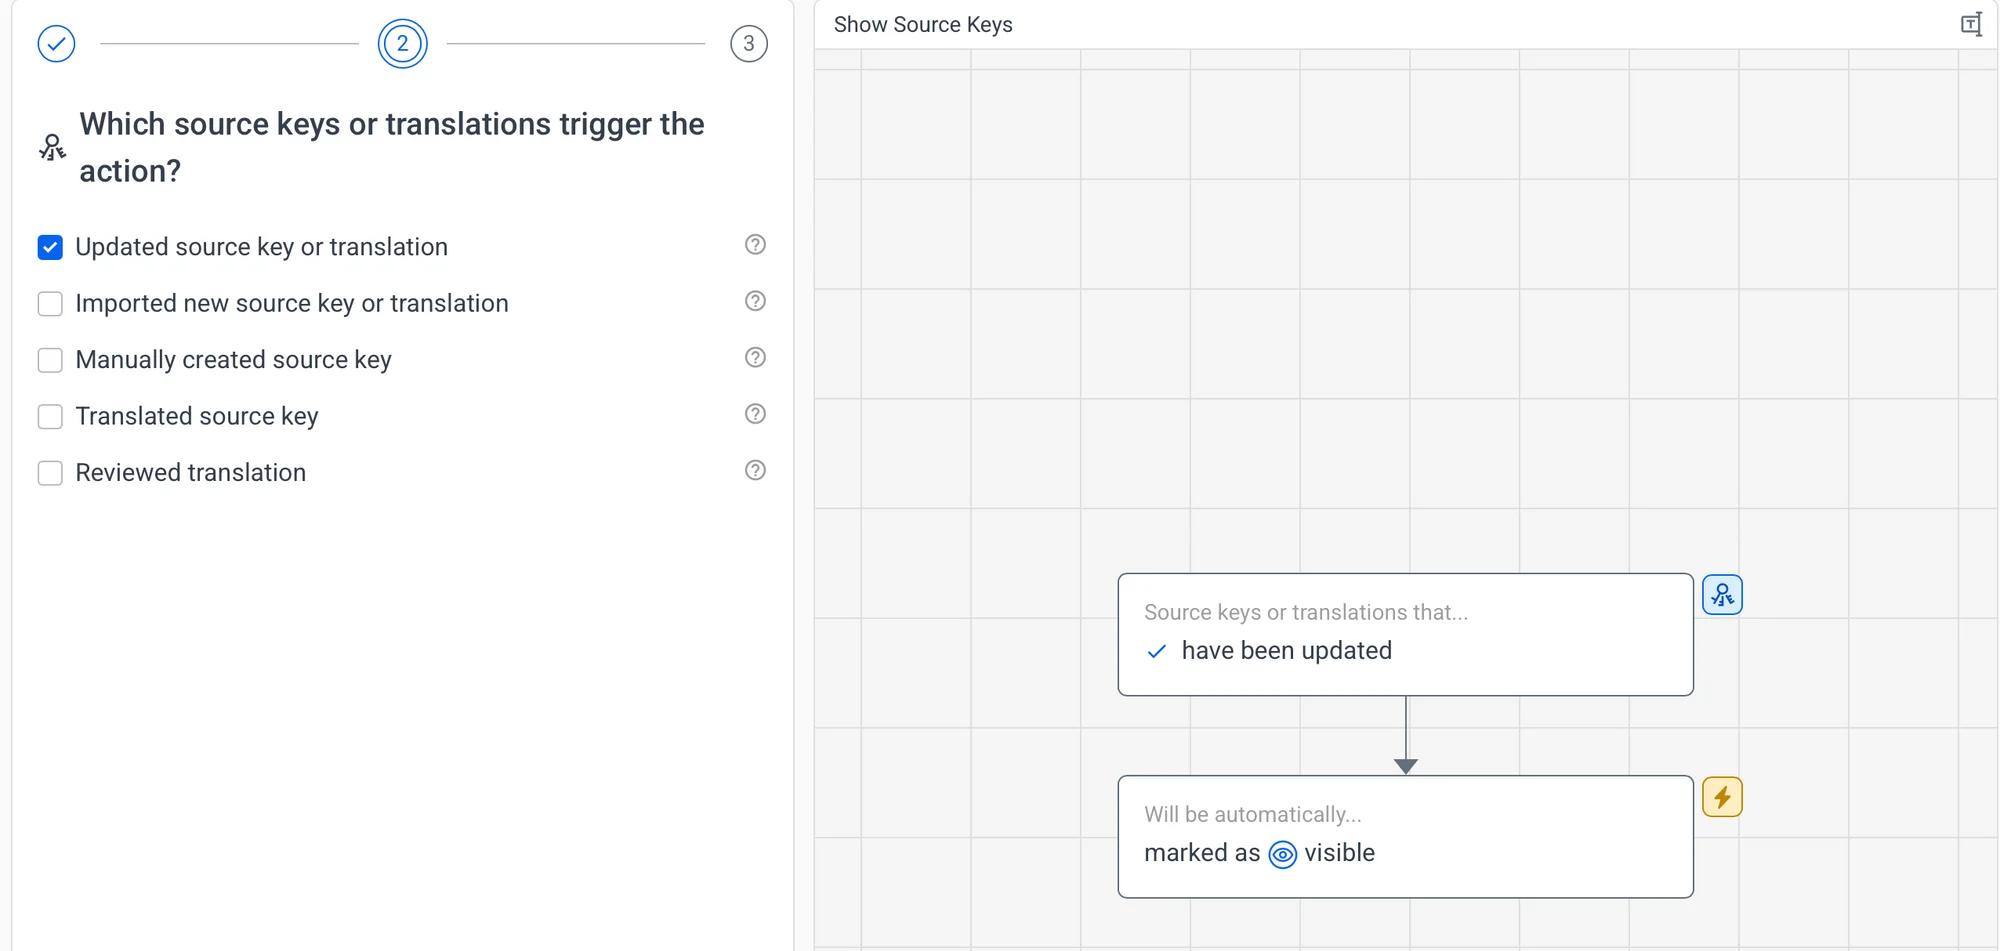
We want to trigger the event if the keys are updated, so out of the possible triggers, we just need the Key or translation updated, nothing else.
Filters can be helpful when you want to limit the automation to a specific subset of keys. You can read more about them here.
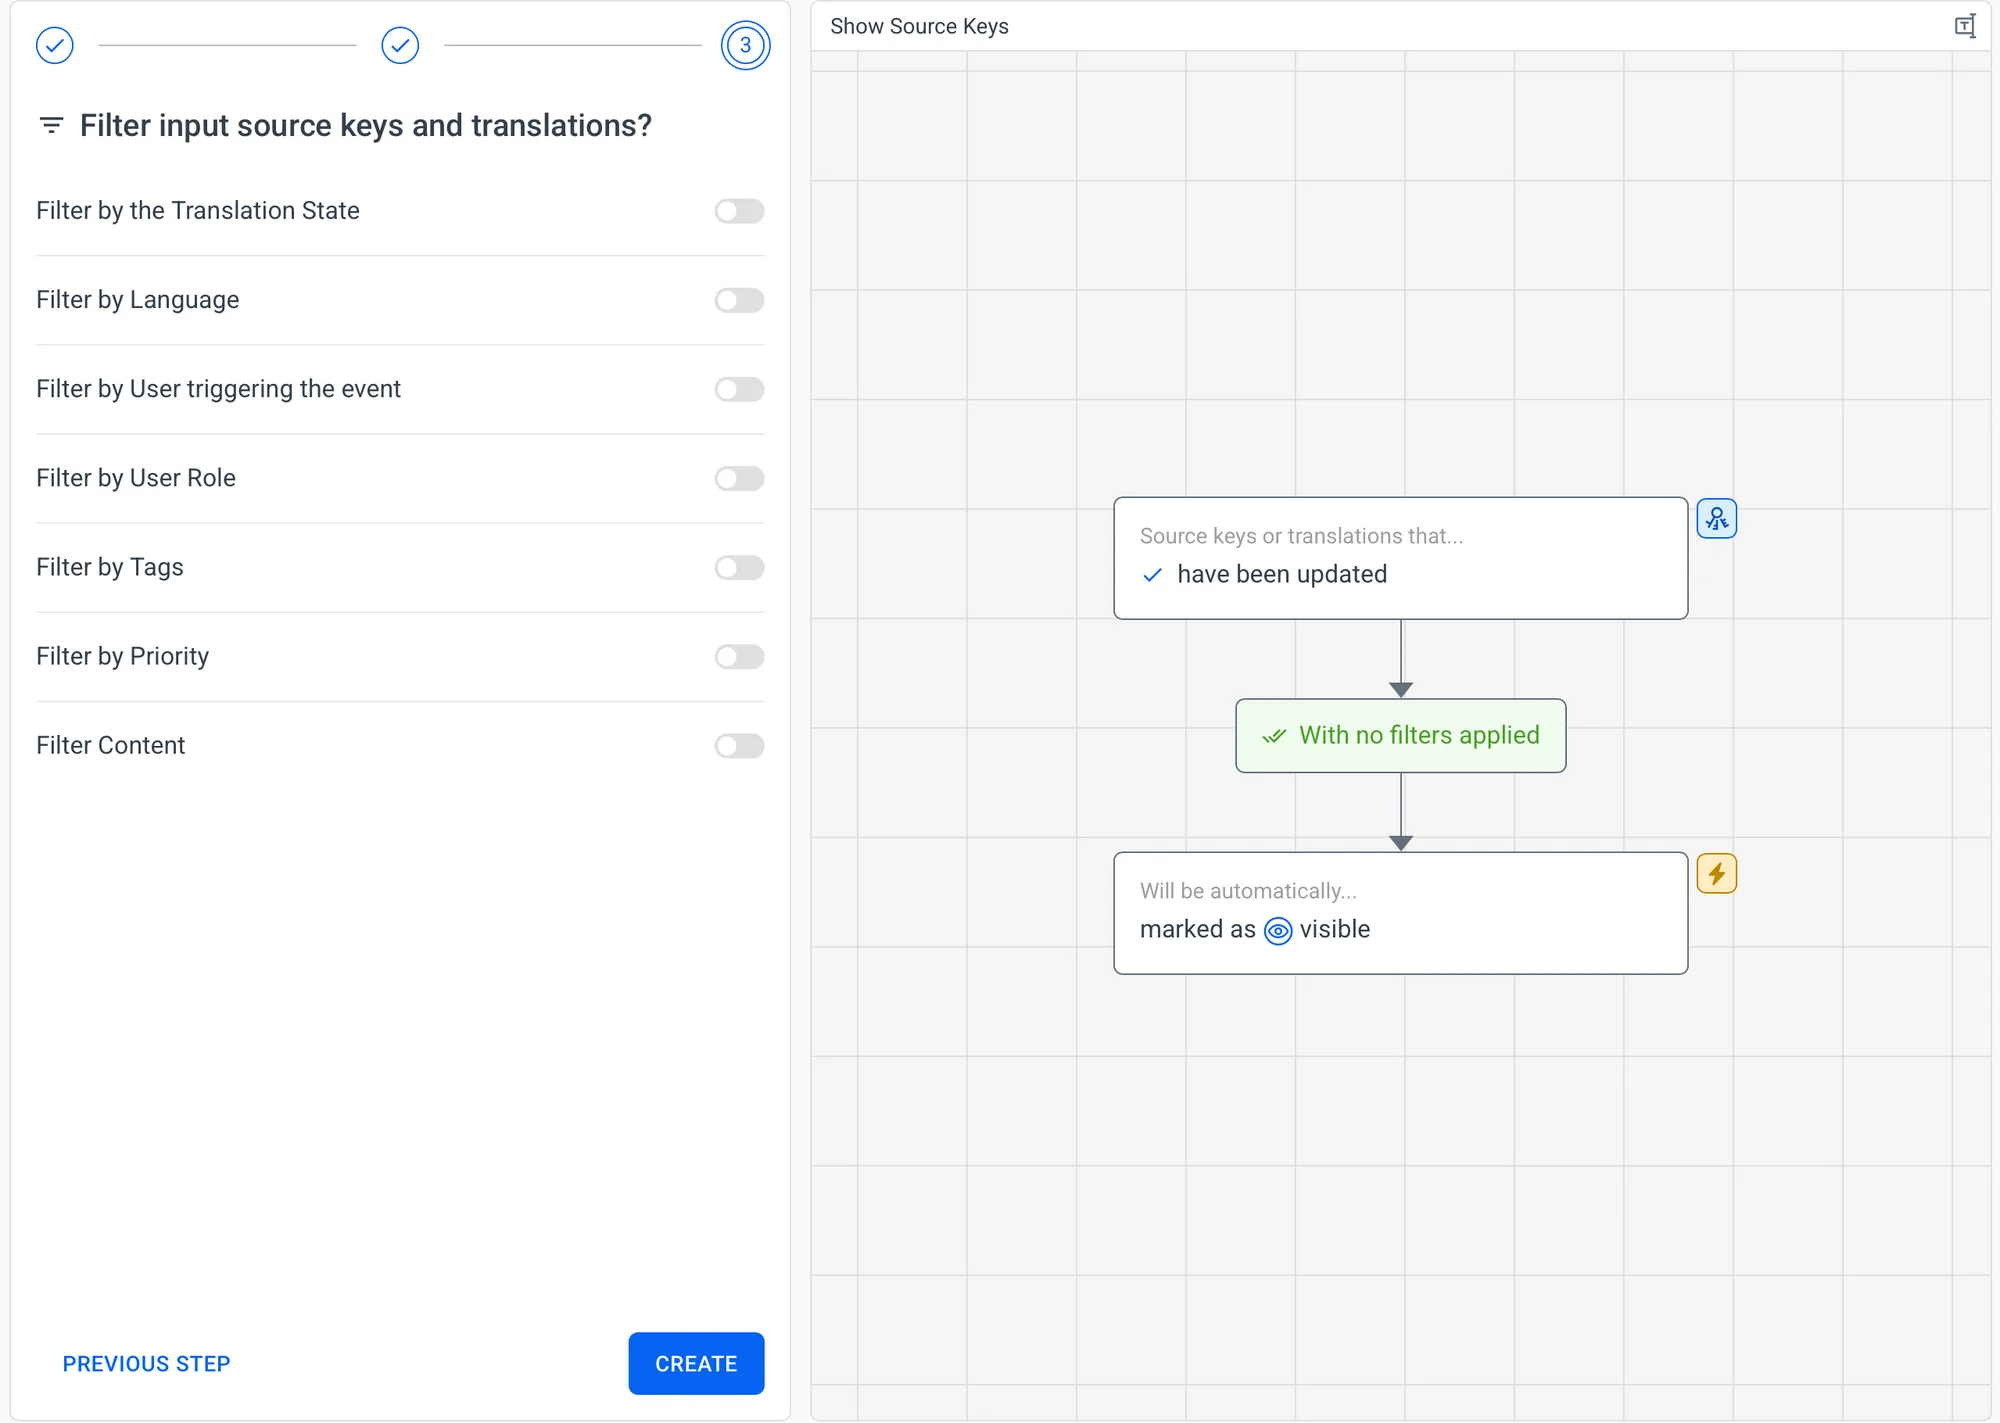
Click "Create", and the automation will be saved. That's it. All is configured, and you can see the status of the automation after saving it. You can come back to the Automations tab and see when each automation ran for the last time as well.

3. Upload content periodically while migrating/rebranding it 🔗
Whether you upload your files manually or via CLI, keep uploading them periodically as you change them to update the old names and links to new ones.
Whenever new updated keys appear, the automation will be run, and keys that match the filter will be automatically shown if they were hidden before. It won't matter if you spend one day or one month reorganizing your project; you'll never need to think about the process again.
✅ Conclusion 🔗
In conclusion, automating the process of showing keys during migration or rebranding projects saves time and resources by letting translators focus on relevant translations. Utilizing Automations streamlines the process effortlessly, allowing developers to upload content as needed without manual key management. Ultimately, this approach ensures a smoother transition and optimizes translation efficiency.